Fixing Uneven Wood Floor Gaps: A Step-by-Step Guide
To fix uneven wood floor gaps, start by measuring the gap size and identifying its cause. Use a color-matched wood filler for small gaps and trim or molding for larger ones. Prepare the area carefully, apply the filler or trim according to instructions, sand for a smooth finish, and make final adjustments for a seamless look.
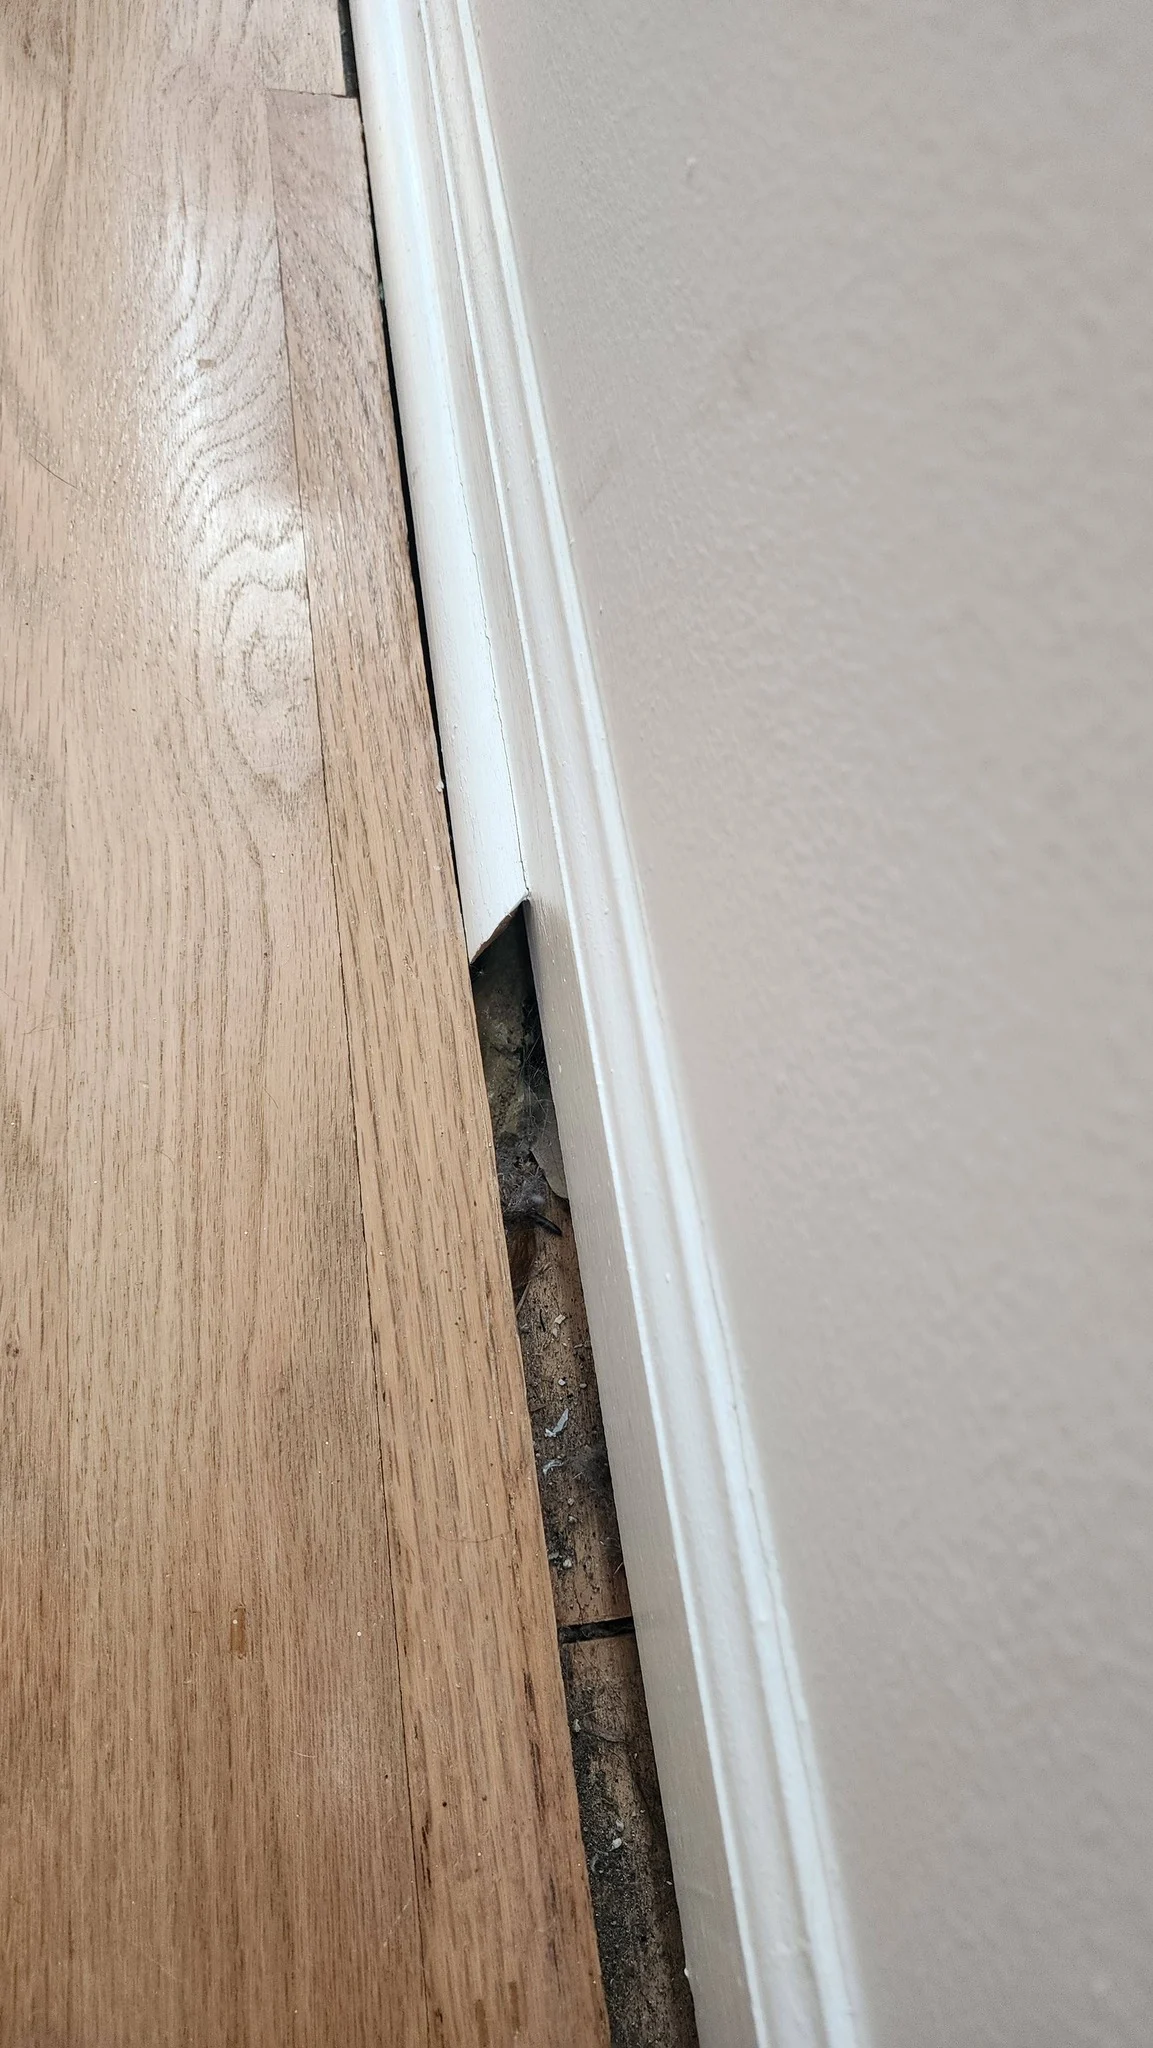
The Hard Truth: Uneven wood floor gaps can be a real eyesore. Seeing uneven wood floor gaps after trim installation can be frustrating—especially when everything else looks perfect. Even professional installations aren’t immune to this issue. Gaps often appear due to seasonal wood movement, minor installation errors, foundation settling, or changes in indoor humidity.
The good news? Most uneven floor gaps are completely fixable without tearing up your flooring. In this guide, you’ll learn how to assess the gap, choose the right repair method, and achieve a seamless, long-lasting finish.
Assessing the Gap
The first step in fixing uneven wood floor gaps is to evaluate the gap’s size, depth, and consistency. Measure the gap width and depth using a ruler or caliper so you can choose the correct repair method.
If the gap is less than 1/4 inch, a flexible wood filler or color-matched caulk usually works best.
If the gap is larger than 1/4 inch, consider using a thin trim strip or shoe molding in combination with filler for a professional finish.
Tools and Materials Needed
- Wood floor filler (color-matched to your flooring) - Trim or shoe molding (to match existing trim) - Caulk gun - Putty knife - Sandpaper (120–220 grit) - Paint or stain (optional)
Preparing the Area
Before applying any filler or trim, clean the area thoroughly. Remove dust, debris, and old adhesive using a vacuum and a damp cloth.
Use a putty knife to scrape out loose filler or residue. Let the area dry completely—moisture can prevent filler and adhesives from bonding properly.
Applying the Filler
If you’re using a filler: 1. Load the filler into a caulk gun or apply directly with a putty knife. 2. Press it firmly into the gap, ensuring full depth coverage. 3. Smooth the surface level with the floor using a putty knife.
Sanding is crucial: Once the filler dries, lightly sand it until smooth and flush with the surrounding floor.
For more information on floor prep, check out our article on Wood Floor Installation Best Practices.
The Trade-Off Matrix
Variable Using Filler Using Trim Critical Failure Point
Gap Size Small gaps Larger gaps Filler may crack or sink
Aesthetics Less noticeable More seamless Trim may not color-match
Durability Moderate High Improper trim installation
Installation Easy Moderate Poor alignment or adhesive
Verdict: Use filler for hairline gaps and trim for wide or uneven gaps. Combining both often produces the best visual and structural result.
The Practitioner’s Reality Check
The Counter-Intuitive Insight: Many DIYers skip acclimating filler or trim to room temperature and humidity. This causes materials to expand or contract after installation, reopening gaps.
The Common Trap:
Not testing filler or trim on a hidden area first—leading to mismatched colors, textures, or sheen levels.
Frequently Asked Questions
What is the best way to fix a large gap between the wood floor and trim?
Use a thin trim strip or shoe molding for structure, then seal remaining gaps with flexible filler or caulk.
Can I use regular caulk instead of wood filler?
Use paintable, flexible caulk for trim gaps. For floorboard gaps, wood filler offers a better color match and durability.
Why do wood floor gaps appear after installation?
Gaps are often caused by humidity changes, wood shrinkage, foundation settling, or minor installation errors.
How long does wood filler take to dry?
Most fillers dry within 30–60 minutes, but full curing can take up to 24 hours depending on thickness and humidity.
Will the gaps come back over time?
Possibly. Seasonal movement can reopen gaps. Using flexible filler and maintaining stable indoor humidity reduces recurrence.
Should I hire a professional for uneven floor gaps?
For large or recurring gaps, a professional can diagnose structural or moisture issues and provide long-term solutions.
Expert Citations
According to the National Wood Flooring Association (2024), seasonal humidity changes are the leading cause of post-installation floor gaps.
A 2025 study by Home Renovation Weekly found that flexible fillers reduce gap recurrence by up to 40% compared to rigid fillers.
The American Society of Home Inspectors recommends maintaining indoor humidity between 35%–55% to minimize wood movement.
Conclusion
Uneven wood floor gaps may look intimidating, but most are easy to fix with the right tools and techniques. By measuring the gap, choosing the correct filler or trim, and preparing the surface properly, you can restore a clean, seamless appearance to your floor.
The Bottom Line: Addressing gaps early not only improves aesthetics—it prevents dirt buildup, moisture intrusion, and long-term floor damage. With careful application and routine maintenance, your floors can stay gap-free for years.
Repair Insights
Keywords: wood floor gap fix, uneven floor repair, floor gap solutions, wood floor repair, gap filler for wood floor, how to fix floor gaps, seamless wood floor finish