Fixes might be blogged to help others — your data stays safe.
SnapToFix | Fix Bad Caulk on Baseboards – Step-by-Step DIY Guide
Fix Bad Caulk on Baseboards – Step-by-Step DIY Guide
Published: 1/11/2026
Fixing Bad Caulk Jobs
To fix a bad caulk job along baseboards, start by removing the old caulk using a caulk removal tool or utility knife. Clean the area thoroughly with a damp cloth or mild cleaner. Apply new caulk in a smooth, even bead using a caulk gun, then smooth it out with a damp finger or caulking tool for a professional finish.
The Hard Truth About Bad Caulk Jobs A bad caulk job along baseboards can ruin the look of an otherwise beautiful room—and worse, it can allow moisture, dust, and pests to sneak in. Uneven beads, cracked caulk, or peeling edges are common signs that it’s time for a redo.
The good news? Fixing a messy caulk job is one of the easiest and most satisfying DIY upgrades you can tackle in a single afternoon. In this guide, you’ll learn how to remove old caulk properly, prep the surface, and apply new caulk for a smooth, professional finish.
The Professional Reality
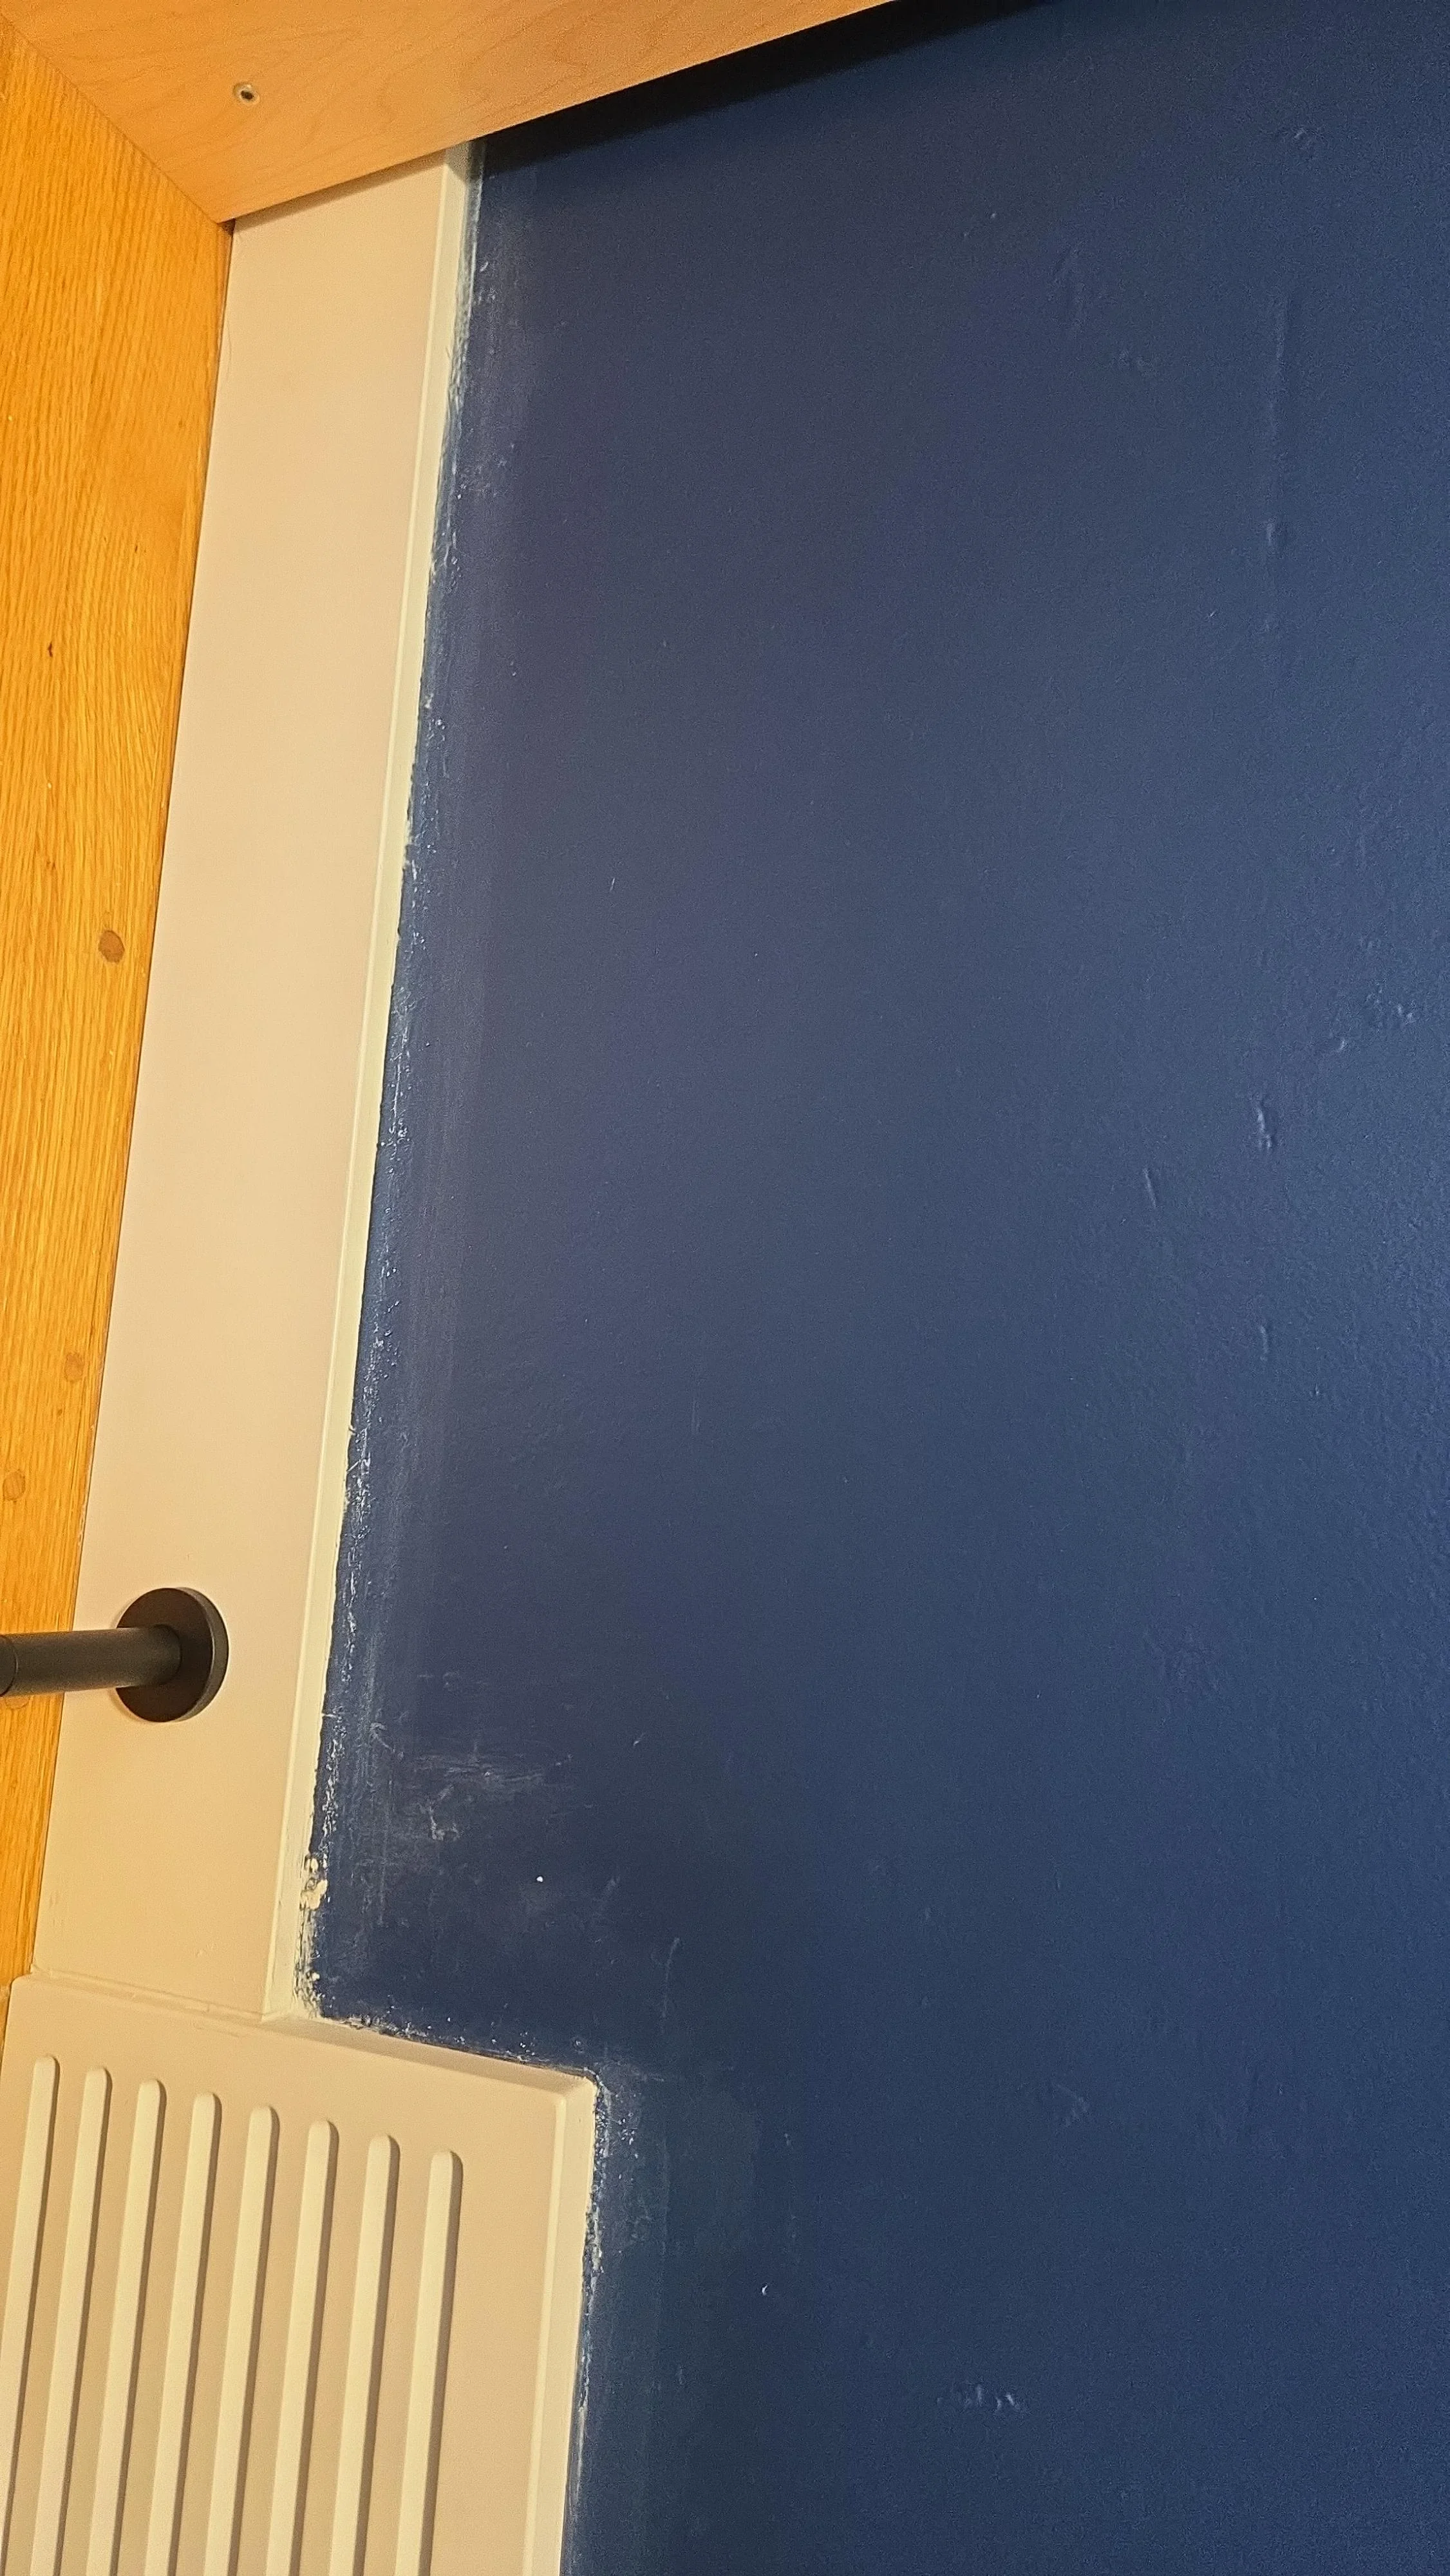
The image shows a close-up of a baseboard with old, deteriorated caulk. The caulk appears cracked, peeling, and uneven—clear signs of poor adhesion or aging. This usually happens when surfaces aren’t cleaned properly before caulking or when the wrong type of caulk is used.
Three key visual indicators include:
Gaps forming between the wall and baseboard
Discolored or brittle caulk
Jagged edges where caulk has pulled away
Implementation Guide
Follow these steps to fix a bad caulk job correctly:
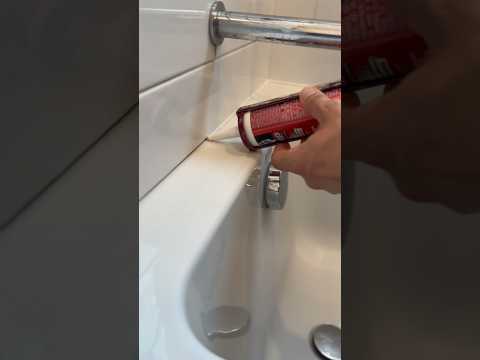
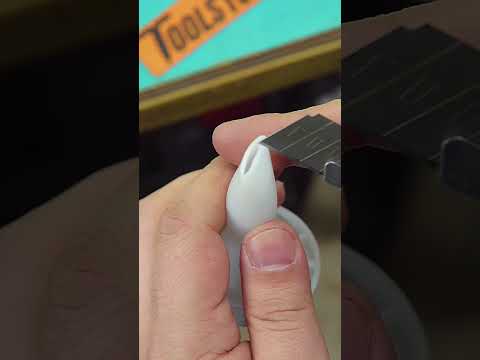
Remove Old Caulk
Use a caulk removal tool or utility knife to slice along both edges of the caulk bead. Gently peel or scrape it away without damaging the wall or baseboard.
Clean the Area
Wipe the surface with a damp cloth or mild cleaner to remove dust, residue, and grease. Let it dry completely—caulk won’t adhere to damp or dirty surfaces.
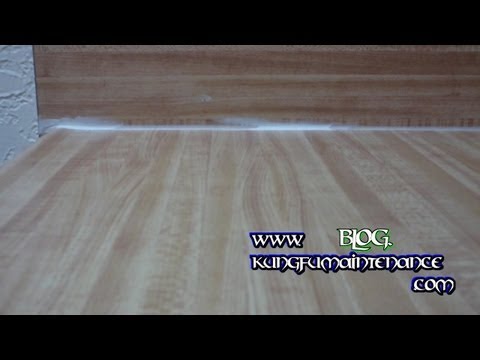
Apply New Caulk
Load a caulk tube into your caulk gun. Cut the nozzle at a 45-degree angle and apply a thin, continuous bead along the seam where the wall meets the baseboard.
Smooth Out the Bead
Use a damp finger or a caulking tool to smooth the bead, pressing gently to force caulk into gaps and create a clean edge. Wipe off excess as you go.
Let It Cure
Allow the caulk to dry according to the manufacturer’s instructions before painting or sealing.
Bolded core takeaway: The key to a successful caulk job is proper surface preparation and controlled, even application.
Learn more about caulk guns and their benefits
The Practitioner’s Reality Check
The Counter-Intuitive Insight: Many DIYers think heating old caulk will make it easier to remove, but heat can soften paint and warp trim, creating more damage than it solves.
The Common Trap:
Using too much caulk or rushing the smoothing step—this leads to thick, messy beads that look worse than the original problem.
Frequently Asked Questions
What is the best tool for removing old caulk?
A caulk removal tool or a sharp utility knife works best for clean, controlled removal.
Can I use a hair dryer to heat up the old caulk?
No. This can damage paint, drywall, and trim, making repairs more complicated.
How do I apply new caulk for a smooth finish?
Use a caulk gun for control and smooth the bead immediately with a damp finger or caulking tool.
What are the most common mistakes when caulking baseboards?
Using too much caulk, skipping surface cleaning, and not smoothing the bead properly.
Can I paint over new caulk?
Yes, but only after it’s completely dry and if you’re using paintable caulk.
How often should I re-caulk my baseboards?
Every 5–10 years, or whenever cracks, gaps, or peeling appear.
Expert Citations
According to the National Kitchen and Bath Association (2024), proper surface preparation is the most critical factor in achieving long-lasting caulk adhesion.
The United States Environmental Protection Agency (EPA) recommends using dedicated caulk removal tools to reduce surface damage and improve indoor air quality during home repairs.
A 2025 report by Home Renovation Weekly found that re-caulking baseboards improves room appearance ratings by up to 35%.
Conclusion
A bad caulk job may look like a minor annoyance, but it can lead to bigger cosmetic and moisture problems if ignored. By removing old caulk carefully, cleaning the surface thoroughly, and applying a smooth new bead, you can restore a clean, polished look to your baseboards in just a few hours.
The Bottom Line: Fixing a bad caulk job is one of the simplest and most cost-effective DIY upgrades you can make. With patience and the right technique, your baseboards can look professionally finished without hiring a contractor.