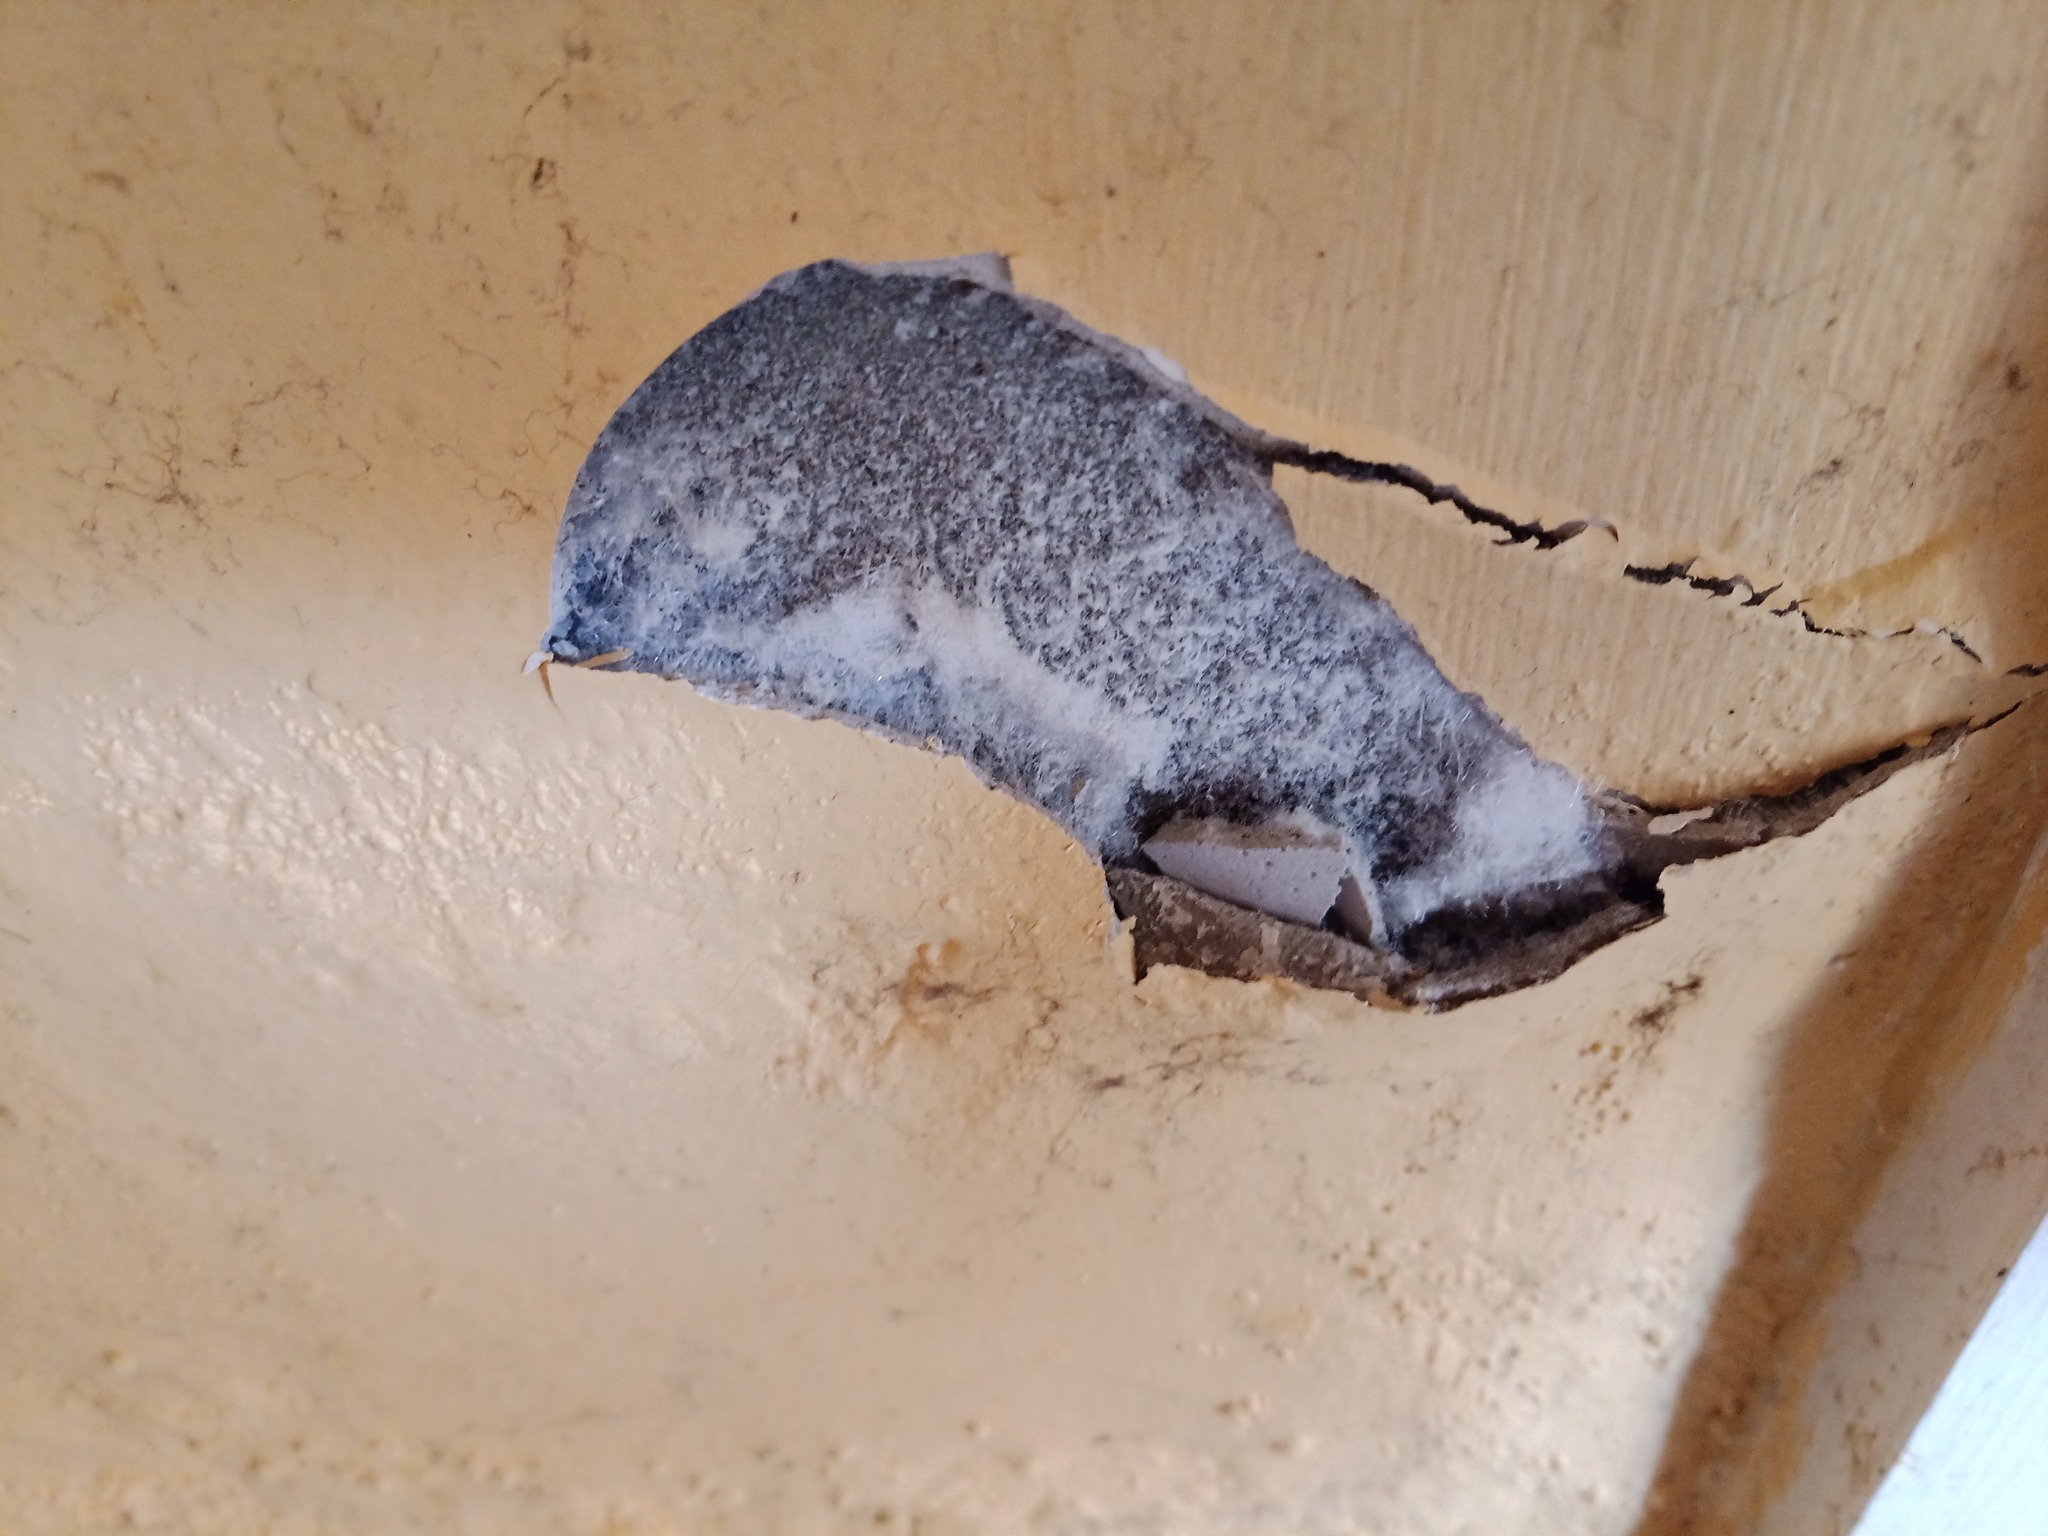
Fix Mold Damage on a Wall
Overview:
- Repair Summary: This repair entails removing the moldy section, cleaning and disinfecting the area, and then repairing or replacing the damaged plaster and paint.
- Estimated Time: The repair can take approximately 2-5 hours, depending on the extent of the damage and drying times.
- Skill Level: Intermediate. Some experience with basic home repairs and handling mold is beneficial.
- Prerequisites: A clean workspace, protective gear (gloves, mask, goggles), a dry environment, and prior knowledge of basic repair techniques.
- Expected Outcome: A fully functional and aesthetically pleasing wall, free of mold.
- Safety Precautions: Wear protective gear to avoid exposure to mold spores. Ensure good ventilation.
Tools Required:
- Protective gear: gloves, mask, goggles
- Cleaning solutions: bleach or a mold-killing product, water
- Scraping tools: putty knife, scraper
- Repair materials: plaster repair compound, sandpaper, paint (matching the original color)
- Cleaning tools: sponge, bucket
- Optional: dehumidifier, fans for drying
Step-by-Step Repair Guide:
- Prepare the Area: Wear protective gear (gloves, mask, goggles) and ensure the area is well-ventilated. Contain the affected area with plastic sheets to prevent mold spores from spreading.
- Remove the Moldy Section: Use a putty knife or scraper to carefully remove the moldy plaster. Be cautious not to spread the mold further.
- Clean and Disinfect: Mix a solution of bleach and water (1 part bleach to 10 parts water) and apply it to the affected area using a sponge. Let it sit for 10-15 minutes to kill the mold.
- Rinse and Dry: Rinse the area thoroughly with clean water and let it dry completely. Use a dehumidifier or fans to speed up the drying process.
- Repair the Plaster: Apply plaster repair compound to the damaged area, smoothing it out with a putty knife. Allow it to dry according to the product's instructions.
- Sand the Area: Once the plaster is dry, sand it down to a smooth finish. Use a sanding block for large areas or sandpaper for smaller spots.
- Paint the Wall: Apply a coat of primer if necessary, followed by a coat of paint that matches the original color. Allow it to dry completely.
- Inspect and Touch-Up: Inspect the area for any imperfections and perform touch-ups as needed.
Estimated Cost:
- Replacement Parts: Plaster repair compound ($10-$20), paint ($20-$50), cleaning solutions ($5-$10).
- Tools: If not commonly owned, costs can range from $20-$50.
- Labor Cost: If hiring a professional, expect to pay $200-$500, depending on the extent of the damage and location.
Tips and Warnings:
- Prevent Future Issues: Address the source of moisture to prevent future mold growth. Check for leaks, improve ventilation, and use a dehumidifier if necessary.
- Safety: Always wear protective gear when dealing with mold to avoid health risks.
- Extent of Damage: If the damage is extensive or you're unsure about handling mold, consider hiring a professional to ensure the job is done safely and effectively.


