Fixing Broken Scissors
For broken scissor handles, repair method depends on material: plastic handles use super glue gel (fills cracks best) or epoxy for plastic, reinforced with metal strips for strength. Metal handles may allow brazing or welding, but heat can damage blade temper—use epoxy with metal reinforcement instead. For severe breaks, create replacement handles from wood or use moldable plastic like Sugru. Never attempt welding near blades as heat ruins cutting edges. Simple cracks under 1 inch can be glued in 15 minutes; complex breaks requiring custom handles take 2-3 hours.
Assessing Your Broken Scissors
Identifying the Break Type
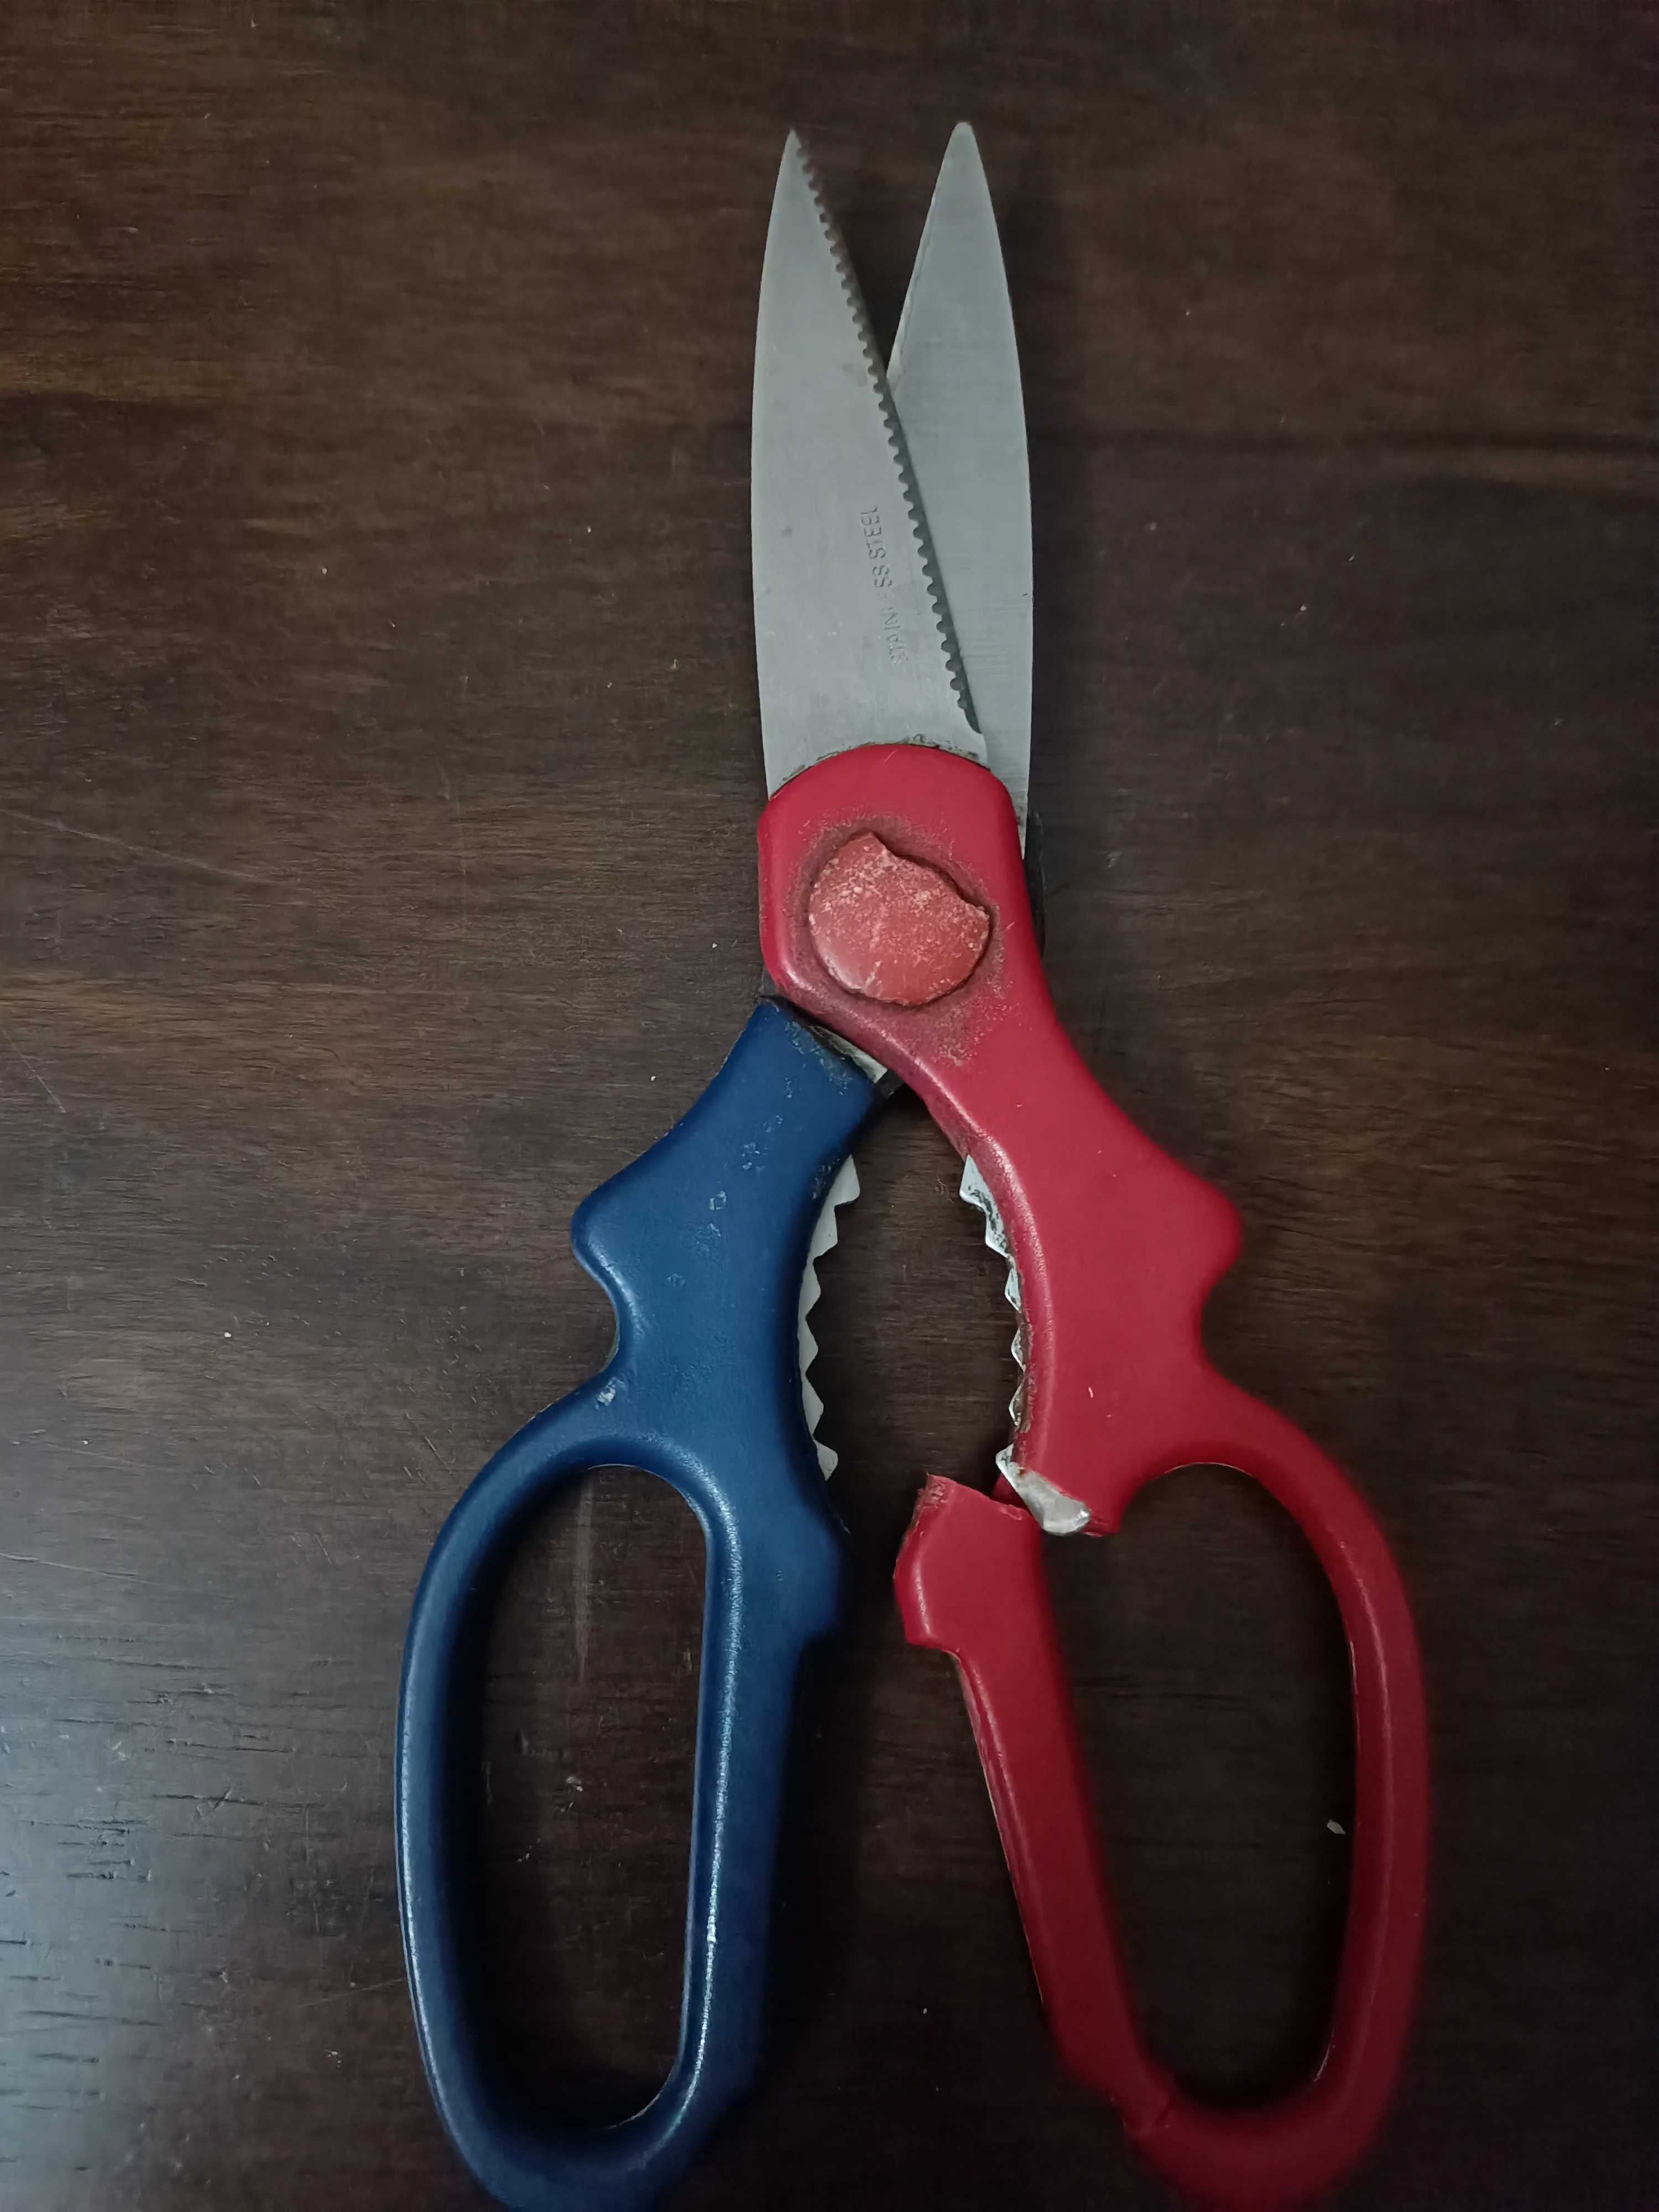
The scissors in the image have a broken red plastic handle. The break appears to be in the handle material where it connects to the metal blade, not in the blades themselves. Common break locations: Handle-to-blade junction: Where plastic or rubber handle material meets the metal blade. This is the most common failure point due to stress concentration during cutting. Handle body crack: Cracks running through the finger loop or grip area of plastic handles, usually from dropping or excessive force. Metal fatigue: Metal handles or shanks that crack or bend, typically near the pivot point from years of use. Finger loop separation: The finger hole portion of plastic handles breaking away from the main grip, especially common in children's scissors. Complete handle detachment: The entire handle piece separated from the blade, leaving bare metal exposed.Material Identification
Plastic handles (most common): * Hard plastic (ABS, polycarbonate) * Soft rubber overmold * Composite plastic with internal metal reinforcement Metal handles: * Stainless steel (common in kitchen shears) * Carbon steel (older scissors) * Aluminum (lightweight craft scissors) Hybrid construction: * Metal blades with riveted plastic handles * Injection-molded plastic over metal frameRepair vs. Replace Decision
Repair makes sense when: * Scissors cost over $15-20 originally * Blades are still sharp and functional * You can't find equivalent replacements (specialized scissors) * Sentimental value or perfect fit for your hand * Break is clean and repairable Replace instead when: * Inexpensive scissors (under $10-15) * Blades are also dull or damaged * Multiple breaks or extensive damage * Repair time/cost exceeds replacement cost * Safety concerns (professional hair cutting shears, medical scissors)How to Fix Broken Scissor Handles
Method 1: Super Glue Gel for Plastic Handles (Quick Fix)
For simple cracks or clean breaks in plastic handles where you still have both pieces. Why gel specifically: Super glue gel fills gaps better than liquid, stays where you apply it instead of running everywhere, and creates stronger bonds on plastics. What you'll need: * Super glue gel (not liquid) * Small clamp or rubber band * Rubbing alcohol and cloth * Sandpaper (220 grit) * Optional: metal nail file or small metal strip for reinforcement Step-by-step process: 1. Clean the break: Wipe both broken edges with rubbing alcohol to remove oils, dirt, or residue. Let dry completely (2-3 minutes). 2. Rough the surfaces: Lightly sand the broken edges with 220 grit sandpaper. This creates texture for better adhesion. 3. Optional reinforcement (recommended): If you can access the break area, cut a small piece of metal (from a nail file or thin sheet metal) to span across the break internally for added strength. Drill tiny holes in both broken edges if possible. 4. Apply gel: Apply a generous amount of super glue gel to both broken surfaces. If using metal reinforcement, glue it into the drilled holes first. 5. Join and clamp: Press the pieces together firmly, aligning them carefully. Use a small clamp, clothespins, or wrap tightly with rubber bands to maintain pressure. 6. Let cure: Hold pressure for 60 seconds minimum, then leave clamped for 5-10 minutes for full initial cure. 7. Test carefully: After removing clamps, test the repair gently before full use. Expected lifespan: 1-6 months depending on use intensity. This is often a temporary fix that buys time until you can do a more permanent repair or find replacement scissors.Method 2: Epoxy for Plastic (Stronger, Permanent Fix)
For breaks requiring maximum strength or when super glue has already failed. What you'll need: * Two-part epoxy specifically for plastic (like J-B Weld PlasticWeld) * Metal reinforcement strip (cut from nail file or thin aluminum) * Drill with small bit (if possible) * Clamps or rubber bands * Sandpaper Process: 1. Prepare the break: Clean, dry, and lightly sand both surfaces as described in Method 1. 2. Create reinforcement channels: If you can drill into both broken edges without going through the entire handle, drill 1-2 small holes (1/8 inch diameter) about ½ inch deep. 3. Cut metal strip: Cut a piece of metal that spans the break plus 1/2 inch on each side. 4. Mix epoxy: Follow manufacturer's instructions to mix equal parts epoxy resin and hardener. 5. Apply systematically: * Force epoxy into drilled holes using a toothpick * Apply epoxy to metal strip and insert into holes/against break * Apply generous layer of epoxy to both broken edges * Press pieces together with metal strip bridging the break 6. Clamp and cure: Clamp firmly and let cure for full 24 hours (not just the "sets in 5 minutes" time). 7. Smooth finish: After full cure, use sandpaper to smooth any rough epoxy that squeezed out. Pro tip: Some repair experts recommend forcing epoxy into drilled holes and securing a metal strip across the break for extra strength, then applying more epoxy smoothly over the repair to prevent rough edges that irritate hands. Expected lifespan: 1-2+ years with proper application. This creates a permanent repair when done correctly.Method 3: Moldable Plastic (Sugru, Plastimake) for Handle Reconstruction
For handles with chunks missing or complete detachment where you need to rebuild the shape. Materials available: * Sugru (air-cures into flexible rubber) * Plastimake (heated pellets that mold when warm) * Epoxy putty (two-part moldable compound) Best for: Scissors where the plastic handle has completely snapped off, requiring you to reform the entire grip area around the metal blade. Process: 1. Secure any remaining handle: If part of the handle is still attached, glue it in place first with super glue. 2. Prepare moldable material: * Sugru: knead packet for 30 seconds * Plastimake: heat pellets in hot water until clear * Epoxy putty: mix two parts together 3. Build up handle: Form material around the metal blade and any remaining handle, recreating the original grip shape. Don't make it too thick or it becomes uncomfortable. 4. Shape and smooth: Mold the material into a comfortable grip that follows the natural curve of your hand. Smooth with damp fingers. 5. Let cure: * Sugru: 24 hours to fully cure * Plastimake: cools and hardens in minutes * Epoxy putty: follow manufacturer's cure time 6. Refine if needed: After curing, you can sand or carve the handle to perfect the shape. Advantages: Creates custom-fitted handles and can replace severely damaged originals.Method 4: Wooden Handle Replacement (Advanced)
For a complete handle rebuild using wood—particularly suitable for valuable or sentimental scissors. What you'll need: * Thin plywood sheets (2-3mm thick) * Wood glue or epoxy * Small saw (coping saw or scroll saw) * Sandpaper (multiple grits: 60, 120, 240) * Clear lacquer or wood finish * Clamps Process overview: Create a paper template from the original handle shape, cut three layers of plywood (two outer decorative layers and one middle layer matching blade thickness), secure the middle layer tightly around the blade, glue all three layers together with epoxy, sand to final smooth shape using progressively finer grits, and finish with clear lacquer. This method takes 3-4 hours but creates beautiful, permanent replacement handles.Method 5: Metal Handle Welding or Brazing (Rarely Recommended)
For metal scissors only—and with significant caveats. Why this is problematic: Heat damage to blades: Welding or brazing generates extreme heat (1000-2000°F+) that travels through metal. This heat destroys the temper of scissor blades, softening the steel and ruining the cutting edge permanently. Even brazing at lower temperatures risks blade damage. Warping: Heat causes metal to expand and warp. Scissors require precise blade alignment—any warping makes them unusable. Structural changes: The heat-affected zone around welds becomes brittle and may crack again under stress. When it might work: Only consider welding/brazing if: * The break is far from the blades (at least 2-3 inches) * You can completely disassemble the scissors first * The scissors are valuable enough to warrant professional metalwork * You have welding experience and can control heat spread Better alternative for metal: Use high-strength metal epoxy (like J-B Weld Original) reinforced with metal plates or pins. This avoids heat damage while creating very strong bonds. The core takeaway is that a thorough assessment of the damage and the right technique can make the repair successful. Understanding your scissor's material and break type determines which method will work best.The Practitioner's Reality Check
Frequently Asked Questions
Can I use brazing for plastic handles?
No, brazing reaches temperatures (1000-1600°F) that instantly melt and destroy plastic. For plastic handles, use super glue gel, epoxy for plastic, or moldable plastic materials like Sugru. Brazing is only theoretically applicable to all-metal scissors.
Is welding always better than brazing for metal scissors?
Neither welding nor brazing is recommended for scissors because both generate heat that destroys blade temper, ruining cutting edges. For metal scissor repairs, use high-strength metal epoxy like J-B Weld with mechanical reinforcement—this creates strong bonds without heat damage.
What safety precautions should I take when repairing scissors?
Wear safety glasses when using chemicals, work in well-ventilated areas (epoxy and super glue fumes), protect work surfaces from adhesives, and handle broken scissors carefully as sharp metal edges may be exposed where plastic has broken away.
Can I use these methods for all types of scissors?
Glue and epoxy methods work for most household, craft, and fabric scissors with plastic handles. Kitchen shears and professional scissors may have more complex construction requiring specialized repair. Very inexpensive scissors (under $5) are often cheaper to replace than repair.
Are there any risks involved in DIY scissor repair?
The main risks are: re-breaking during use if repair is weak (causing unexpected closing and potential cuts), sharp exposed edges where plastic has broken creating cut hazards, and fume exposure from adhesives in poorly ventilated spaces. Properly executed repairs minimize these risks.
When should I replace instead of repair?
Replace when: scissors cost under $10-15 originally, blades are dull or damaged (not just handles), you've already repaired them multiple times, repair materials cost approaches replacement cost, or safety is critical (medical/professional scissors).
How long does a glued scissor repair last?
Super glue repairs typically last 1-6 months with normal use. Epoxy repairs last 1-2+ years. Wooden handle replacements can last the lifetime of the scissors. Moldable plastic repairs last 6 months to 2+ years depending on the material used.
Can I sharpen scissors after repairing the handles?
Yes, handle repairs don't affect blade sharpening. If your scissors need both handle repair and blade sharpening, repair the handles first, let them fully cure, then sharpen the blades using aluminum foil (quick method) or a sharpening stone.
What's the strongest repair method for plastic handles?
Epoxy for plastic with metal reinforcement strips creates the strongest repairs—often stronger than the original handle. This involves drilling small holes, inserting metal bridging strips with epoxy, then applying epoxy to the entire break surface.
Do repaired scissors cut as well as before?
If you've only repaired handles and not damaged blades, cutting performance remains identical. The repair affects grip comfort and handle strength but not cutting ability, assuming blades maintain proper alignment and the pivot point wasn't damaged.


