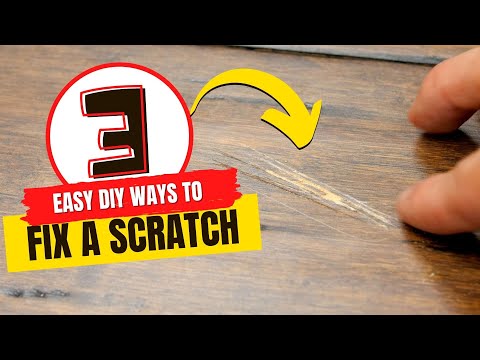
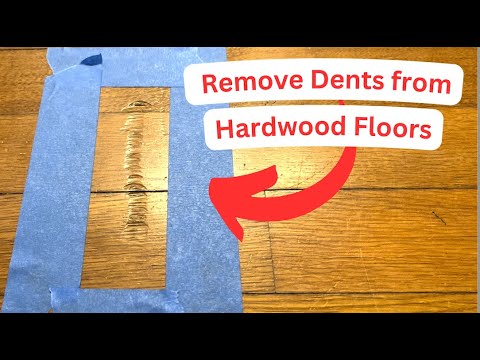
Fix a Scratched Hardwood Floor
Overview:
- Repair Summary: This repair entails filling in the scratches and gouges on the hardwood floor to restore its appearance.
- Estimated Time Required: The estimated time required to complete the repair is 2-5 hours, depending on the extent of the damage and the size of the area.
- Skill Level Needed: The skill level needed for this repair is intermediate. Some prior knowledge of wood floor repair and finishing is helpful.
- Prerequisites: Ensure the workspace is clean and dry. It's also recommended to have a well-ventilated area when working with wood fillers and finishings.
- Expected Outcome: The expected outcome is a hardwood floor with significantly reduced scratches and gouges, looking closer to its original state.
- Safety Precautions: Wear protective gear such as gloves, safety glasses, and a dust mask when performing the repair.
Tools Required:
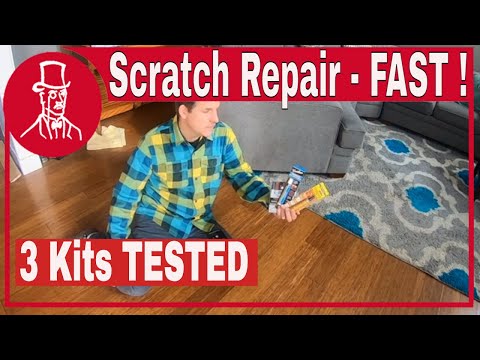
- Wood filler (matching the wood tone as closely as possible)
- Sandpaper (various grits: 120, 220, 320)
- Wood floor cleaner
- Soft cloth
- Putty knife
- Paintbrush or applicator for wood filler
- Polyurethane finish (matching the current floor finish)
- Optional: A wood floor repair kit
Step-by-Step Repair Guide:
- Clean the Floor: Use a wood floor cleaner to remove any dirt or debris from the scratched areas. Let it dry completely.
- Assess the Damage: Closely inspect the scratches and gouges to determine the depth and area that needs repair.
- Apply Wood Filler: Using a putty knife, apply wood filler to the deepest scratches and gouges. Fill them slightly over the surface to account for sanding.
- Let Filler Dry: Allow the wood filler to dry according to the manufacturer's instructions, usually 30 minutes to an hour, depending on the product.
- Sand the Area: Start sanding with 120-grit sandpaper, moving to 220-grit, and finishing with 320-grit. Sand in the direction of the wood grain.
- Clean the Sanded Area: Use a soft cloth to wipe away any dust from sanding.
- Apply Finish: If necessary, apply a polyurethane finish that matches the current floor finish. Follow the manufacturer's instructions for application and drying times.
- Final Inspection and Touch-ups: Inspect the floor for any missed spots or imperfections. Perform any necessary touch-ups.
Estimated Cost:
- Wood Filler: $5-$15
- Sandpaper: $5-$10
- Wood Floor Cleaner: $10-$20
- Polyurethane Finish: $20-$50
- Tools (if not owned): $20-$50
- Approximate Labor Cost (if hiring a professional): $100-$500, depending on the area size and professional rates.
Tips and Warnings:
- Match the Wood Tone: Ensure the wood filler matches the wood tone of your floor as closely as possible for a seamless repair.
- Test in a Hidden Area: Test the wood filler and finish in a small, inconspicuous area first to ensure color and finish compatibility.
- Safety First: Always work in a well-ventilated area when using chemicals like wood fillers and finishes. Wear protective gear to prevent injury.
- Avoid Overfilling: Be careful not to overfill the scratches, as this can create more work during the sanding process.
By following these steps and taking necessary precautions, you can effectively repair scratches and gouges on your hardwood floor, restoring its beauty without the need for a complete sanding.