Fix a Leaking Shower PEX Fitting
Overview:
- Repair Summary: This repair entails replacing or fixing the damaged PEX fitting to stop leaks and ensure proper water flow.
- Estimated Time: The repair is estimated to take about 1-2 hours to complete, depending on the complexity of the issue and the individual's experience.
- Skill Level: The skill level needed for this repair is intermediate. Some prior knowledge of plumbing and PEX fittings is helpful.
- Prerequisites: Ensure you have a clean workspace, and it's recommended to perform the repair in a dry environment. Prior knowledge of basic plumbing repairs is beneficial.
- Expected Outcome: The expected outcome is a fully functional shower with no leaks.
- Safety Precautions: Before starting, turn off the water supply to the shower. Wear protective gloves and eyewear to prevent injury from sharp edges or high-pressure water.
Tools Required:
- Adjustable wrench or basin wrench
- PEX fitting removal tool (if necessary)
- New PEX fitting (ensure compatibility with existing pipes)
- PEX crimper and rings (if the repair involves replacing the fitting)
- Teflon tape
- Bucket and towels for water cleanup
- Optional: pipe cutter (if pipe needs to be trimmed)
Step-by-Step Repair Guide:
- Turn Off Water Supply: Locate and turn off the main water supply to the shower. Open the shower faucet to drain water from the pipes.
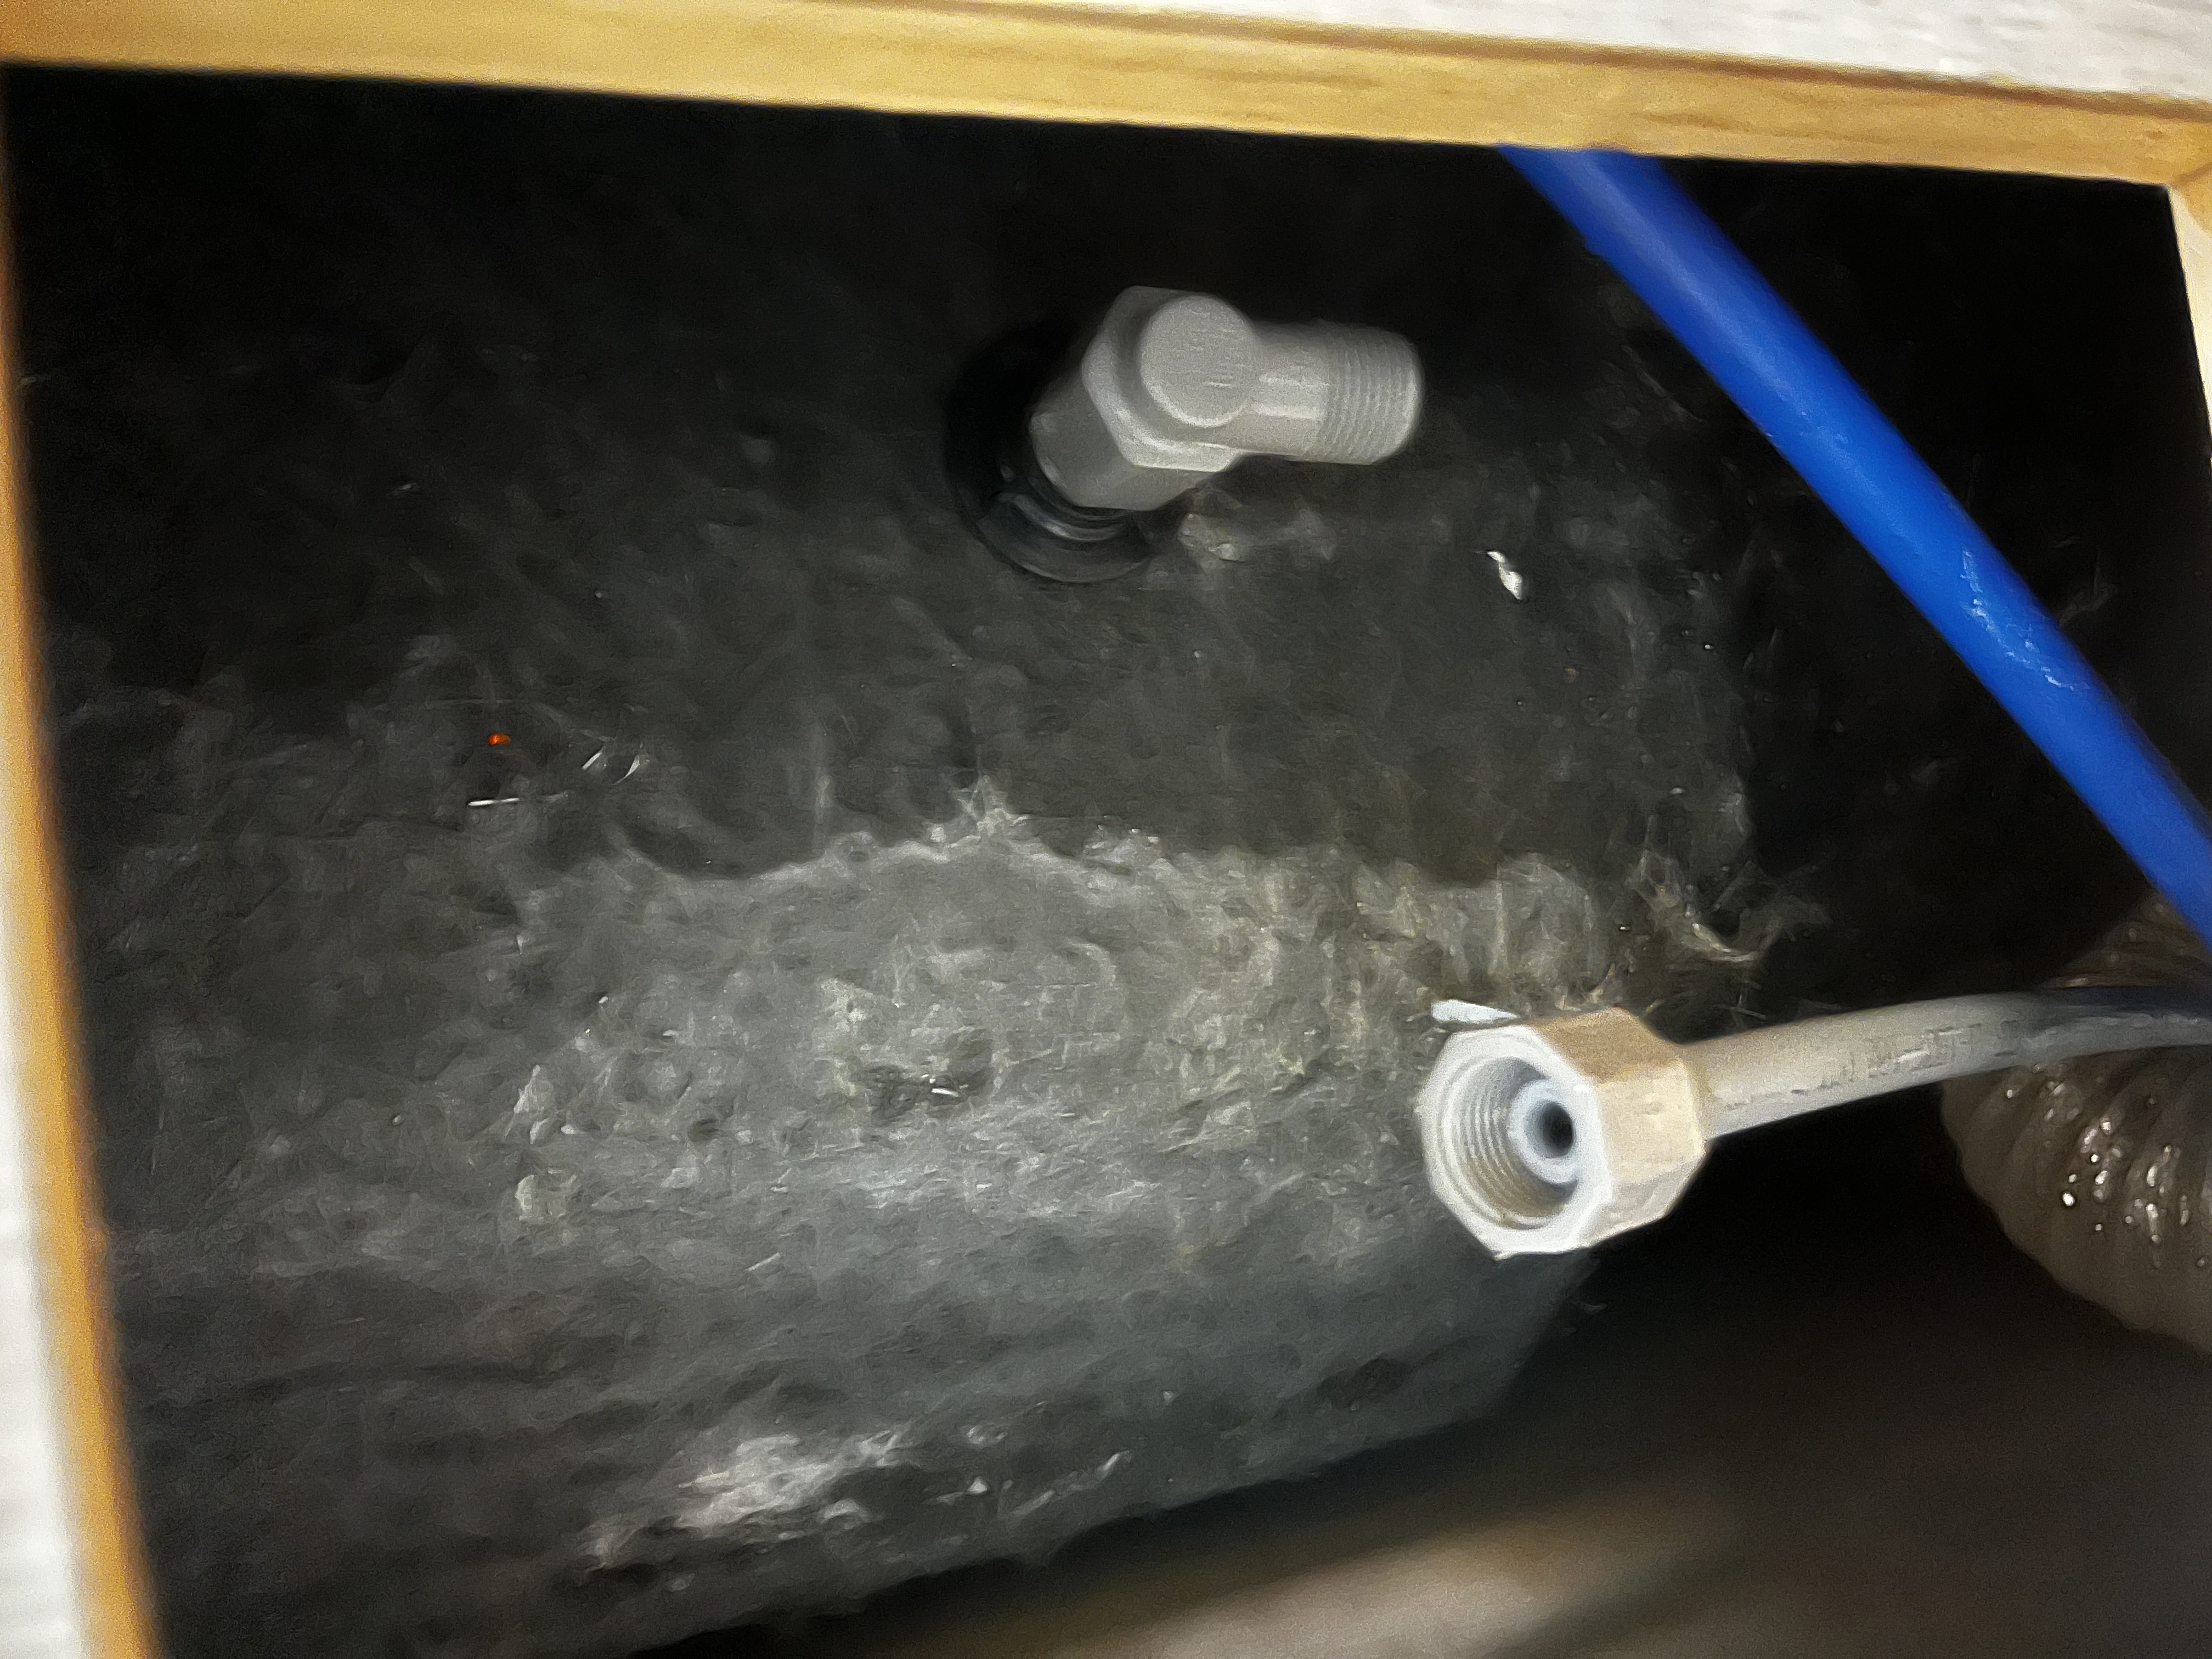
- Assess the Damage: Examine the PEX fitting for any visible signs of damage, such as cracks or corrosion. Determine if the fitting needs to be replaced or if a simple repair can fix the leak.
- Disconnect Water Supply Lines: Use an adjustable wrench to loosen and disconnect the water supply lines from the damaged PEX fitting. Place a bucket under the lines to catch any remaining water.
- Remove the Damaged Fitting: If replacing the fitting, use a PEX fitting removal tool to carefully remove the old fitting. If repairing, identify the leak source and proceed accordingly.
- Clean the Area: Clean the area around the PEX fitting to ensure a smooth installation of the new fitting.
- Install the New Fitting: If replacing, insert the new PEX fitting and secure it with PEX rings. Use a PEX crimper to crimp the rings and secure the fitting. Ensure it's properly seated and sealed.
- Reassemble and Test: Reconnect the water supply lines and turn on the water supply. Check for leaks by running water through the showerhead.
- Final Check: Inspect the repair area for any signs of leaks or water damage. Ensure everything is secure and functioning properly.
Estimated Cost:
- Replacement Parts: A new PEX fitting can cost between $5-$20, depending on the type and brand.
- Tools: If you don't own the necessary tools, a PEX crimper can cost $20-$50, and a PEX fitting removal tool might cost $10-$30.
- Labor Cost: If hiring a professional, the labor cost can range from $50 to $150 per hour, depending on the region and plumber's rates.
Tips and Warnings:
- Tip: Use the correct size and type of PEX fitting for your shower to ensure compatibility and prevent future leaks.
- Warning: Always turn off the water supply before starting any plumbing repair to prevent water damage or injury.
- Tip: Apply Teflon tape to threaded connections to ensure a watertight seal.
- Warning: Be cautious when working with PEX fittings, as improper installation can lead to leaks and water damage. If unsure, consider consulting a professional plumber.