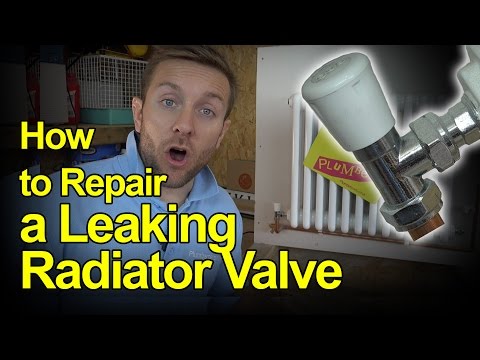
Fix a Leaking Radiator Valve of a Central Heating System
Overview:
- Repair Summary: This repair entails fixing or replacing the damaged or worn-out parts of the radiator valve to stop the leak.
- Estimated Time: The repair can take approximately 1 to 3 hours, depending on the complexity of the issue and the DIYer's level of experience.
- Skill Level: The skill level needed is intermediate. Some prior knowledge of plumbing and handling of basic tools is required.
- Prerequisites: Ensure you have a clean workspace, and it's advisable to perform the repair in a dry environment. Prior knowledge of basic plumbing repairs is beneficial.
- Expected Outcome: The expected outcome is a fully functional radiator valve with no leaks.
- Safety Precautions: Before starting, ensure the central heating system is turned off and cooled down. Wear protective gloves and eyewear.
Tools Required:
- Adjustable wrench or basin wrench
- Pipe wrench (optional)
- Teflon tape
- Replacement parts (valve, seals, or O-rings as needed)
- Plumber's putty (if necessary)
- Cleaning cloth or brush
Step-by-Step Repair Guide:
- Turn Off the Central Heating System: Ensure the system is off and has cooled down to avoid hot water spills and injuries.
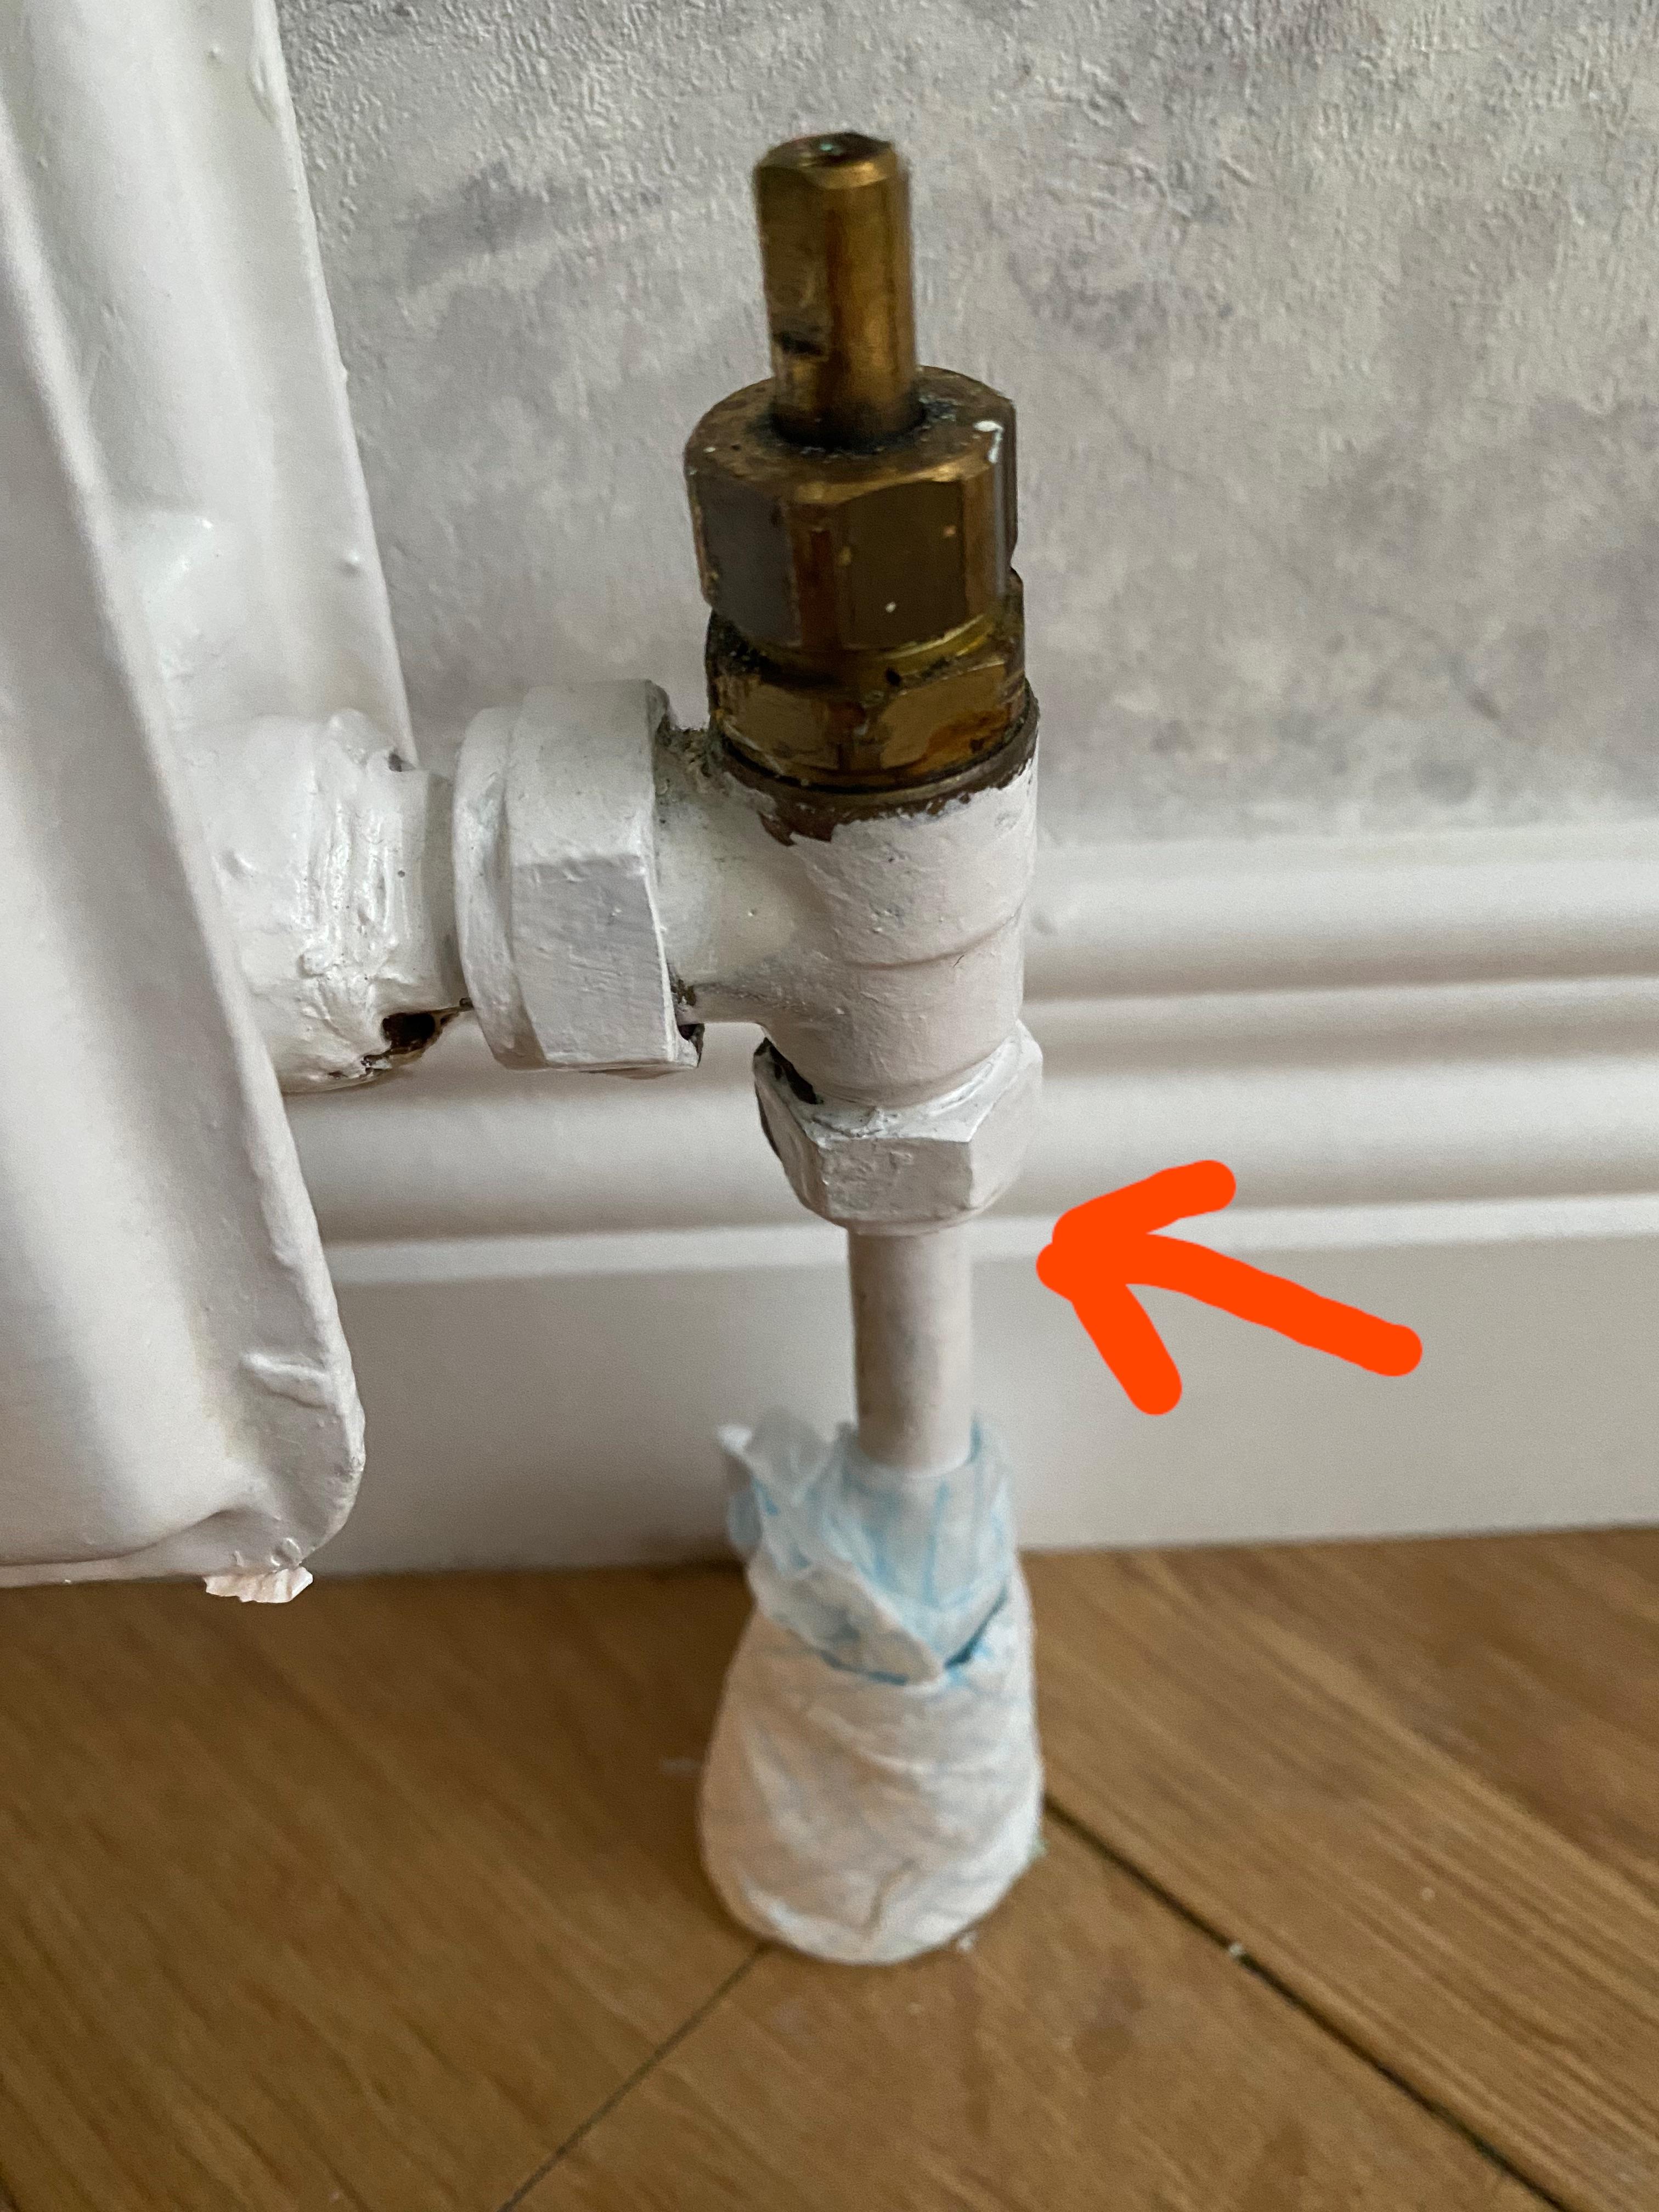
- Identify the Leak Source: Inspect the valve and connections to determine where the leak is coming from. Common areas include the valve body, packing nut, and connections.
- Disassemble if Necessary: Use an adjustable wrench to loosen and remove any parts covering the leak, such as the handle or packing nut.
- Clean the Area: Use a cloth or brush to clean around the leaking area to ensure a clean working environment.
- Replace Worn-Out Seals or O-Rings: If the leak is due to worn-out seals or O-rings, replace them with new ones. Apply a small amount of plumber's putty if required.
- Reassemble and Tighten: Reassemble the parts in reverse order. Tighten the packing nut and other parts securely but avoid over-tightening to prevent damage.
- Apply Teflon Tape: Wrap Teflon tape around threaded connections to ensure a watertight seal.
- Test the Repair: Turn on the central heating system and check for leaks.
Estimated Cost:
- Replacement Parts: $10 to $50, depending on the parts needed.
- Tools: $20 to $50, if you don't already have them.
- Labor Cost (Optional): If hiring a professional, the cost can range from $50 to $200, depending on the region and complexity.
Tips and Warnings:
- Practical Tips: Regularly inspect and maintain your radiator valves to prevent sudden leaks. Consider replacing old valves with modern, more efficient models.
- Warnings: Always turn off the central heating system before starting repairs. Wear protective gear to avoid injury. Avoid over-tightening, as it can damage the valve or pipes. If you're not confident in performing the repair, consider hiring a professional to avoid further damage or safety risks.