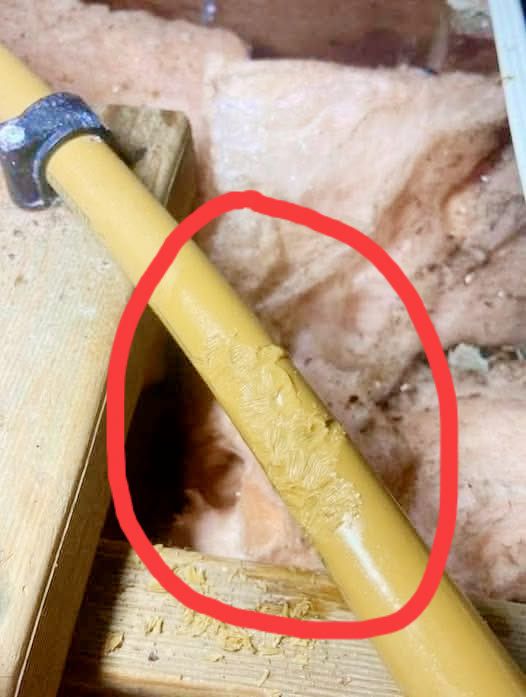
Fix a Leaking Hot Water Line of a Plumbing System
Overview:
- Repair Summary: This repair involves fixing or replacing the damaged section of the hot water line to stop the leak.
- Estimated Time: The repair can take approximately 1-3 hours, depending on the accessibility of the pipe and the extent of the damage.
- Skill Level: The skill level required is intermediate, as it involves basic plumbing skills and safety precautions.
- Prerequisites: Ensure a clean workspace, and consider working in a dry environment. Prior knowledge of basic plumbing repairs is helpful.
- Expected Outcome: The hot water line will be fully functional with no leaks.
- Safety Precautions: Before starting, turn off the water supply to the line, and consider wearing protective gear such as gloves and safety glasses.
Tools Required:
- Adjustable wrench or pipe wrench
- Pipe cutter (for cutting the damaged section)
- Pipe deburring tool
- Soldering torch and solder (if applicable)
- Epoxy pipe repair kit (for temporary fix)
- Replacement pipe section (if necessary)
- Pipe glue and primer (if applicable)
- Teflon tape
- Bucket or container for water
- Flashlight (for better visibility)
Step-by-Step Repair Guide:
- Turn Off Water Supply: Locate the main shut-off valve for the hot water line and turn it off. Open a nearby faucet to drain the water from the line.
- Assess the Damage: Examine the damaged section of the pipe to determine if it can be repaired or needs to be replaced.
- Prepare the Area: Clear the area around the damaged pipe to ensure easy access. Lay down a bucket or container to catch any remaining water.
- Cut Out Damaged Section: Use a pipe cutter to carefully cut out the damaged section of the pipe. Ensure the cuts are clean and straight.
- Deburr the Pipe Ends: Use a pipe deburring tool to smooth the ends of the pipe where the damaged section was removed.
- Apply Epoxy or Replace Pipe: If the damage is minor, apply an epoxy pipe repair kit to seal the leak. For extensive damage, cut a new section of pipe to fit and connect it using pipe glue and primer or soldering.
- Reassemble and Test: Reassemble any parts of the plumbing system that were disassembled. Turn on the water supply and check for leaks.
Estimated Cost:
- Replacement Parts: $20-$100 (depending on the type and length of pipe)
- Tools: $50-$200 (if not commonly owned)
- Labor Cost: $100-$500 (if hiring a professional, depending on location and complexity)
Tips and Warnings:
- Practical Tips: Ensure all connections are secure and watertight. Consider applying Teflon tape to threaded connections for extra sealing.
- Warnings: Always turn off the water supply before starting repairs to prevent flooding. Wear protective gear to avoid injury. If you are not comfortable with this repair, consider hiring a professional plumber to avoid further damage or safety risks.


