Fix a Faulty Wiring Connection on a Vintage Electric Fan
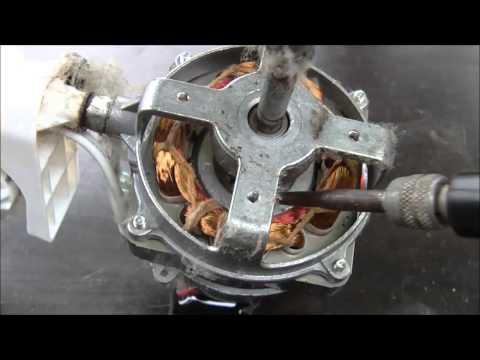
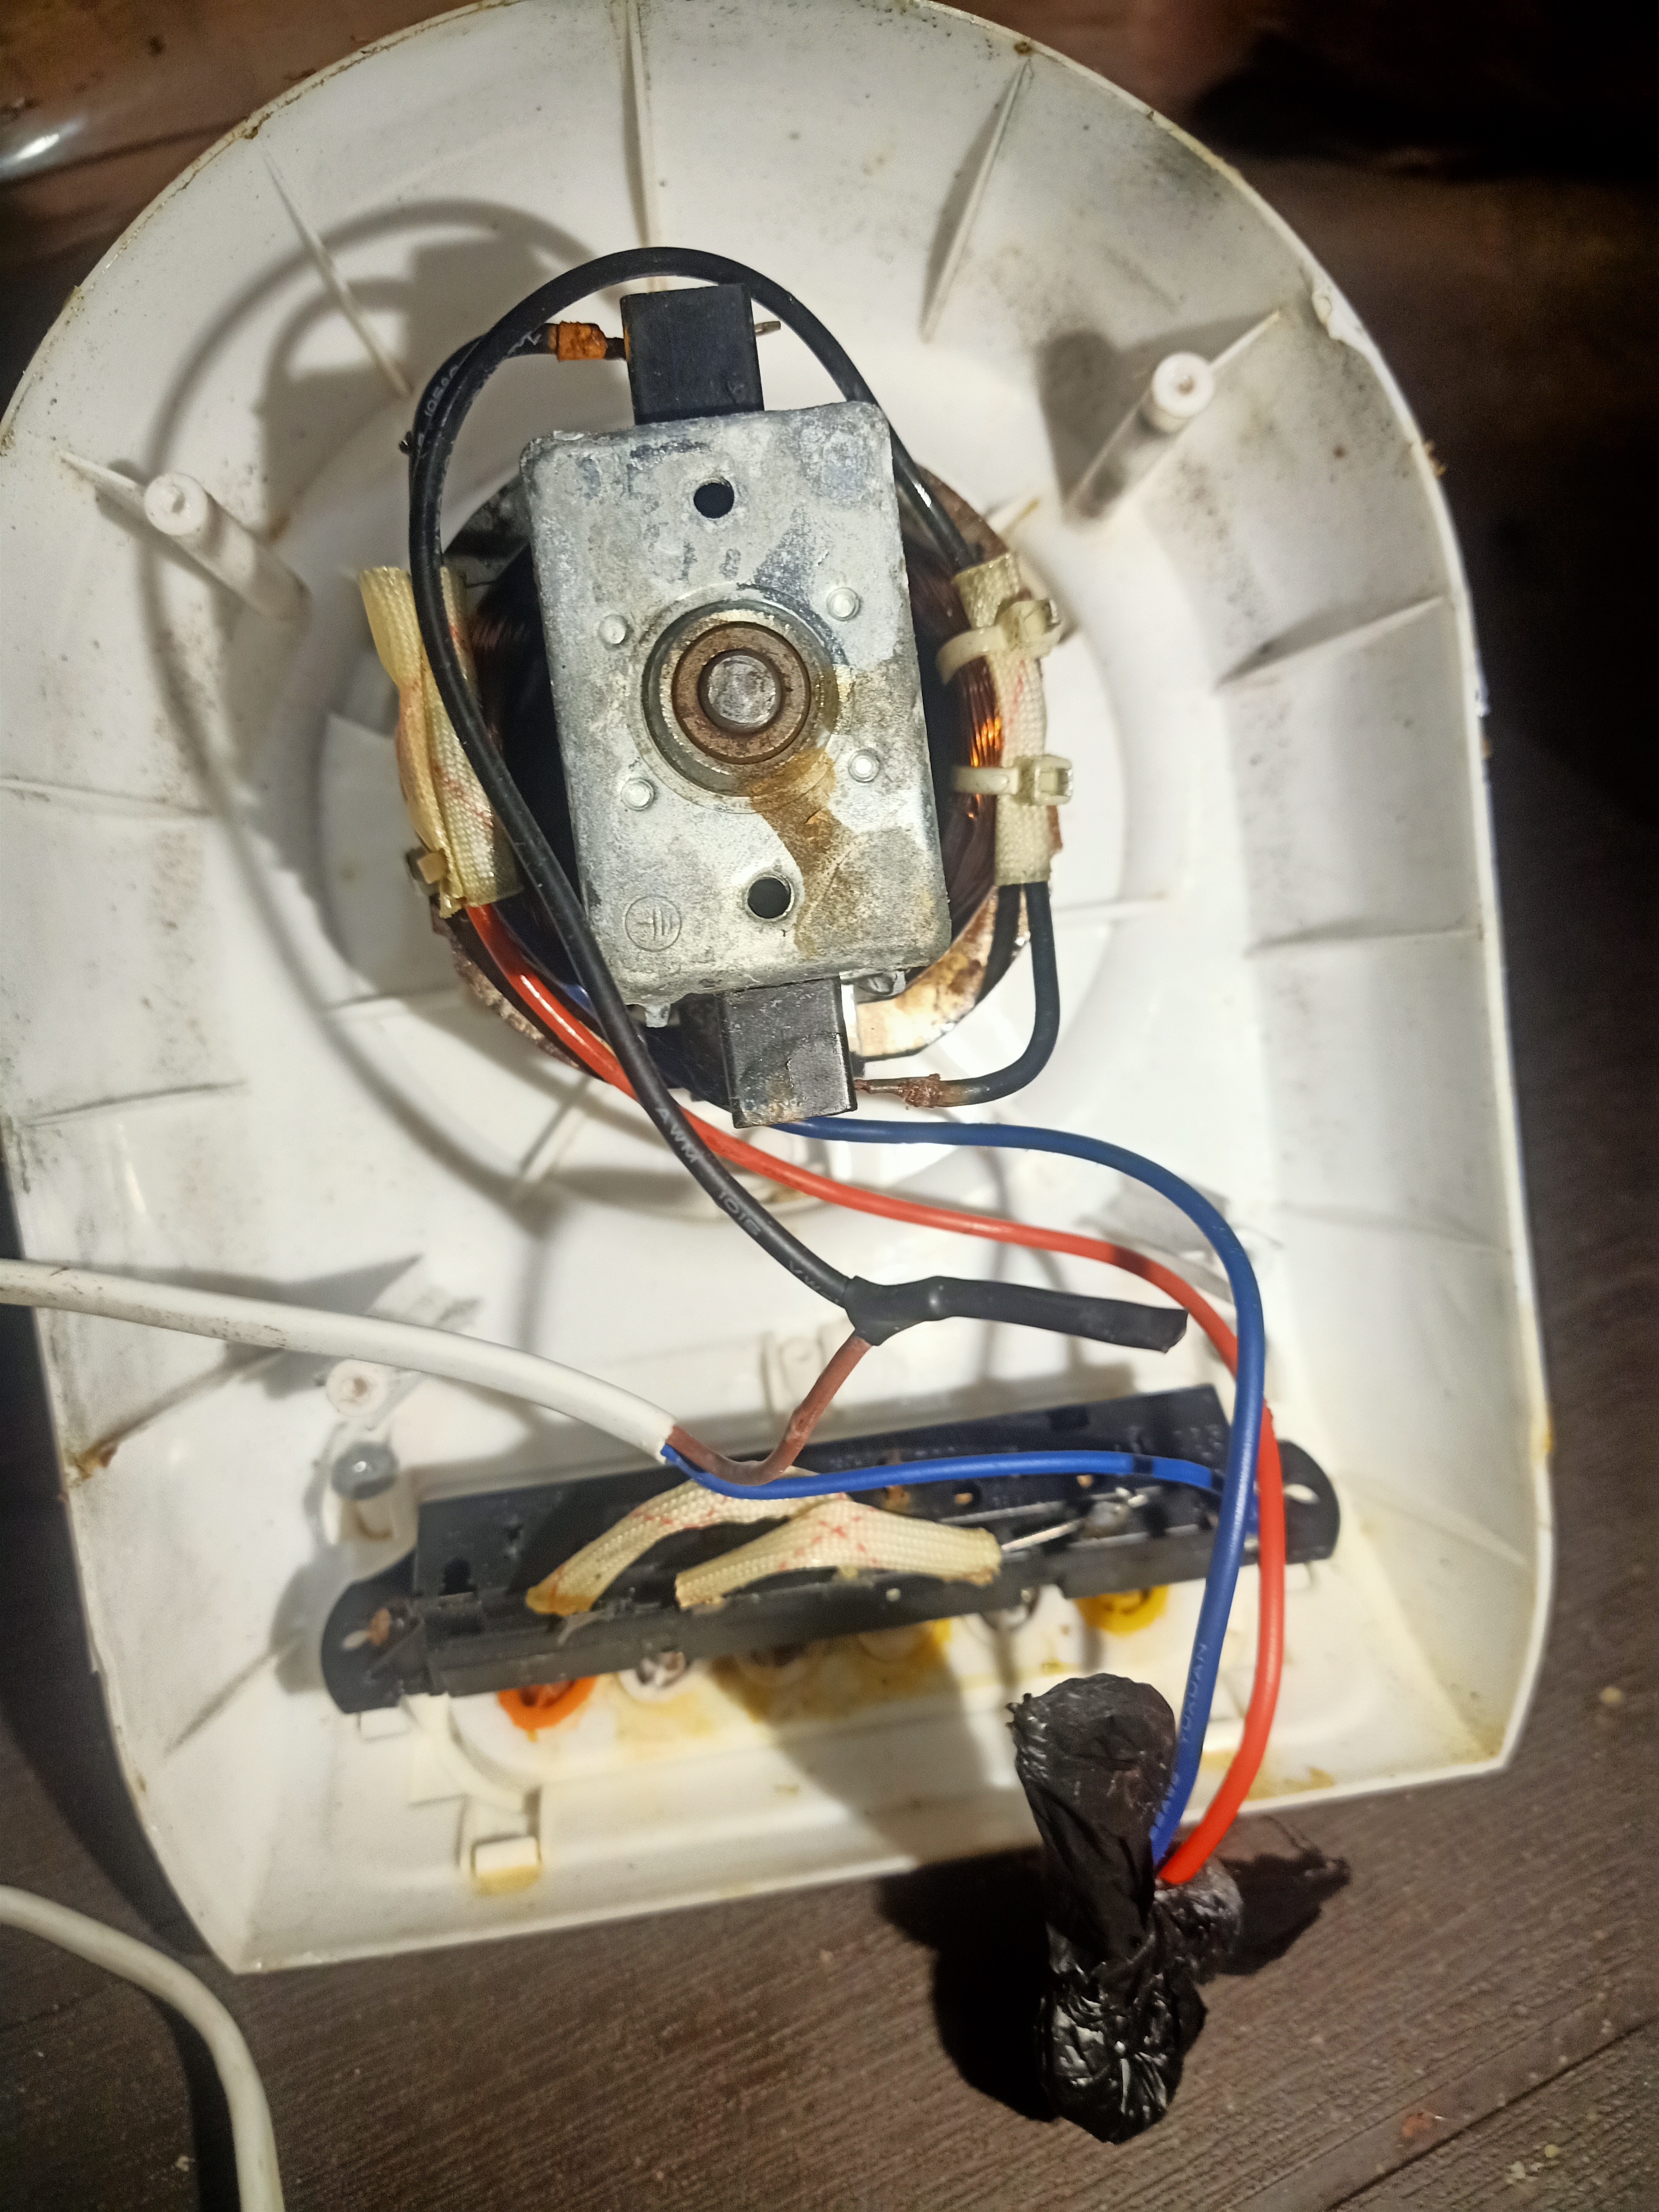
The image shows a vintage electric fan with exposed wiring and a damaged connection, indicated by a burnt or frayed wire. The user likely described an issue with the fan not functioning properly or making a burning smell. Based on the image, the likely cause of damage is wear and tear or a faulty electrical connection. It is essential to address this issue promptly to prevent further damage or potential safety hazards. This DIY repair guide will walk you through a cost-effective solution to fix the faulty wiring connection.
Overview:
This repair guide provides a step-by-step approach to fixing a faulty wiring connection on a vintage electric fan. The process involves inspecting and repairing or replacing damaged wires, ensuring a safe and functional fan.
- Estimated Time: 30–60 minutes
- Skill Level: Beginner, basic knowledge of electrical safety and wiring
- Prerequisites: A clean workspace, basic household tools (e.g., pliers, screwdrivers), and a well-lit area
- Expected Outcome: A restored electric fan with a safe and functional wiring connection
- Safety Precautions: Ensure the fan is unplugged before starting the repair; handle wires with care to avoid electrical shock
Tools and Materials Required:
- Wire strippers (or a utility knife)
- Electrical tape ($1–$3)
- Replacement wire (e.g., 18-gauge wire, $2–$5)
- Pliers and screwdrivers (common household tools)
- Multimeter (optional, for testing continuity)
Step-by-Step Repair Guide:
- Unplug the Fan: Ensure the fan is disconnected from the power source to avoid electrical shock.
- Inspect the Wiring: Examine the wiring for any visible damage, such as frayed or burnt wires.
- Disconnect Damaged Wires: Carefully cut or remove the damaged wire connections using wire strippers or a utility knife.
- Strip and Prepare New Wires: Strip the insulation from the new wire, if necessary, and prepare it for connection.
- Connect the Wires: Match the wire colors and connect them securely using electrical tape or wire nuts.
- Test the Connection: Use a multimeter to test the continuity of the wiring connection.
- Reassemble the Fan: Once the repair is complete, reassemble the fan and plug it in to test its functionality.
Estimated Cost:
- Materials: $3–$8 (electrical tape, replacement wire, and basic tools)
- Total Cost: $3–$8 (this DIY method saves money compared to hiring a professional)
Tips and Warnings:
- Always unplug the fan before starting the repair to avoid electrical shock.
- Use electrical tape or wire nuts to secure wire connections.
- If you're unsure about the repair, consider consulting a professional electrician.
- Regularly inspect and maintain your electric fan to prevent future issues.
Additional Engagement Elements:
FAQ:
Q: Can I use this method on other electrical appliances?
A: This method can be applied to other appliances with similar wiring issues, but ensure you follow proper safety precautions and consult the appliance's manual.
Q: What if I don't have a multimeter?
A: You can still perform the repair without a multimeter, but be cautious and ensure the connections are secure.
Q: How can I prevent future wiring issues?
A: Regularly inspect your appliances' wiring and connections, and address any issues promptly to prevent further damage.