Fix a Damaged Wooden Floor on a Budget
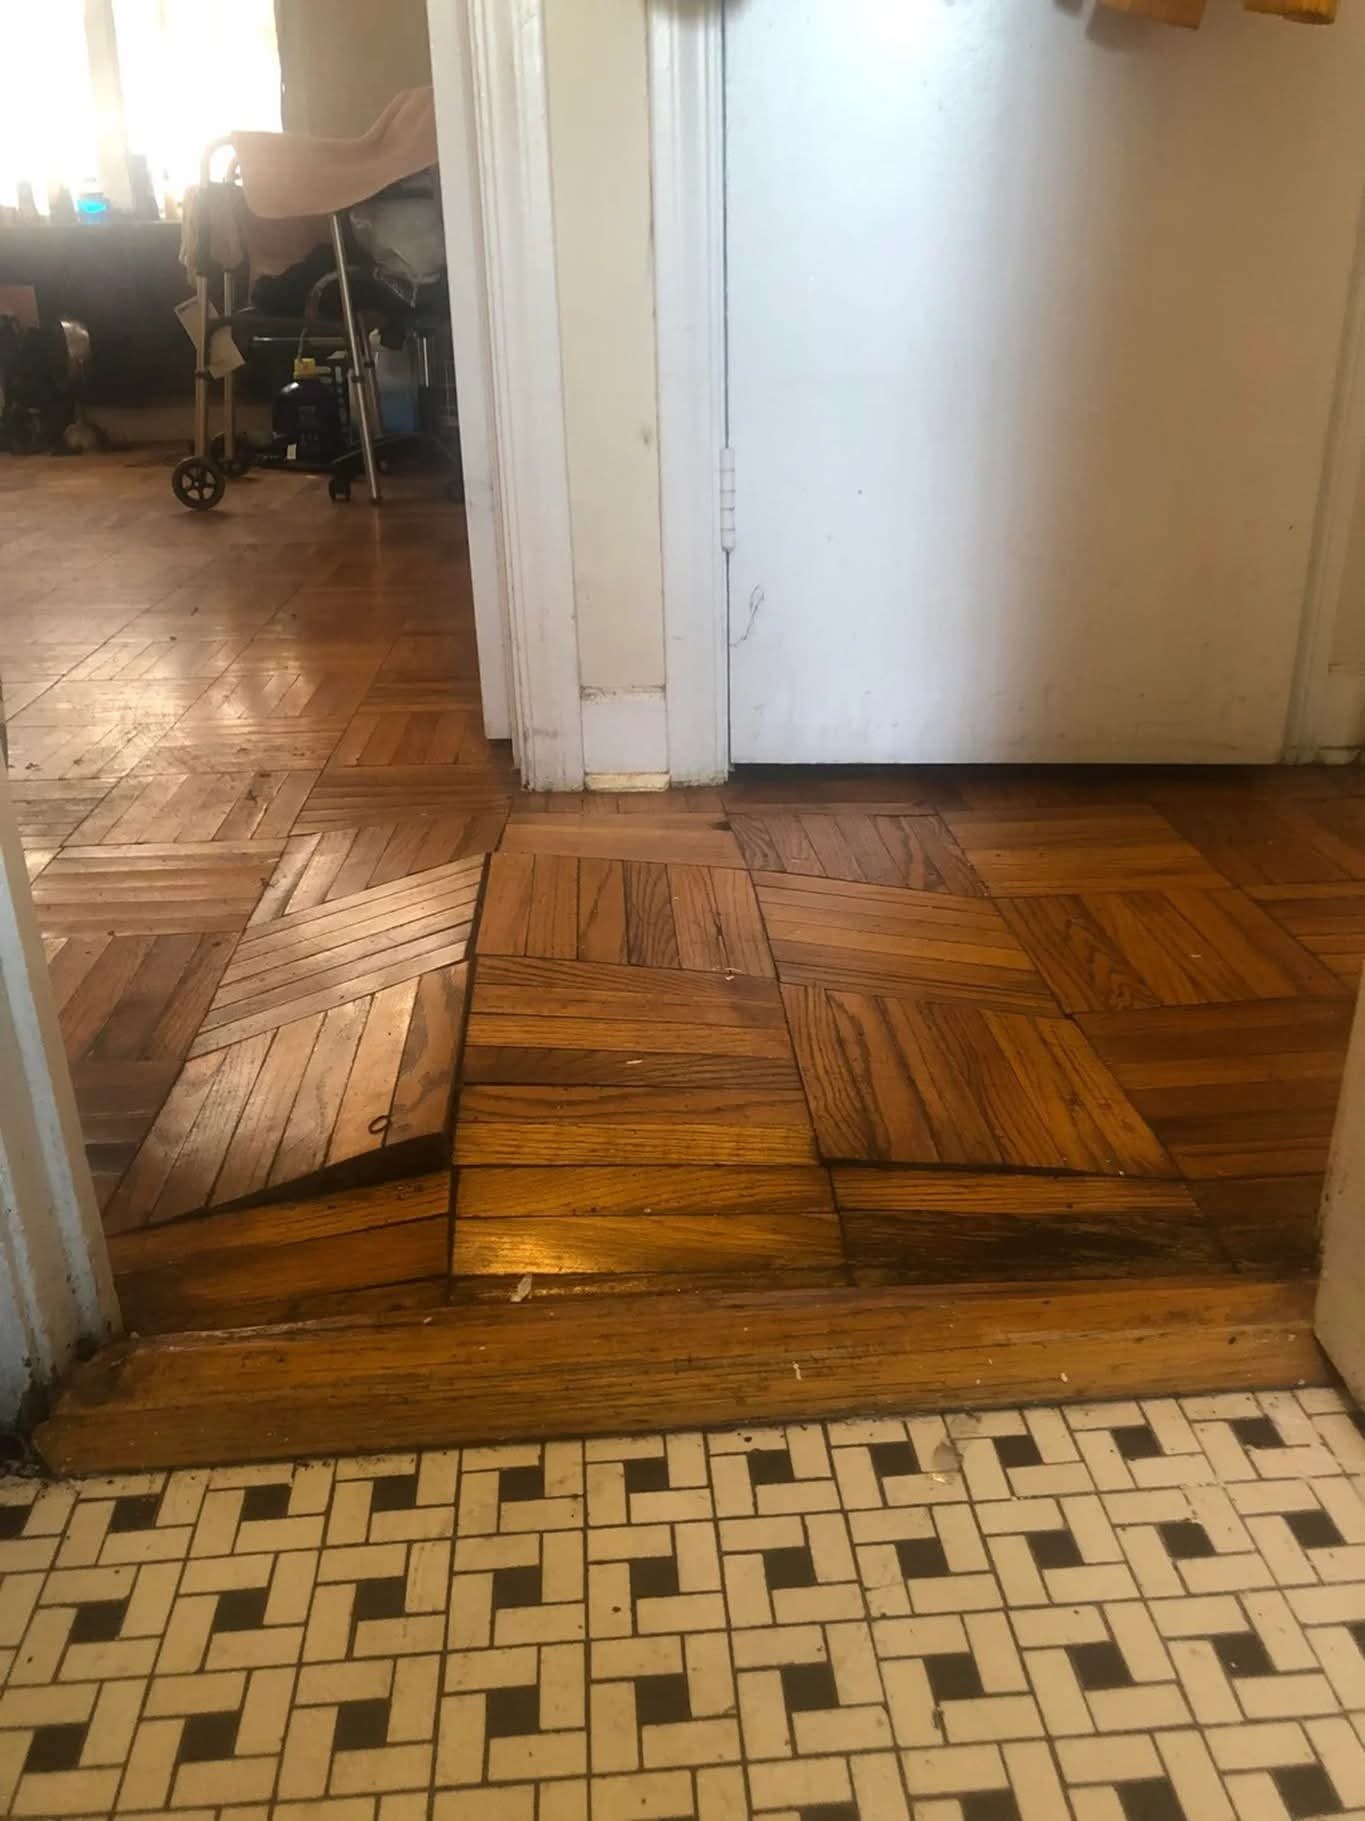
The image shows a section of a wooden floor with noticeable damage, including a detached or buckled parquet tile near the doorway. The user describes the issue as: "My grandmother's floor has ended up like this and no one can figure out how it is possible, what to do please 🤔". The likely cause of the damage is unknown, but it could be due to moisture, uneven subflooring, or accidental impact. Assuming the damage is surface-level and not structurally compromising, addressing it is crucial to prevent further damage and maintain the floor's value. This DIY approach is affordable and achievable with minimal expertise.
Overview:
This repair guide focuses on a budget-friendly, step-by-step method to fix a damaged wooden floor using common household items and low-cost materials.
- Time: 30–60 minutes
- Skill Level: Beginner, no prior repair experience needed
- Prerequisites: Clean workspace, basic household items (dry cloth, broom, etc.)
- Expected Outcome: Restored floor with minimal visible damage
- Safety Precautions: Wear gloves when handling materials; work in a well-ventilated area
- Cost-Saving Benefits: Uses items you likely already own, avoiding expensive professional services
- Professional Help: For severe or structural damage, consider consulting a professional for a long-term solution
Tools and Materials Required:
- Wood glue ($2–$5)
- Clamps (borrow or $5–$10)
- Dry cloth
- Broom and dustpan
- Wood filler (optional, $5 at dollar stores)
- Crayon or wood stain marker for color matching ( $1–$3)
- Sandpaper (fine-grit, $2–$5)
- Polyurethane (clear, $5–$10)
Step-by-Step Repair Guide:
- Clean the Area: Sweep and dust the damaged section to ensure a clean surface.
- Assess the Damage: Determine if the parquet tile is loose or buckled.
- Apply Wood Glue: If the tile is loose, apply wood glue under it and clamp it down. Leave clamps overnight.
- Fill Gaps: If gaps remain, use wood filler to fill them. Let it dry and sand smooth.
- Color Match: Use a crayon or wood stain marker to blend the repair with the surrounding floor.
- Seal: Apply a thin layer of polyurethane to protect the area.
Estimated Cost:
- Materials: $10–$25
- Tools: $0 (if using household items)
Tips and Warnings:
- Prevent future damage by placing felt pads under furniture.
- Test household items on a hidden area to avoid discoloration.
- Avoid using wet cloths on wood to prevent swelling.
- Regularly wipe floors with a dry cloth to prevent dust buildup.
Additional Engagement Elements:
FAQ:
- Q: Can I use this method on laminate flooring?
A: This guide is for wooden floors; laminate repairs may require different methods.
- Q: What if I don’t have clamps?
A: Use heavy objects like books or cans to weigh down the tile temporarily.
- Q: How long does the repair last?
A: With proper care, the repair can last several years.
This guide provides a practical, budget-friendly solution to fix a damaged wooden floor, focusing on common household items and low-cost materials.


