Fix a Damaged Window Sill of a Vinyl-Clad Window
Overview:
This repair entails removing the old, damaged material and replacing it with new vinyl or a compatible material to match the existing window sill. The estimated time required to complete the repair is approximately 2-4 hours, depending on the number of windows and the extent of the damage. The skill level needed is intermediate, requiring basic carpentry and DIY skills. Prerequisites include a clean workspace, dry environment, and prior knowledge of basic repair techniques. The expected outcome is a fully functional and aesthetically pleasing window sill.
Tools Required:
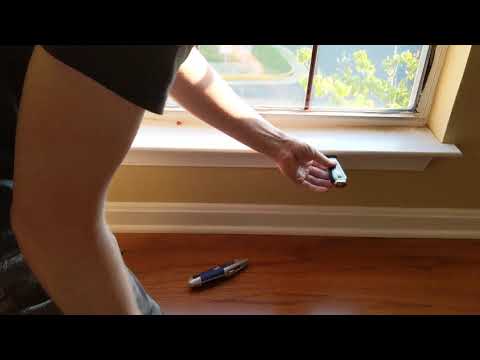
- Utility knife or siding removal tool
- Pry bar or flathead screwdriver
- Vinyl siding repair kit or replacement vinyl material
- Measuring tape
- Cutting tool (e.g., miter saw or utility knife)
- Drill (optional)
- Safety glasses
- Gloves
- Ladder or step stool (if necessary)
Step-by-Step Repair Guide:
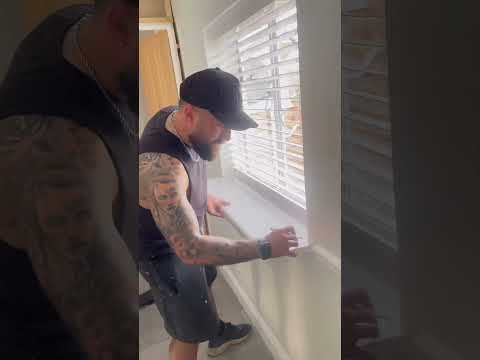
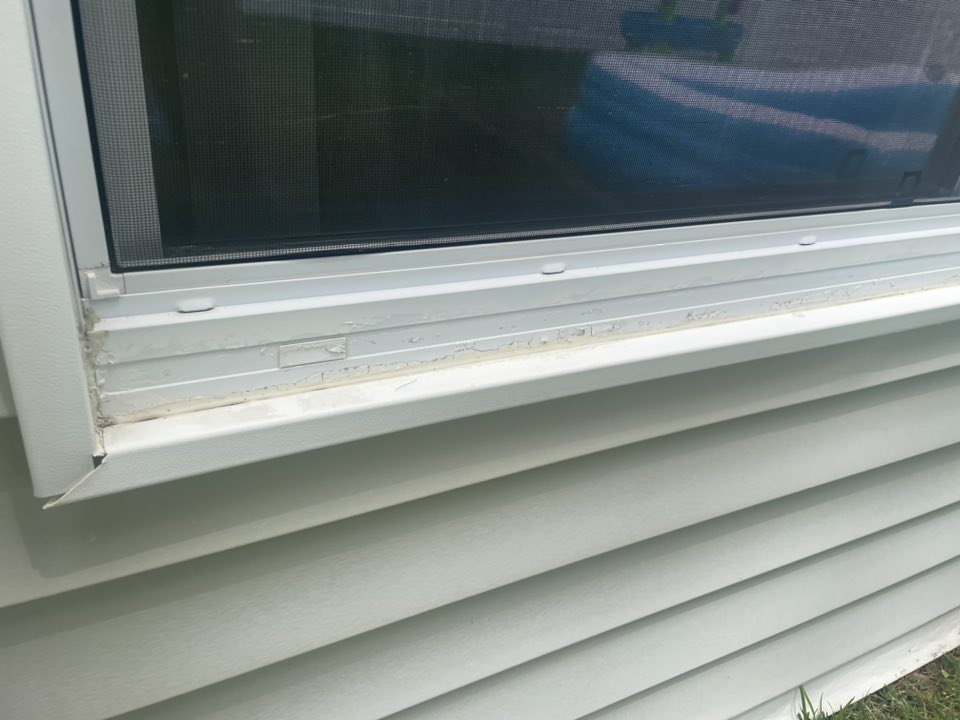
- Assess the Damage: Inspect the window sill and surrounding area to determine the extent of the damage and identify any potential causes, such as water infiltration or structural issues.
- Clean the Area: Use a utility knife or a wire brush to remove any debris, dirt, or old adhesive from the damaged area.
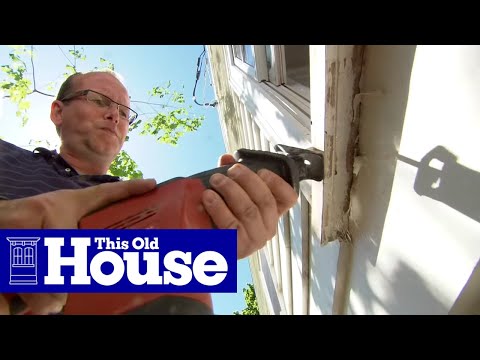
- Remove the Damaged Material: Use a pry bar or flathead screwdriver to carefully remove the damaged vinyl material from the window sill. Work slowly to avoid damaging the surrounding area.
- Measure and Cut Replacement Material: Measure the length and width of the window sill to determine the required size of the replacement material. Cut the new vinyl material to size using a miter saw or utility knife.
- Prepare the Area: Clean the area where the new material will be installed, ensuring it is free of debris and old adhesive.
- Install the New Material: Apply a compatible adhesive to the back of the new vinyl material and press it firmly into place on the window sill. Use a utility knife or siding installation tool to secure the material and ensure a snug fit.
- Secure the Material: Use a drill (if necessary) to screw the new material into place, ensuring it is securely fastened.
- Inspect and Touch-up: Inspect the repair to ensure the new material is properly installed and the area is secure. Touch up any gaps or imperfections with additional adhesive or sealant.
Estimated Cost:
- Cost of replacement parts: $50-$200 (depending on the size and type of vinyl material)
- Cost of tools: $20-$100 (if not commonly owned)
- Approximate labor cost (if hiring a professional): $200-$500
Tips and Warnings:
- Wear safety glasses and gloves to protect yourself from debris and sharp edges.
- Use a ladder or step stool only on a firm, level surface, and consider having someone assist you.
- Ensure the area is dry and free of debris before installing new material to prevent future damage.
- Match the replacement material to the existing window sill as closely as possible to maintain a uniform appearance.
- Consider applying a sealant or weatherproofing coating to the repaired area to prevent future damage.