Fix a Damaged Washing Machine Supply Line
Overview:
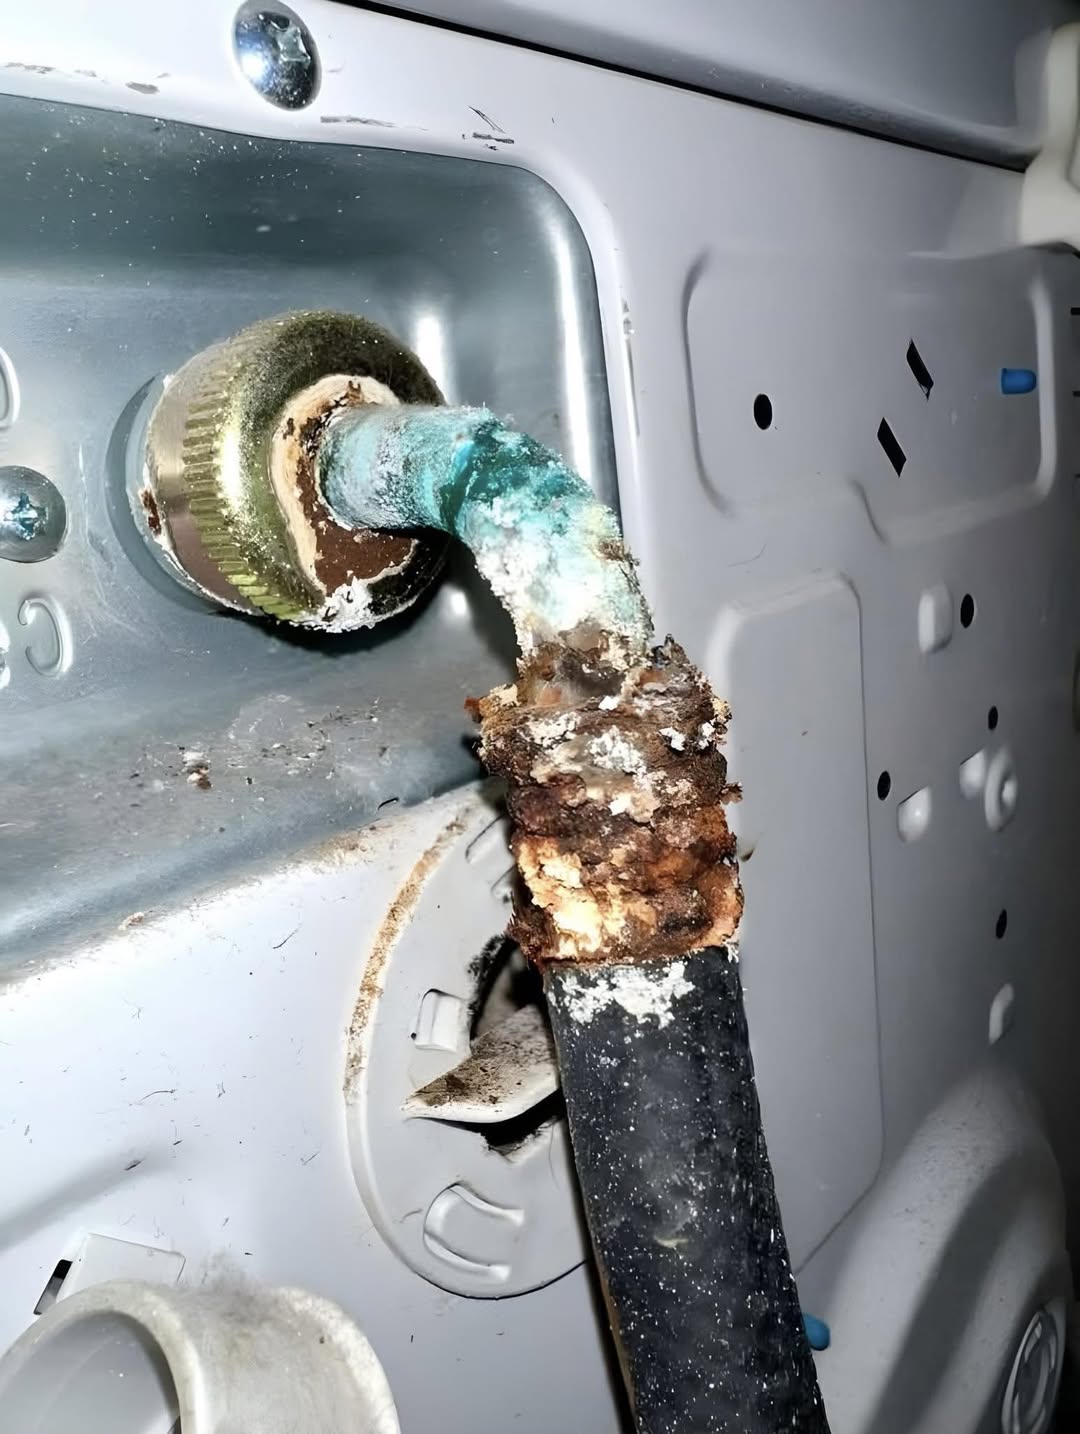
- Repair Summary: This repair entails replacing the damaged washing machine supply line to prevent leaks and ensure proper water flow.
- Estimated Time: Approximately 1-2 hours.
- Skill Level: Intermediate.
- Prerequisites: A clean workspace, dry environment, and prior knowledge of basic plumbing repairs.
- Expected Outcome: A fully functional washing machine with a new, leak-free supply line.
- Safety Precautions: Ensure the washing machine is turned off and disconnected from the power source before starting. Wear protective gloves and eyewear.
Tools Required:
- Adjustable wrench or basin wrench
- Channel-type pliers (for old hose removal)
- Needle-nose pliers
- Teflon tape
- New washing machine supply line (hot and cold)
- Bucket and towels (for water spillage)
Step-by-Step Repair Guide:
- Turn Off the Power and Water Supply: Ensure the washing machine is turned off and disconnected from the power source. Locate the shut-off valves for the hot and cold water supply lines and turn them clockwise to shut off the water supply.
- Disconnect the Old Supply Line: Use an adjustable wrench or basin wrench to loosen the nut holding the old supply line to the washing machine. Once loose, use channel-type pliers to remove any remaining parts of the old hose.
- Remove Remaining Debris: Use needle-nose pliers to remove any debris or mineral buildup from the connection point on the washing machine.
- Inspect and Clean the Area: Inspect the area for any signs of further damage or mineral deposits. Clean the area thoroughly to ensure a secure connection with the new supply line.
- Install the New Supply Line: Take the new supply line and align it with the connection point on the washing machine. Hand-tighten the nut to secure it in place.
- Tighten the Connection: Use the adjustable wrench or basin wrench to tighten the nut an additional 1-2 turns. Be careful not to overtighten.
- Apply Teflon Tape: Apply Teflon tape to the threads of the new supply line to ensure a watertight seal.
- Turn On the Water Supply and Power: Turn the shut-off valves counterclockwise to restore water supply. Plug the washing machine back into the power source.
- Test for Leaks: Run a test cycle on the washing machine to check for leaks at the connection point.
Estimated Cost:
- Replacement Parts: $20-$50 (new washing machine supply line)
- Tools: $20-$50 (if not commonly owned)
- Approximate Labor Cost: $100-$200 (if hiring a professional)
Tips and Warnings:
- Regular Maintenance: Regularly inspect washing machine supply lines for signs of wear or damage to prevent unexpected leaks.
- Avoid Over-Tightening: Be cautious not to overtighten connections, as this can cause damage to the threads.
- Use Proper Materials: Ensure the new supply line is compatible with your washing machine model.
- Safety First: Always turn off the power and water supply before performing repairs to avoid injury or further damage.


