Fix a Damaged Plank of a Wooden Fence
Overview:
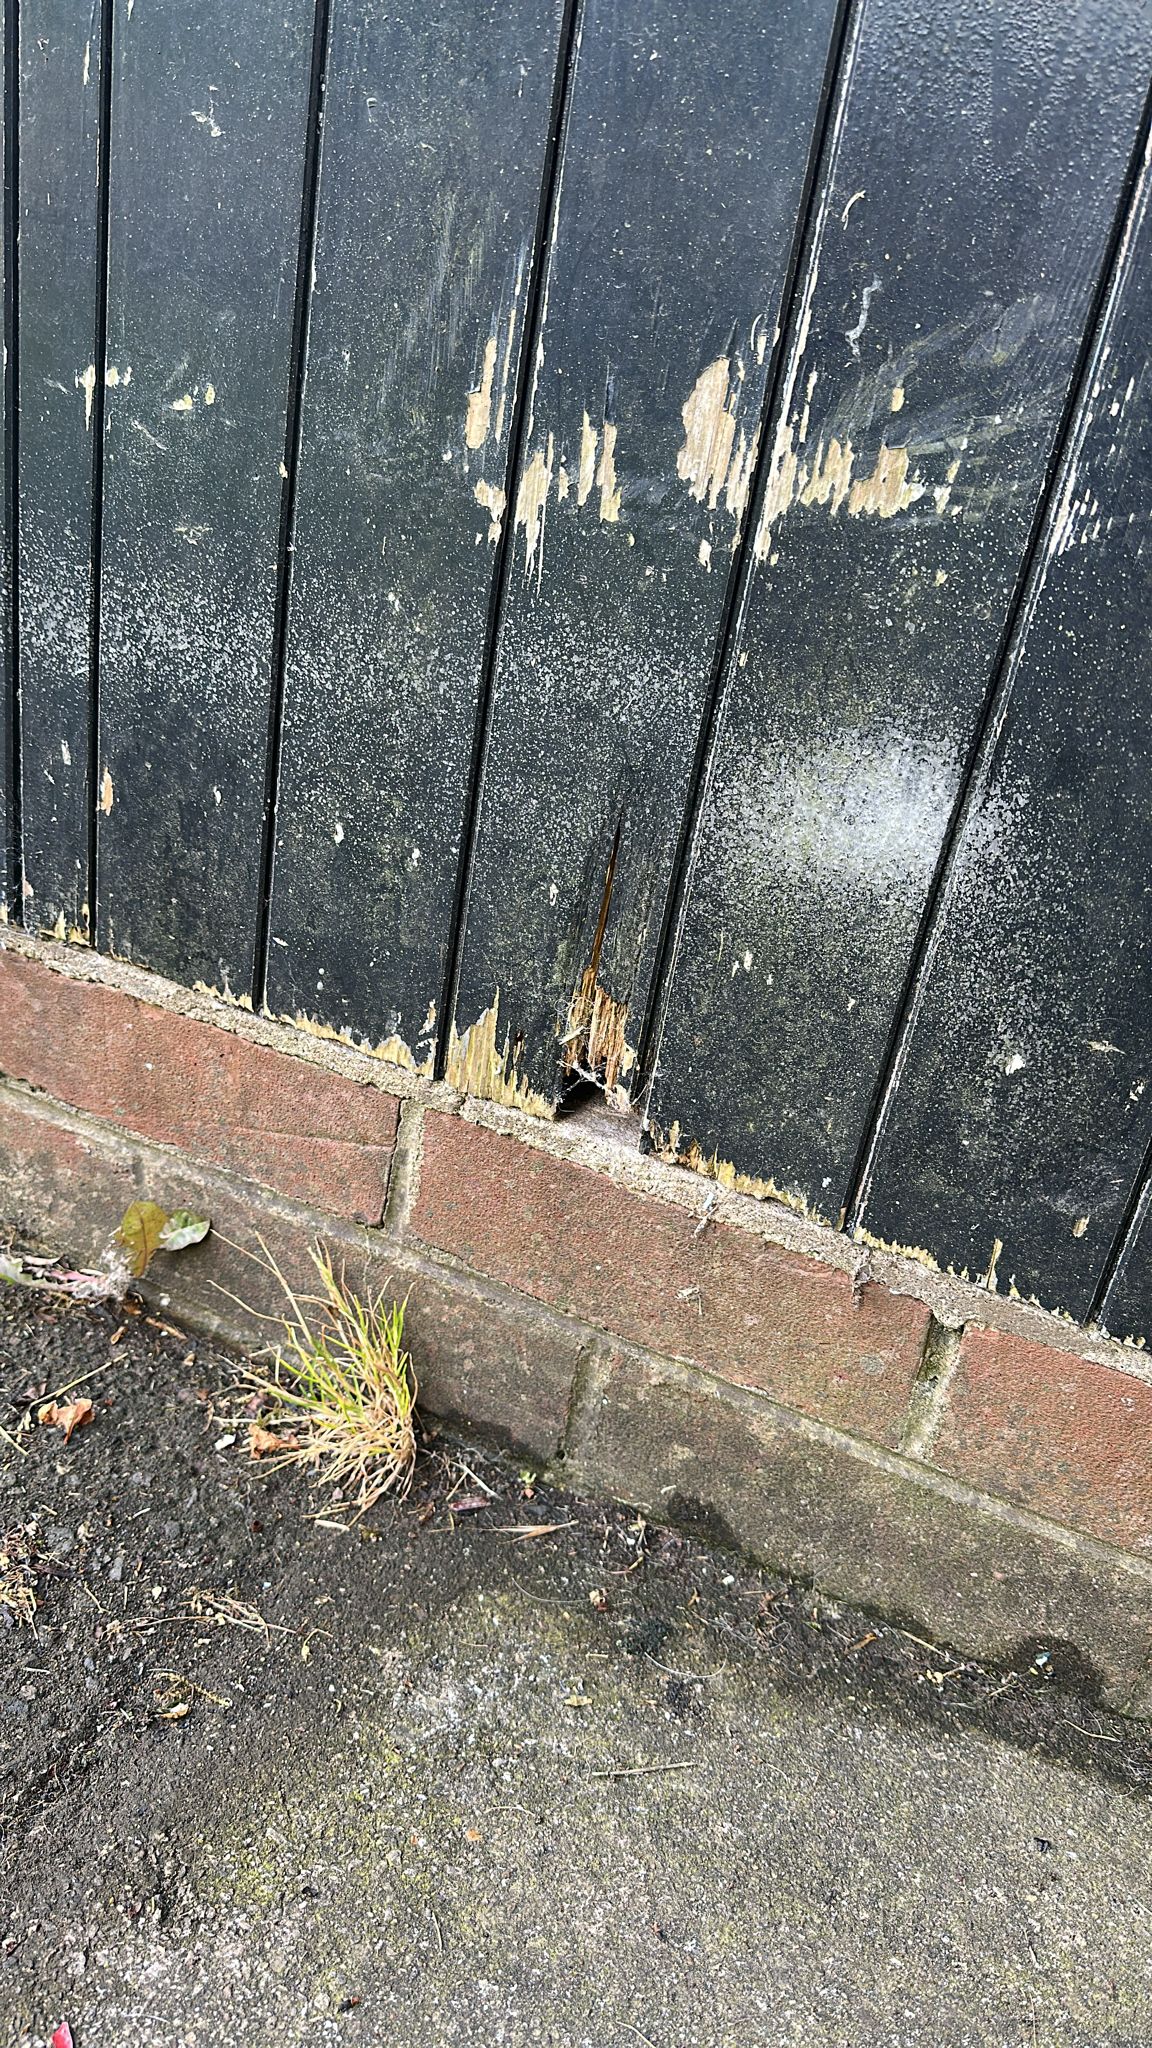
- Repair Summary: This repair entails replacing or fixing the damaged plank of the wooden fence.
- Estimated Time: The estimated time required to complete the repair is about 2-4 hours, depending on the extent of the damage and the skill level of the person performing the repair.
- Skill Level: The skill level needed for this repair is intermediate. Some prior knowledge of basic carpentry or repair work is helpful.
- Prerequisites: Ensure you have a clean workspace and a dry environment for the repair. It's also essential to have the fence stable and secure before starting the repair.
- Expected Outcome: The expected outcome is a fully functional and aesthetically pleasing wooden fence with no visible damage.
- Safety Precautions: Before starting, ensure you wear protective gear such as gloves and safety glasses. Make sure the area around the fence is clear of debris to prevent tripping hazards.
Tools Required:
- Replacement plank (matching the material and dimensions of the existing planks)
- Wood screws or nails
- Drill or hammer
- Sandpaper
- Paint or stain (if necessary, to match the existing fence color)
- Weatherproof glue or sealant
- Safety glasses
- Gloves
- Tape measure
- Pencil or marker
Step-by-Step Repair Guide:
- Assess the Damage: Carefully examine the damaged plank and surrounding area to determine the extent of the repair needed.
- Remove the Damaged Plank: If the plank is beyond repair, use a saw to cut it out. If it's partially salvageable, use a chisel to remove the damaged part. Ensure you do this gently to avoid damaging adjacent planks.
- Clean the Area: Use a brush or cloth to remove any debris or old material from the area where the new plank will be installed.
- Measure and Cut the New Plank: Measure the length and width of the plank that needs replacement. Cut the new plank to size using a saw.
- Install the New Plank: Place the new plank in position. If necessary, use weatherproof glue or sealant on the edges that will be in contact with other planks or the fence structure. Secure the plank with wood screws or nails.
- Sand and Finish: Sand the new plank and surrounding area to smooth out any rough edges. If necessary, apply paint or stain to match the existing fence color.
- Final Check: Inspect the repair to ensure it's sturdy and looks good. Make any necessary adjustments.
Estimated Cost:
- Replacement Plank: $10-$30
- Tools (if not commonly owned): $20-$50
- Approximate Labor Cost (if hiring a professional): $100-$300
Tips and Warnings:
- Tip: To prevent future damage, consider applying a waterproof sealant to the entire fence.
- Warning: Always wear protective gear when working with power tools or materials that may cause injury.
- Tip: If you're not comfortable with DIY repairs or if the damage is extensive, consider hiring a professional.
- Warning: Ensure the fence is stable before starting the repair to prevent accidents.