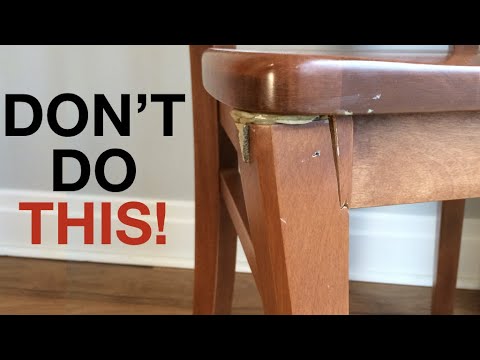
Fix a Damaged Leg of a Wooden Table
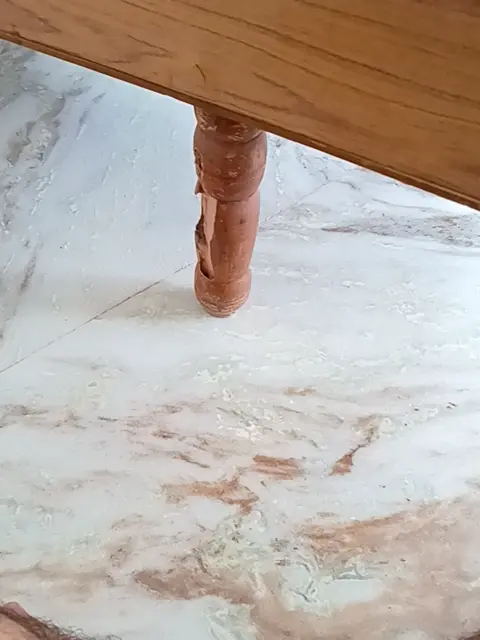
The image shows a wooden table with a damaged leg, featuring visible scratches and wear. The user's description is: "My wooden table leg is damaged, and I'm looking for a budget-friendly way to fix it." The likely cause of damage is wear and tear or accidental impact. Assuming the damage is surface-level based on the image, addressing this issue is important to prevent further damage and maintain the table's stability and value. This DIY approach is affordable and achievable with minimal expertise.
Overview:
This repair guide provides a simple, low-cost method to fix a damaged leg of a wooden table using household items. The process takes approximately 15–30 minutes to complete and requires a beginner's skill level. Prerequisites include a clean workspace and basic household items like a dry cloth and a well-lit area. The expected outcome is a restored table leg with minimal visible damage. General safety precautions include wearing gloves when handling abrasive materials and working in a well-ventilated area. This repair uses items you likely already own, avoiding expensive professional services. For severe damage, a professional may be more cost-effective long-term.
Tools and Materials Required:
- Dry cloth (likely already owned)
- Wood filler ( $5 at dollar stores or Walmart)
- Sandpaper ( $2–$5 at discount stores)
- Crayon or wood polish ( $1–$3)
- A well-lit workspace
Step-by-Step Repair Guide:
- Clean the Area: Use a dry cloth to wipe down the damaged leg, removing any dirt or debris.
- Assess Damage: Examine the leg for deep cracks or breaks. If it's a surface scratch, proceed to Step 3. If it's a deep crack, consider using wood glue before proceeding.
- Apply Wood Filler: For deeper scratches or dents, apply a small amount of wood filler. Let it dry according to the product instructions.
- Sand the Area: Use sandpaper to smooth out the filled area or the scratched surface. Sand in a circular motion to avoid creating new scratches.
- Color Match: Use a crayon or wood polish to color match the rest of the leg. Rub the crayon or apply polish in a circular motion.
- Seal (Optional): If desired, apply a clear coat of varnish or polyurethane to protect the wood and blend the repair.
Estimated Cost:
- Materials:
- Wood filler: $5
- Sandpaper: $2–$5
- Crayon or wood polish: $1–$3
- Total estimated cost: $8–$13
Tips and Warnings:
- Place felt pads under furniture to avoid scratches on floors.
- Use leftover wood filler or polish for future repairs.
- Avoid using a wet cloth on wood, as it may swell.
- Test household items on a hidden area to avoid discoloration.
Additional Engagement Elements:
FAQ:
Q: Can I use this method on a similar wooden product?
A: Yes, this method can be adapted for other wooden items with similar damage.
Q: What if I don’t have sandpaper?
A: Use a rough-textured household item like a walnut to rub out minor scratches.
Q: Is this method suitable for deep cracks?
A: For deep cracks, consider using wood glue before applying filler.
Guidelines for Tone and Style:
This guide uses a friendly, encouraging tone to empower DIY beginners. Technical terms are explained simply, and steps are concise and actionable. The focus is on affordability, using household items or low-cost alternatives.
Constraints for Cost-Effective DIY:
This guide prioritizes repairs that can be completed with minimal investment (under $20). Specialized tools are avoided unless necessary, and borrowing or renting is suggested as an alternative.
Optional Enhancements:
For inspiration, analyze similar budget DIY guides online. Specific details like product brand or budget limit can be incorporated for precision.