Fix a Damaged Floor of a Room
Overview:
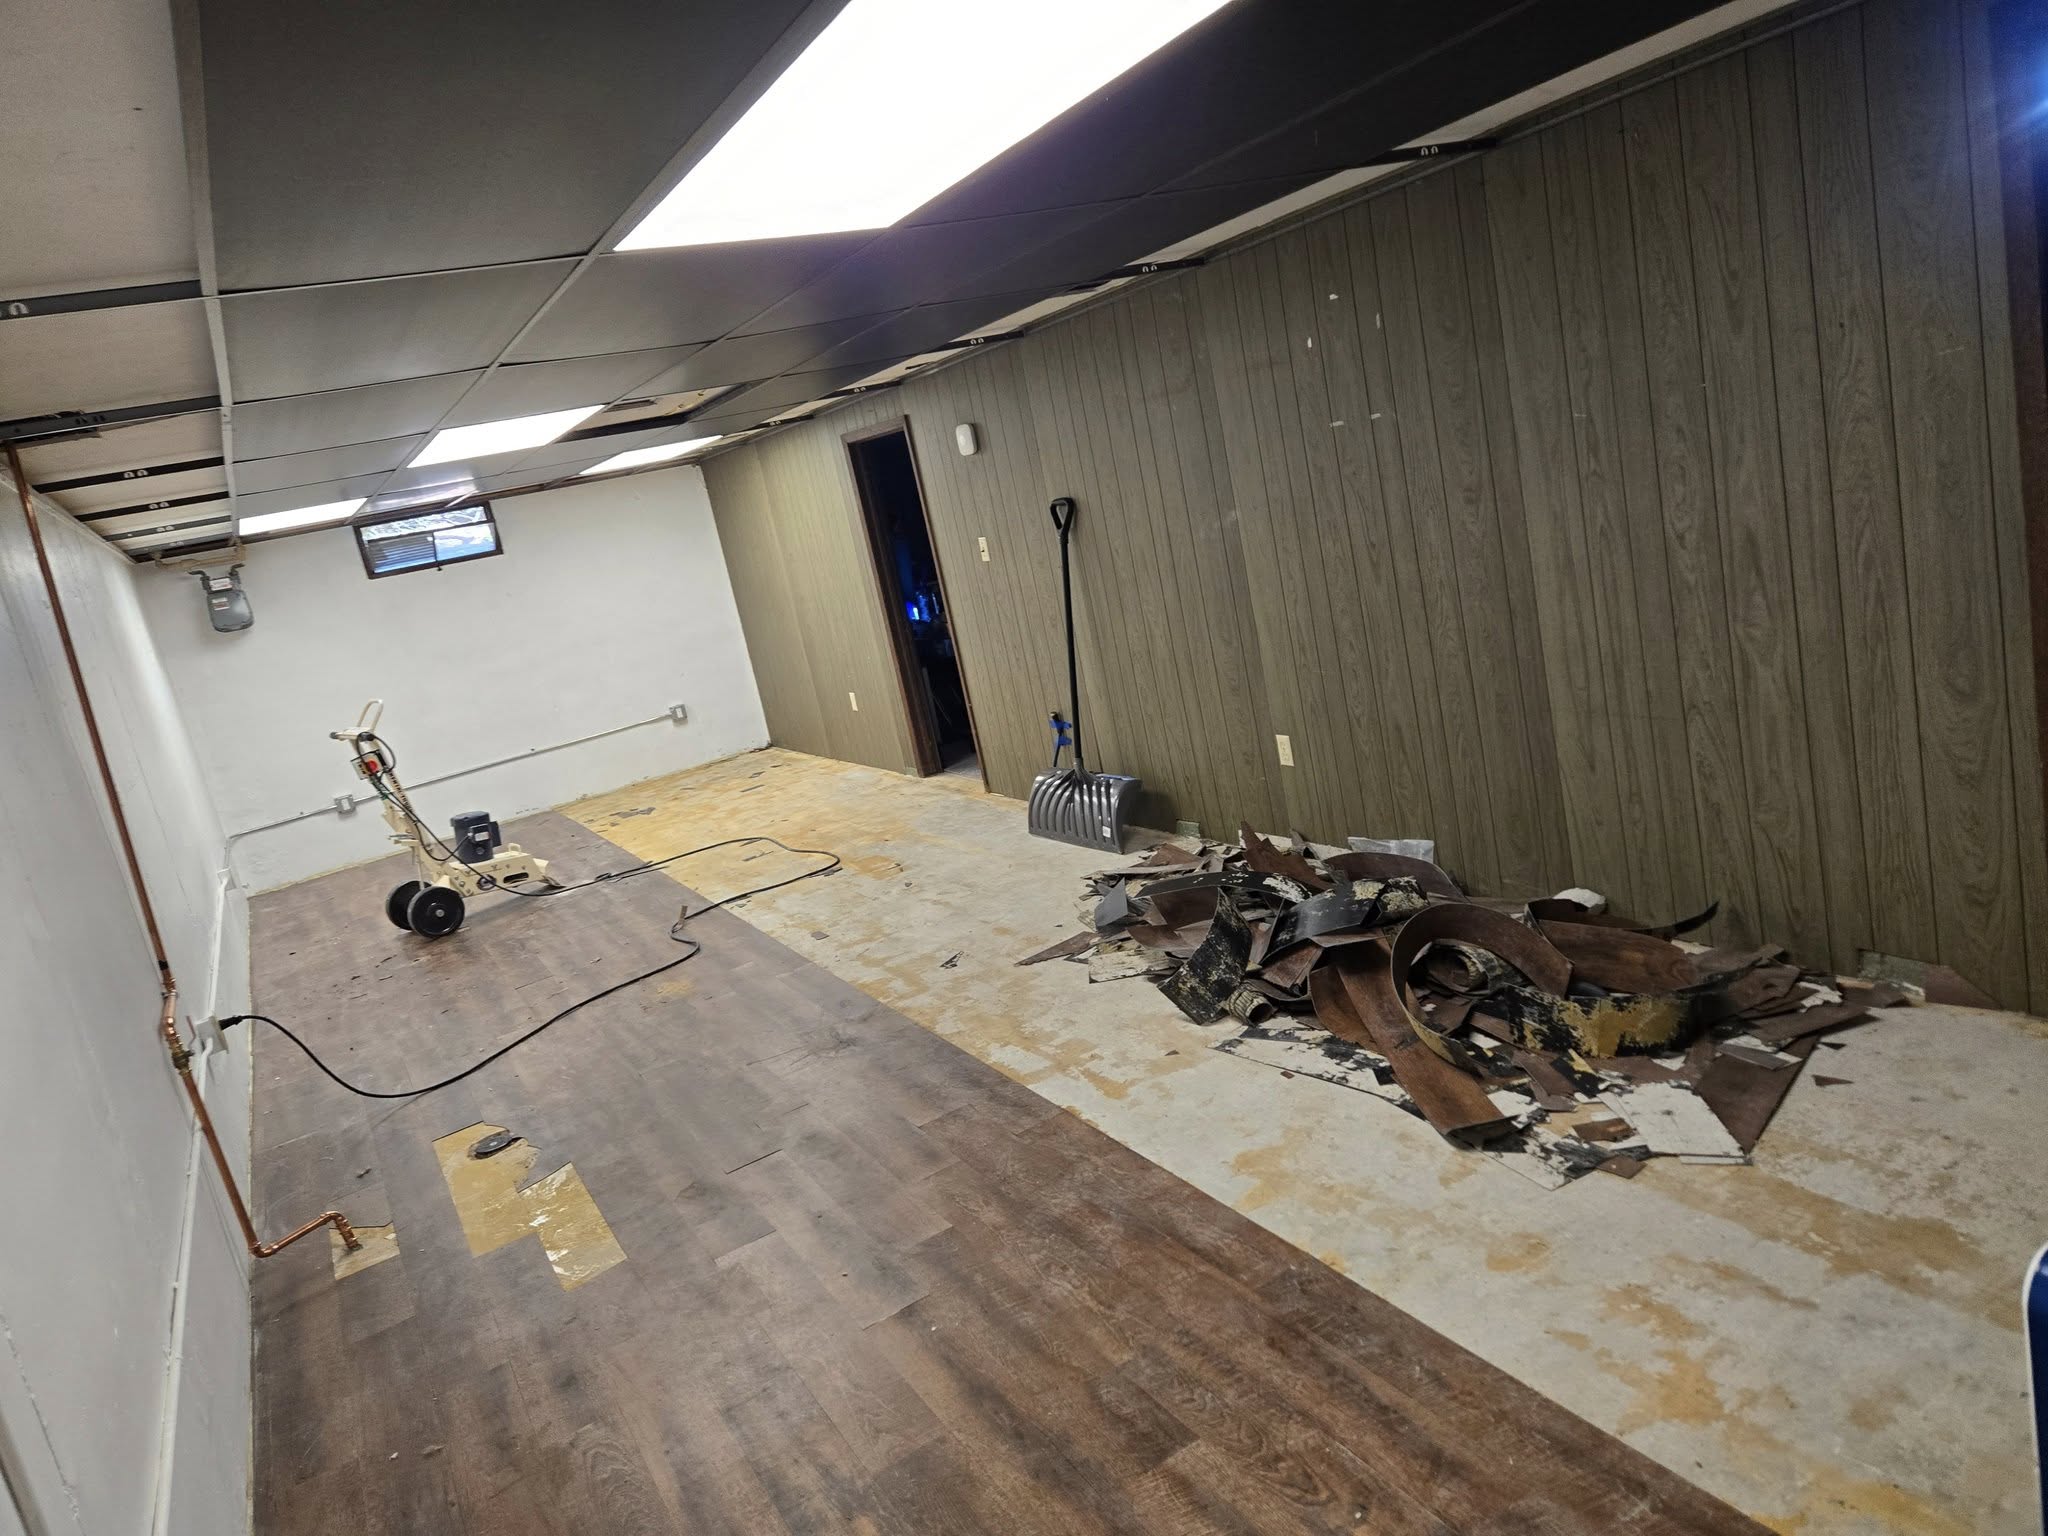
- Repair Entails: This repair involves assessing the extent of the damage, removing any loose or damaged flooring material, and preparing the subfloor for new flooring installation.
- Estimated Time Required: 2-5 days, depending on the extent of the damage and the size of the area.
- Skill Level Needed: Intermediate to advanced. This task requires some DIY experience, especially in handling chemicals and working with flooring materials.
- Prerequisites: A clean workspace, dry environment, and prior knowledge of basic flooring repair techniques.
- Expected Outcome: A fully functional and smooth floor ready for new flooring installation.
- Safety Precautions: Wear protective gear such as gloves, safety glasses, and a mask when working with chemicals and removing flooring materials.
Tools Required:
- Floor scraper or a similar tool for removing old adhesive and flooring material
- Safety gear (gloves, safety glasses, mask)
- Broom and dustpan for cleaning
- Chemical adhesive remover (if needed)
- Sandpaper or a floor sander for smoothing the subfloor
- Cleaning solution and rags
- Optional: A wet/dry vacuum for cleaning up debris
Step-by-Step Repair Guide:
- Assess the Damage: Evaluate the extent of the damage to determine the best course of action. Check for any rotten or damaged subflooring that may need replacement.
- Clear the Area: Remove any furniture, tools, and debris from the room. Wear protective gear to prevent injury from sharp objects.
- Remove Loose Material: Use a floor scraper or a similar tool to remove any loose or damaged flooring material. Work carefully to avoid damaging the subfloor.
- Apply Chemical Adhesive Remover (If Needed): If there is stubborn adhesive, apply a chemical adhesive remover. Follow the manufacturer's instructions and take necessary safety precautions.
- Scrape the Floor: Use the floor scraper to gently scrape off the old adhesive. Work in small sections and use a putty knife or similar tool for more precise removal.
- Clean the Floor: Sweep and clean the floor thoroughly with a broom, dustpan, and cleaning solution to remove any debris and chemical residue.
- Smooth the Subfloor: Use sandpaper or a floor sander to smooth out the subfloor. Ensure it is level and clean.
- Inspect and Test: Inspect the floor for any remaining adhesive or debris. Test the floor by walking on it and checking for any uneven areas.
Estimated Cost:
- Replacement Parts: $100-$500 (depending on the type and quantity of flooring material needed)
- Tools: $50-$200 (if not commonly owned)
- Approximate Labor Cost (Professional): $500-$2,000 (depending on the extent of the damage and location)
Tips and Warnings:
- Tip: Before applying any chemicals, ensure the room is well-ventilated to avoid inhaling fumes.
- Warning: Avoid using harsh chemicals without proper protective gear and ventilation to prevent health risks.
- Tip: For long-lasting results, ensure the subfloor is completely dry and free of debris before installing new flooring.
- Warning: Do not proceed with installing new flooring until the subfloor is fully prepared to avoid future damage.


