Fix a Damaged Drywall and Insulation of a Garage or Basement Wall
Overview:
- Repair Summary: This repair entails replacing the missing drywall and insulation to restore the wall's original condition.
- Estimated Time: The estimated time required to complete the repair is approximately 2-4 hours, depending on the size of the damaged area and the individual's level of experience.
- Skill Level: The skill level needed for this repair is intermediate, requiring some experience with basic carpentry and insulation handling.
- Prerequisites: Ensure you have a clean workspace, and work in a well-ventilated area. Prior knowledge of handling drywall and insulation is beneficial.
- Expected Outcome: The expected outcome is a fully functional and insulated wall section that matches the surrounding area.
- Safety Precautions: Wear protective gear such as gloves, safety glasses, and a dust mask. Ensure the area is well-ventilated to avoid inhaling dust and insulation fibers.
Tools Required:
- Utility knife
- Drywall saw or reciprocating saw
- Drill
- Drywall screws
- Insulation (matching the existing type and R-value)
- Drywall panels (matching the existing wall thickness and type)
- Joint compound (for finishing)
- Sandpaper
- Paint (optional, if finishing)
- Tape measure
- Level
- Pencil and marker
- Ladder or step stool
- Safety gear (gloves, safety glasses, dust mask)
Step-by-Step Repair Guide:
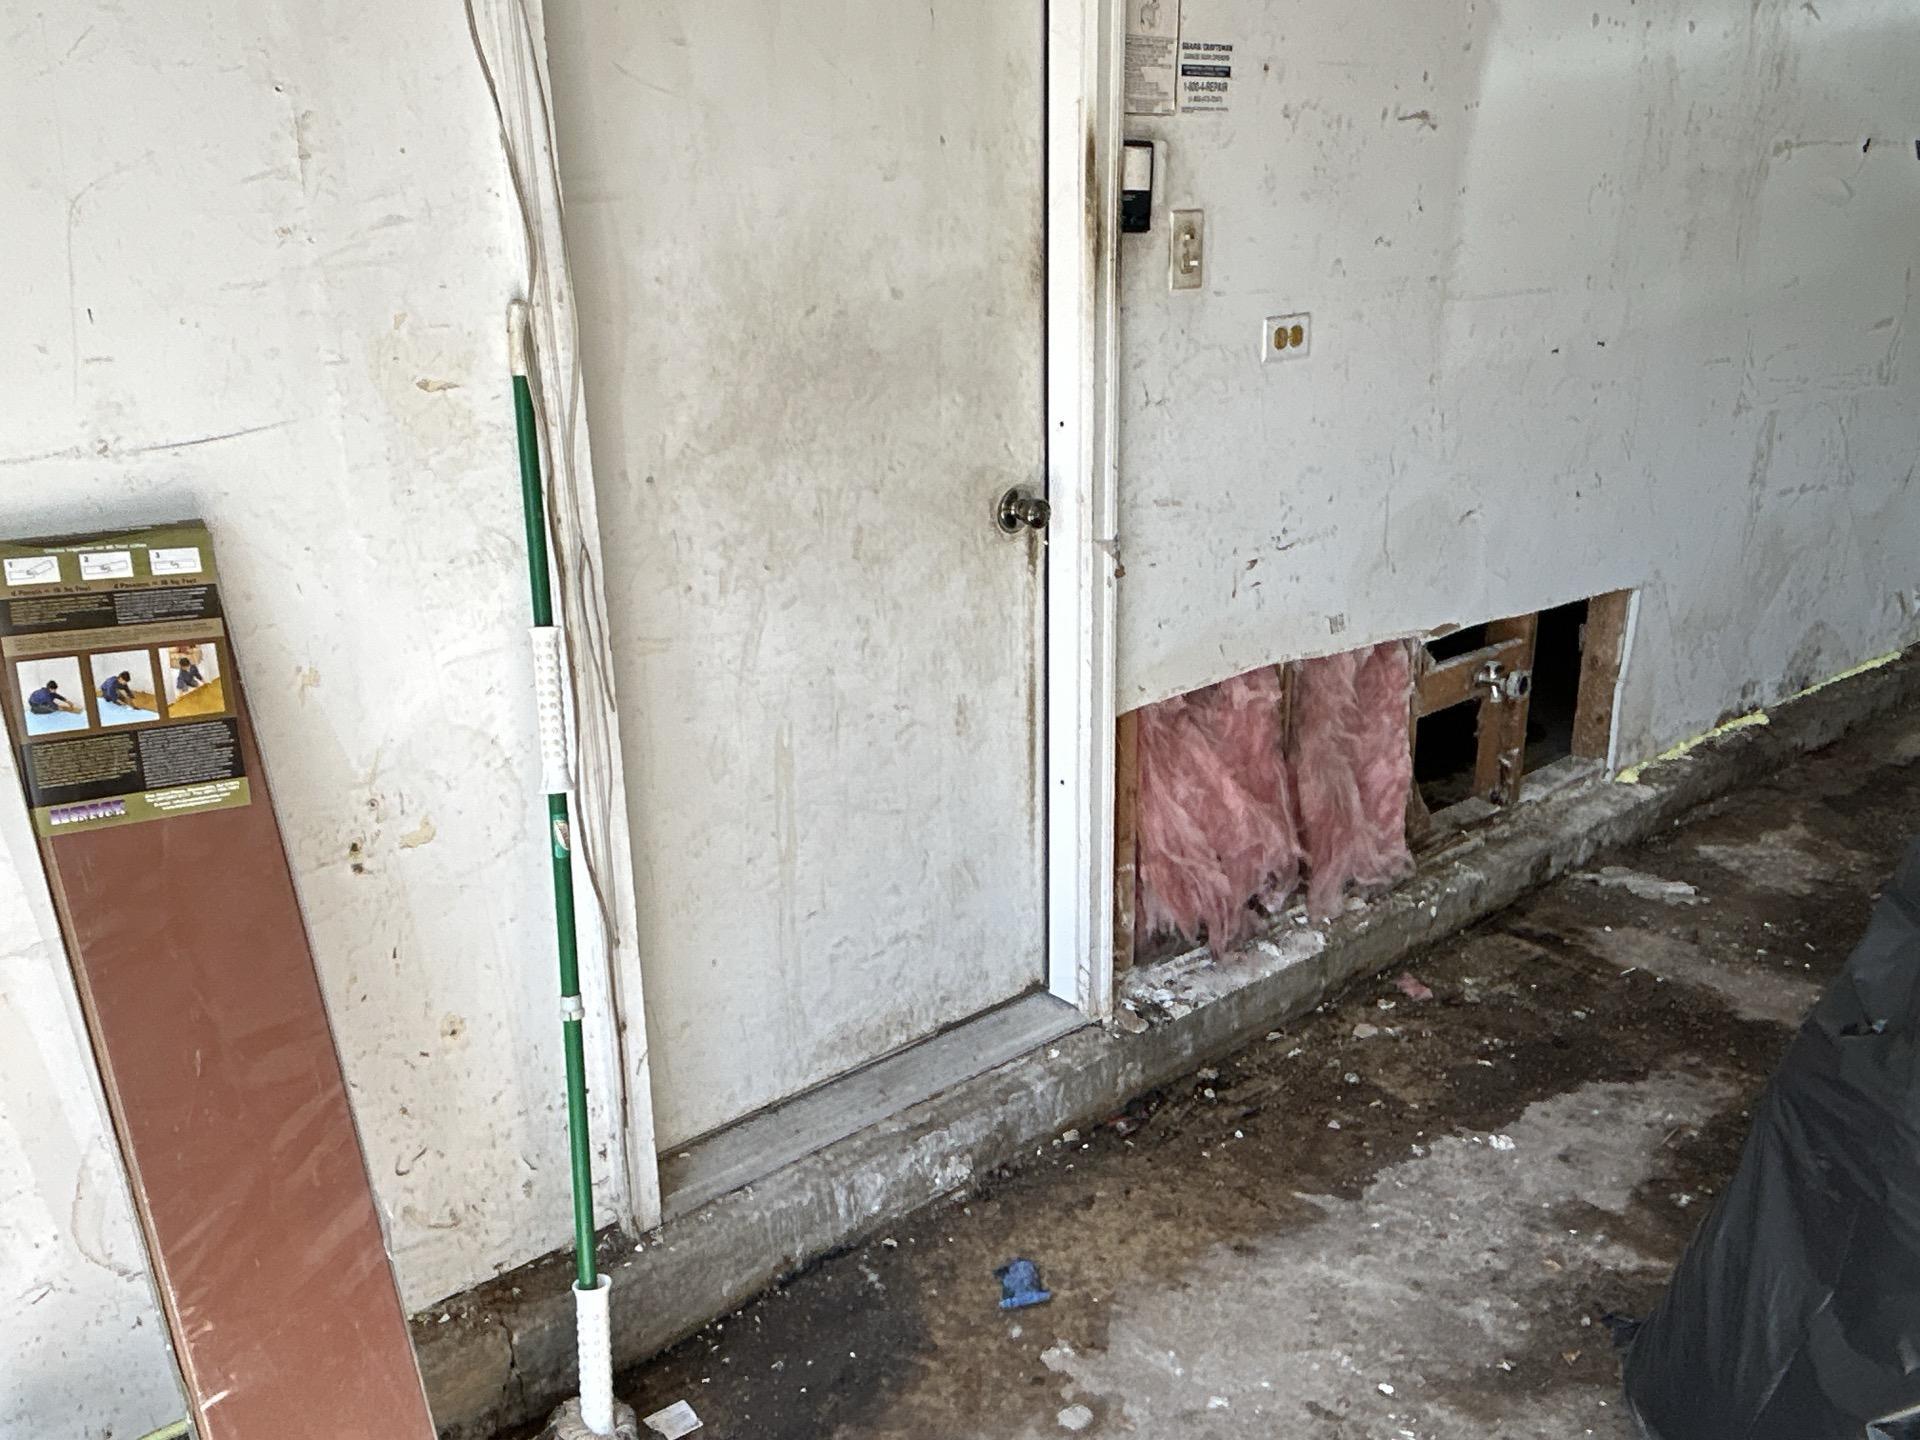
- Assess the Damage: Carefully inspect the damaged area to determine the extent of the damage and the materials needed. Ensure there are no electrical wires or plumbing in the immediate area.
- Clean the Area: Clear the area around the damage of debris and dust. Wear protective gear to avoid injury.
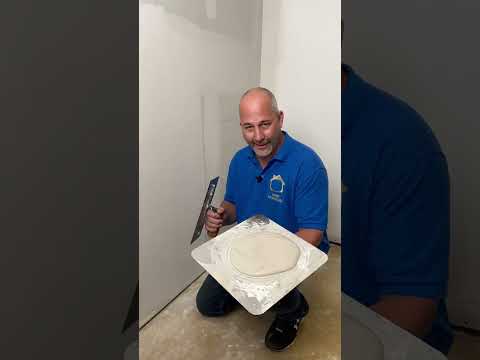
- Measure and Cut Drywall: Measure the damaged area and cut a piece of drywall to fit. Use a utility knife or drywall saw.
- Install Insulation: If insulation is needed, cut it to fit within the wall studs. Ensure it fits snugly and covers the entire area.
- Mount Drywall: Use a drill and drywall screws to secure the drywall panel to the wall studs. Ensure the drywall is level and securely fastened.
- Finish the Drywall: Apply joint compound to the edges of the drywall and smooth it out with a putty knife. Allow it to dry and sand it down to a smooth finish.
- Inspect and Touch-Up: Inspect the area for any gaps or imperfections. Apply additional joint compound if necessary and sand again.
- Paint (Optional): If necessary, paint the wall to match the surrounding area.
Estimated Cost:
- Replacement Parts:
- Drywall panel: $10-$20
- Insulation: $10-$30
- Joint compound: $5-$10
- Drywall screws: $5-$10
- Tools (if not commonly owned):
- Drywall saw: $20-$50
- Drill: $30-$100
- Approximate Labor Cost (if hiring a professional): $100-$300, depending on location and professional rates.
Tips and Warnings:
- Handle Insulation Carefully: Insulation can cause skin irritation and respiratory issues. Wear protective gear when handling.
- Check for Hidden Damage: Ensure there are no hidden damages or issues such as mold or structural damage that need to be addressed.
- Work Safely: Use a ladder or step stool safely and ensure it is on a firm, level surface.
- Match Materials: Use materials that match the existing wall and insulation to ensure consistency and durability.
By following this guide, you should be able to effectively repair the damaged drywall and insulation, restoring your wall to its original condition.