Fix a Damaged Bathroom Ceiling Surface for Painting
Overview:
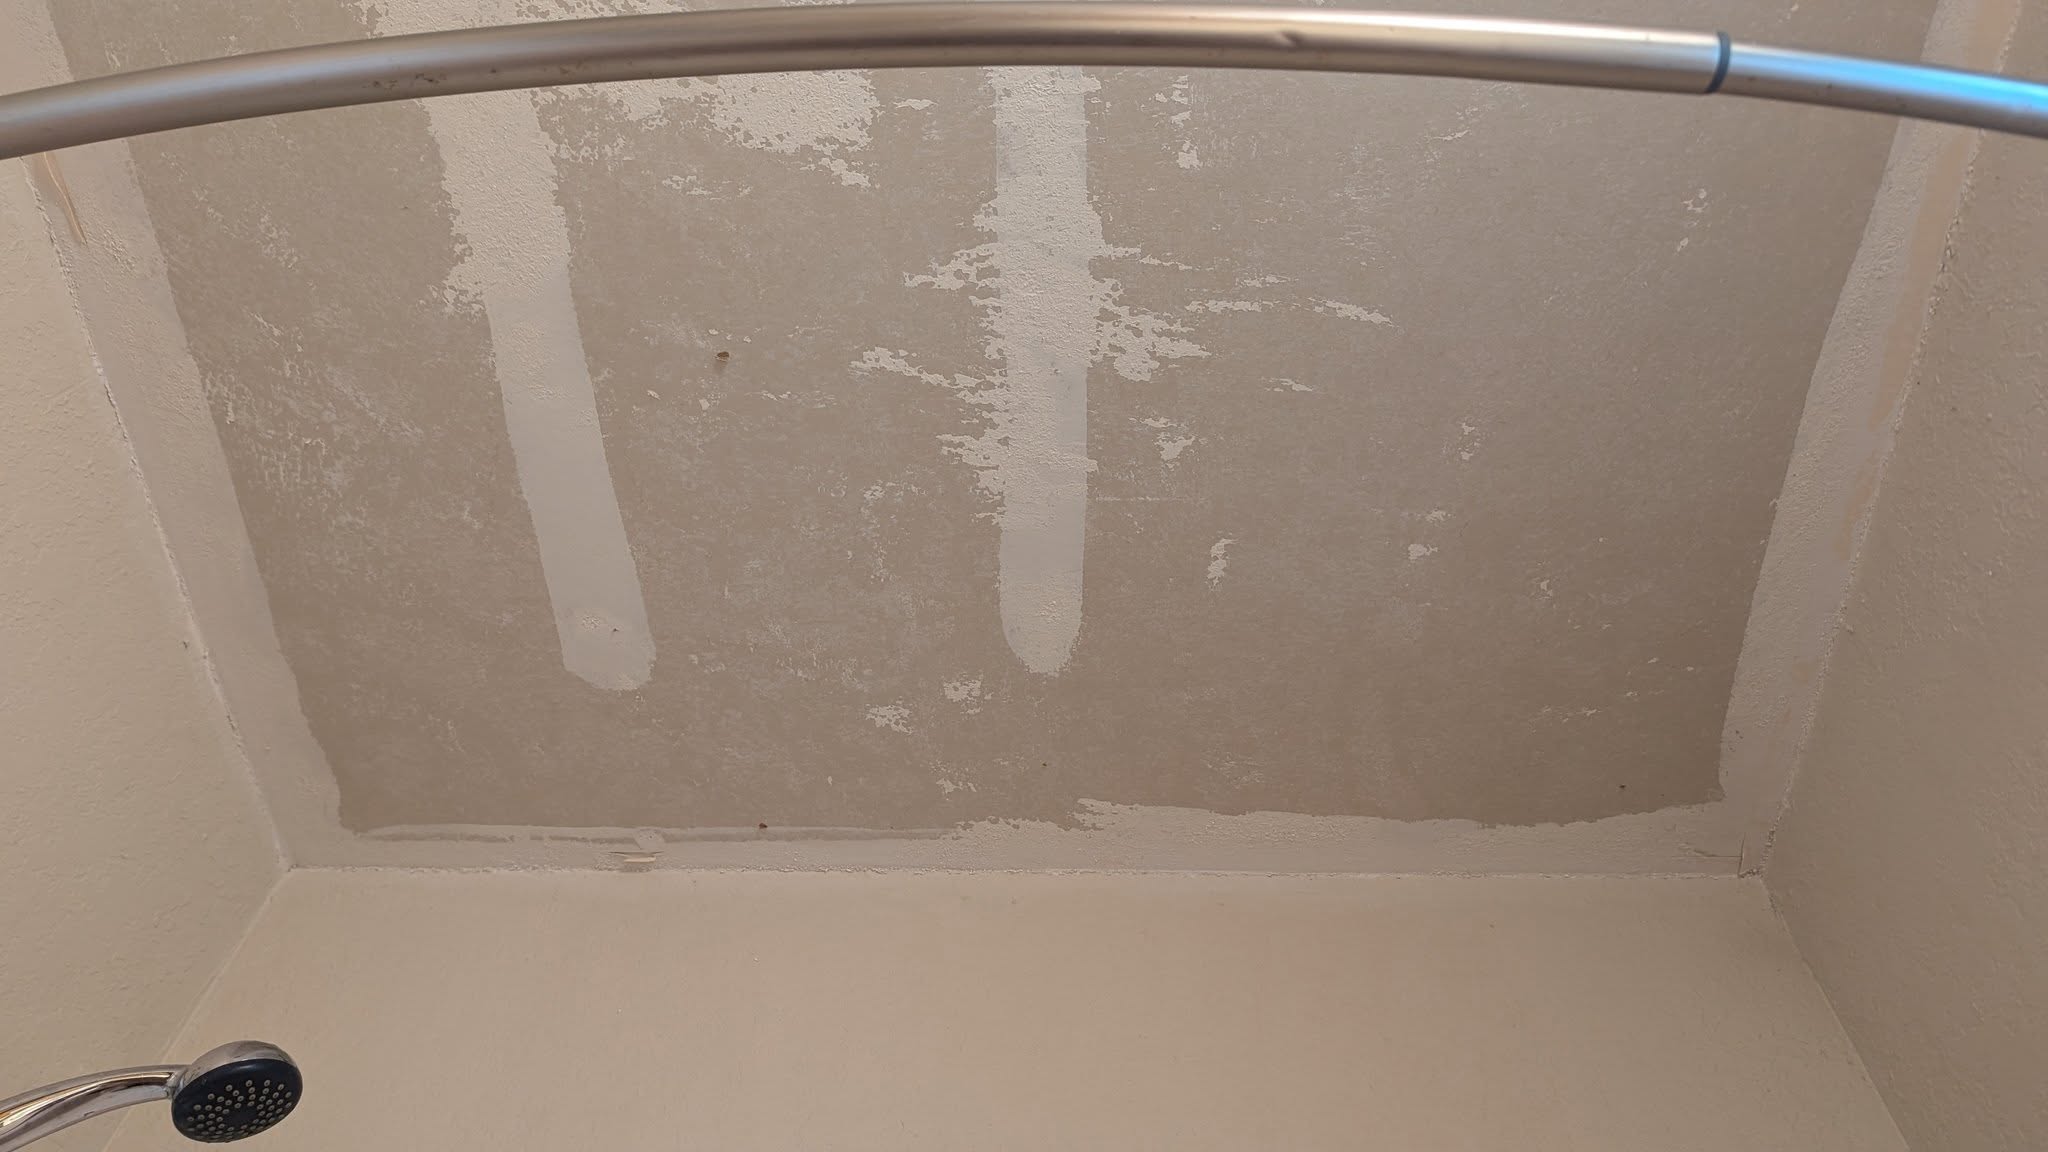
- Repair Summary: This repair entails smoothing out the ceiling surface after removing popcorn texture to prepare it for painting.
- Estimated Time Required: 2-5 hours, depending on the ceiling size and condition.
- Skill Level Needed: Intermediate. Some experience with scraping, sanding, and applying joint compound is helpful.
- Prerequisites: A clean workspace, a dry environment, and prior knowledge of basic repair techniques are recommended.
- Expected Outcome: A smooth, even ceiling surface ready for painting.
- Safety Precautions: Wear protective goggles, gloves, and a dust mask. Ensure the area is well-ventilated.
Tools Required:
- Putty knife or joint knife (4-6 inches wide)
- Sanding block
- Medium-grit sandpaper (120-150 grit)
- Fine-grit sandpaper (220-240 grit)
- Drywall repair compound (or a product specifically designed for ceiling texture repair)
- Paintbrush or roller for applying compound
- Damp cloth or sponge
- Optional: Texture sprayer or a specialized ceiling texture repair kit
Step-by-Step Repair Guide:
- Inspect and Clean the Area: Examine the ceiling for any remaining popcorn texture or debris. Use a vacuum or damp cloth to remove any loose particles.
- Apply Drywall Repair Compound: Use a putty knife to apply a thin layer of drywall repair compound to the scraped areas. Spread it evenly, feathering it out towards the edges to blend with the surrounding surface.
- Allow Compound to Dry: Let the compound dry completely, following the manufacturer’s instructions (usually 30 minutes to an hour, depending on the product).
- Sand the Area: Use a sanding block or medium-grit sandpaper to smooth out the area. Sand in a circular motion, feathering the edges to create a seamless transition.
- Check for Smoothness: Run your hand over the area to check for smoothness. If necessary, apply additional compound and repeat steps 3 and 4.
- Fine-Sand: Switch to fine-grit sandpaper and sand the area again for a final smooth finish.
- Wipe Down: Use a damp cloth or sponge to wipe down the ceiling to remove any dust or debris.
- Apply Primer (Optional): If the repair area is noticeable, apply a primer to ensure uniform paint absorption.
- Paint: Once the ceiling is smooth and clean, you can proceed with painting.
Estimated Cost:
- Replacement Parts/ Materials:
- Drywall repair compound: $10-$20
- Sanding block: $5-$10
- Sandpaper: $5-$10
- Paintbrush or roller: $10-$20
- Total Estimated Cost: $30-$60
- Optional Tools/ Materials:
- Texture sprayer or specialized ceiling texture repair kit: $50-$100
Tips and Warnings:
- Tip: For a smooth finish, work in small sections and apply compound in thin layers, allowing each layer to dry before sanding.
- Warning: Avoid using All Purpose Joint Compound for textured ceilings, as it may not provide the desired finish. Instead, opt for a product specifically designed for ceiling texture repair.
- Safety: Always work in a well-ventilated area and use protective gear to avoid inhaling dust or chemicals.


