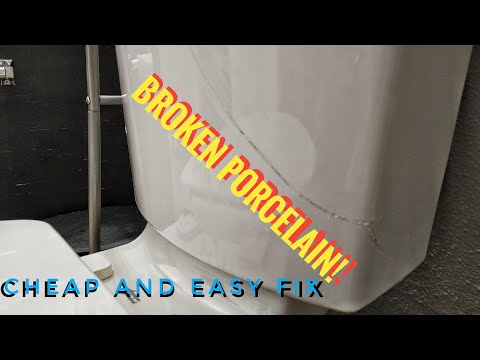
Fix a Cracked Flush Tank of a Toilet
Overview:
This repair guide will walk you through the process of fixing a cracked flush tank of a toilet. The repair entails either fixing the crack with epoxy or replacing the tank entirely. The estimated time required to complete the repair is 1-3 hours, depending on the method chosen. The skill level needed is intermediate, as it involves handling porcelain and potentially dealing with water supply lines. Prerequisites include a clean workspace, shutting off the water supply to the toilet, and prior knowledge of basic plumbing. The expected outcome is a fully functional toilet with a secure flush tank. General safety precautions include wearing protective gloves and ensuring the area is well-ventilated.
Tools Required:
- Adjustable wrench or basin wrench
- Channel-type pliers (for old supply lines)
- Needle-nose pliers
- Teflon tape
- Epoxy for porcelain repair (e.g., epoxy putty or a two-part epoxy)
- Porcelain repair kit (optional)
- Safety gloves
- Bucket and towels (for water cleanup)
Step-by-Step Repair Guide:
- Shut Off Water Supply: Locate the shut-off valve behind the toilet and turn it clockwise to shut off the water supply. Flush the toilet to drain the tank.
- Disconnect Supply Line: Use an adjustable wrench to loosen the nut holding the supply line to the fill valve. Once loose, use channel-type pliers to remove the line.
- Drain Tank: If there's still water in the tank, use a bucket to scoop it out or sponge it dry.
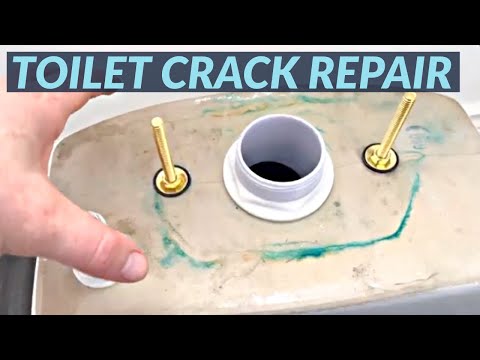
- Remove Tank: Unscrew the nuts holding the tank to the bowl using an adjustable wrench. Carefully lift the tank off.
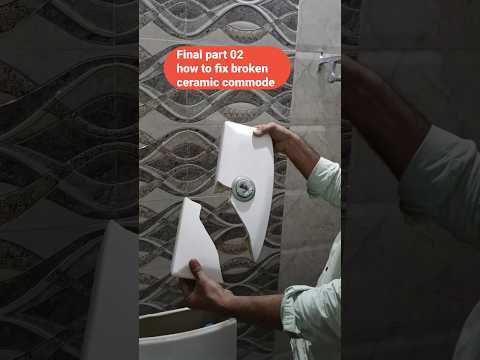
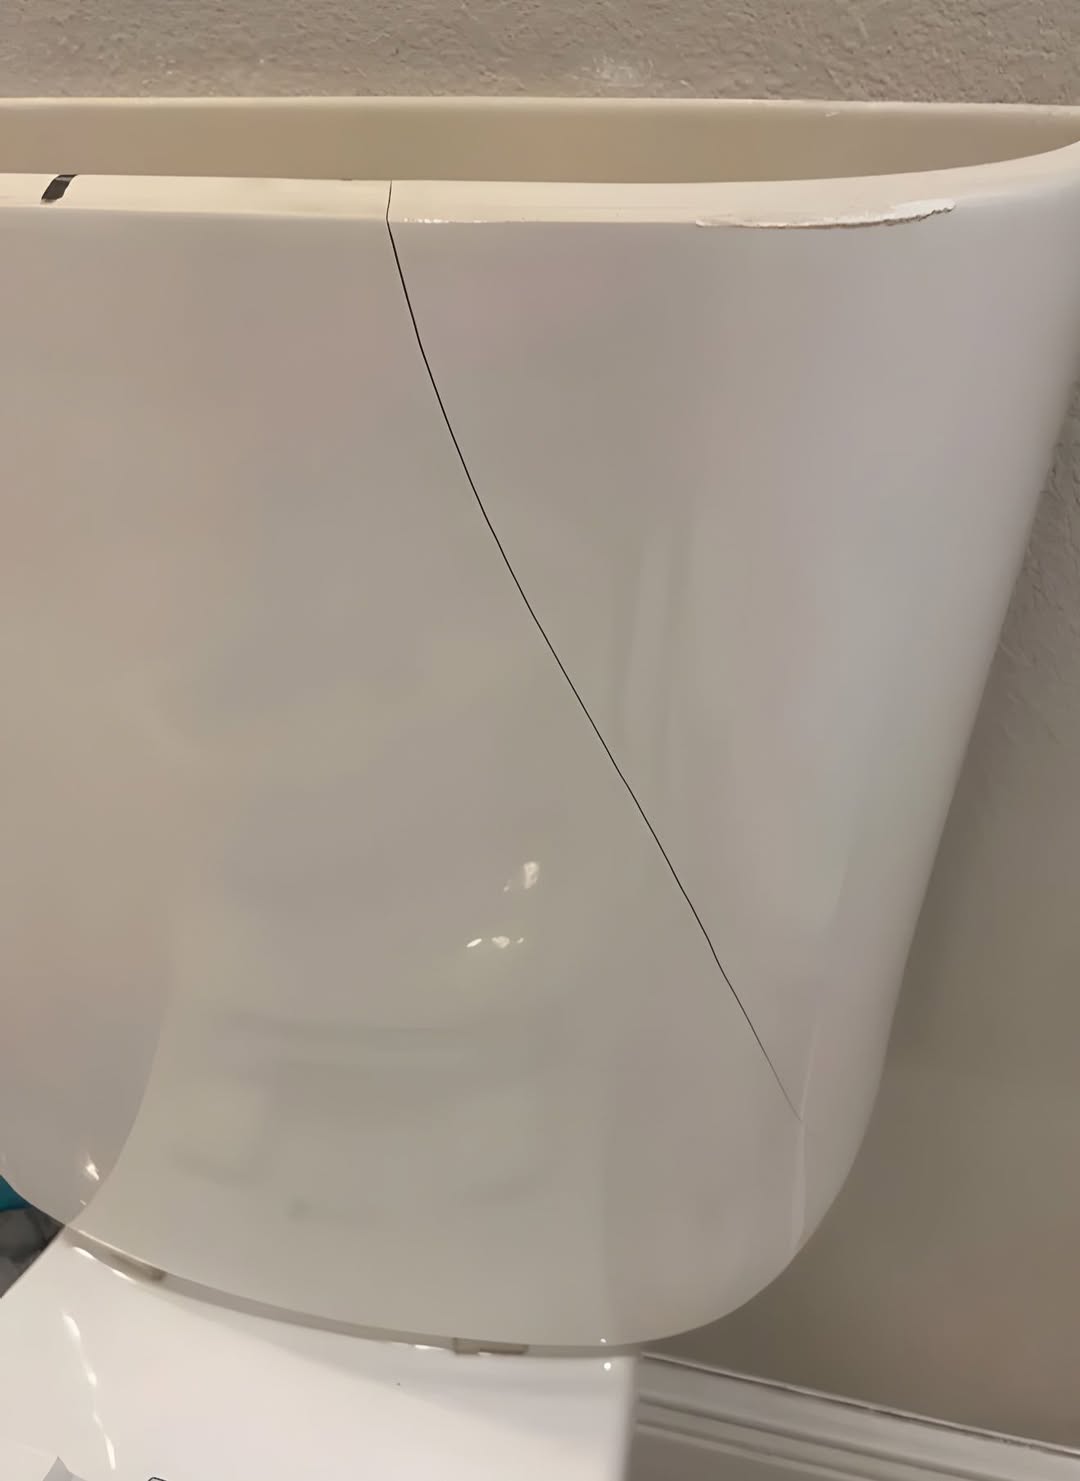
- Assess Crack: Examine the crack to determine if it can be repaired with epoxy or if the tank needs replacement.
- Prepare for Epoxy Repair: Clean the area around the crack thoroughly with a cloth and acetone. Allow it to dry completely.
- Apply Epoxy: If using epoxy putty, cut off a piece and knead it until it’s pliable. Apply it over the crack, smoothing it out. For a two-part epoxy, mix according to the instructions and apply.
- Allow Epoxy to Cure: Follow the epoxy’s instructions for curing time, usually several hours or overnight.
- Reinstall Tank (if removed): Place the tank back on the bowl, ensuring it's aligned. Tighten the nuts by hand, then with the wrench a bit more. Be careful not to overtighten.
- Reconnect Supply Line: Attach the supply line to the fill valve and tighten securely with the adjustable wrench.
- Turn On Water Supply: Turn the shut-off valve counterclockwise to turn on the water supply. Check for leaks.
Estimated Cost:
- Epoxy for porcelain repair: $10-$30
- Porcelain repair kit: $20-$50
- Replacement tank (if needed): $50-$150
- Tools (if not commonly owned): $20-$100
- Approximate labor cost if hiring a professional: $100-$300
Tips and Warnings:
- Safety First: Wear gloves to protect your hands from sharp edges and chemicals.
- Epoxy Choice: Choose an epoxy specifically designed for porcelain to ensure durability.
- Temporary Fix: If you’re not ready to replace the tank immediately, epoxy can serve as a temporary fix, but monitor for leaks.
- Leak Test: After completing the repair, flush the toilet several times to test for leaks around the repaired area and connections.
- Professional Help: If you're not comfortable with the repair or if the crack is extensive, consider hiring a professional plumber.