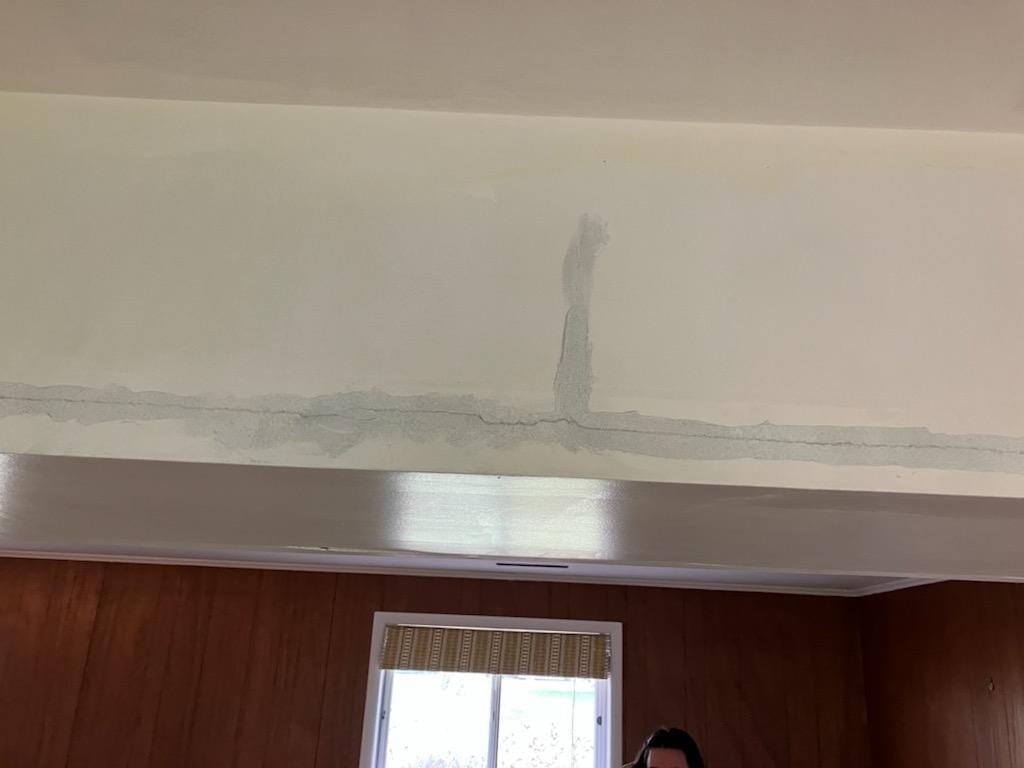
Fix a Cracked Ceiling of a Room
Overview:
- Repair Summary: This repair entails filling and sealing the crack in the ceiling to prevent further damage and enhance appearance.
- Estimated Time: The estimated time required to complete the repair is approximately 2-4 hours, depending on the length and depth of the crack.
- Skill Level: The skill level needed for this repair is intermediate. Some prior knowledge of basic repair techniques is helpful but not necessary.
- Prerequisites: Ensure a clean workspace, and work in a well-ventilated area. It's also advisable to have a dry environment to facilitate drying of repair materials.
- Expected Outcome: The expected outcome is a fully functional and aesthetically pleasing ceiling.
- Safety Precautions: Before starting, ensure you have a stable ladder or scaffolding, and wear protective gear such as gloves and safety glasses.
Tools Required:
- Putty knife (1-2 inches wide)
- Joint compound (also known as spackling compound)
- Sandpaper (medium and fine grit)
- Paint (matching the ceiling color)
- Paintbrush or roller
- Optional: Mesh patch for larger cracks, primer
Step-by-Step Repair Guide:
- Clean the Area: Use a vacuum or a damp cloth to remove any debris or dust from the crack.
- Apply Joint Compound: Use a putty knife to apply a thin layer of joint compound into the crack, pressing it in firmly. Wipe away any excess compound with the putty knife.
- Allow to Dry: Let the compound dry completely, according to the package instructions, usually 30 minutes to an hour.
- Sand the Area: Use medium-grit sandpaper to sand the area smooth. Sand in a circular motion and wipe away dust with a cloth.
- Apply Additional Coats: If necessary, apply additional thin layers of joint compound, allowing each layer to dry before sanding.
- Final Sanding: Once the final layer of compound is dry, sand the area again with fine-grit sandpaper until smooth.
- Paint the Ceiling: If necessary, prime the repaired area (especially if using a different type of compound or if the ceiling has been previously painted). Then, paint the ceiling to match the surrounding area.
- Inspect and Touch-up: Inspect the repair for any imperfections. If needed, apply additional compound, sand, and paint.
Estimated Cost:
- Replacement Parts/ Materials:
- Joint compound: $5-$10
- Sandpaper: $5-$10
- Paint: $20-$50 (depending on quantity and quality)
- Optional mesh patch: $5-$10
- Tools:
- Putty knife: $5-$10 (if not owned)
- Paintbrush or roller: $10-$30 (if not owned)
- Approximate Labor Cost (if hiring a professional): $100-$300, depending on location and professional rates.
Tips and Warnings:
- Practical Tips:
- Work in small sections to maintain control over the application of compound.
- Apply thin layers of compound to avoid creating a bulge.
- Warnings:
- Ensure your ladder or scaffolding is stable to prevent falls.
- Wear protective gear to avoid injury from dust and chemicals.
- If the crack is very large or in a load-bearing area, consider consulting a professional to ensure structural integrity.