Fix a Cracked and Textured Skim Coat on a Wall
Description of Issue:
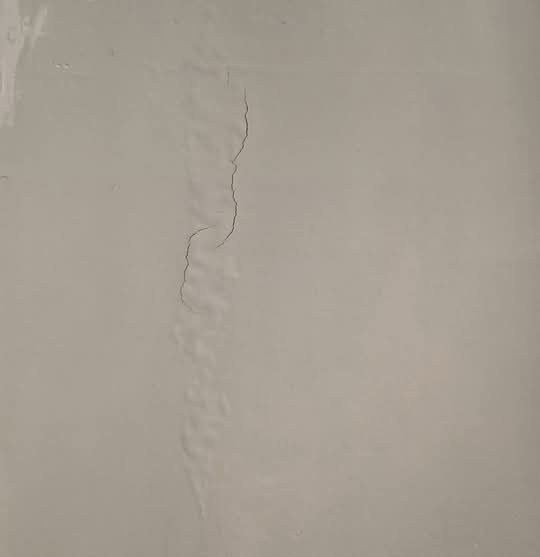
The provided image shows a wall with a visible crack and texture under a skim coat. The user described the issue as: "What would have caused this crack and texture under a skim coat?" The likely cause of the damage is settlement or movement of the building structure, which can cause cracks in the skim coat. It could also be due to poor application techniques or drying issues. Assuming the crack is surface-level based on the image, addressing this issue is important to prevent further damage and maintain the wall's appearance.
Overview:
This repair guide provides a budget-friendly, step-by-step approach to fixing a cracked and textured skim coat on a wall. The process involves simple, low-cost methods using household items. Estimated time to complete: 30–60 minutes. Skill level required: Beginner, no prior repair experience needed. Prerequisites: a clean workspace, basic household items, and a well-lit area. Expected outcome: A restored wall with minimal visible damage. General safety precautions: Wear gloves when handling materials and work in a well-ventilated area. This repair uses items you likely already own, avoiding expensive professional services. For severe or structural damage, a professional may be more cost-effective long-term.
Tools and Materials Required:
- Joint compound (or spackling compound): $5–$10 at dollar stores or Walmart
- Sandpaper (medium-grit): $2–$5 at discount stores
- Paintbrush or putty knife: likely already owned
- Dry cloth: likely already owned
- Water: free
- Optional: texture additive or joint tape (if needed for texture matching)
Step-by-Step Repair Guide:
- Clean the Area: Use a dry cloth to wipe away any dust or debris from the cracked area. Ensure the area is dry to avoid slipping.
- Apply Joint Compound: Use a putty knife to apply joint compound to the crack, spreading it smoothly and evenly. Fill the crack completely.
- Smooth the Compound: Use the putty knife to smooth out the compound, feathering it out towards the edges to blend with the surrounding area.
- Allow to Dry: Let the compound dry completely, according to the product instructions (usually 30 minutes to an hour).
- Sand the Area: Use medium-grit sandpaper to sand the area smooth, feathering it out to blend with the surrounding texture.
- Apply Texture (Optional): If needed, apply a texture additive or use joint tape to match the surrounding texture. Allow to dry and sand smooth.
- Finish with Paint: Once the repair is smooth and textured (if applicable), paint the wall to match the surrounding area.
Estimated Cost:
- Materials: $5–$10 (joint compound, sandpaper)
- Tools: $0–$5 (if you don’t already have a putty knife or sandpaper)
- Total estimated cost: $5–$15
Tips and Warnings:
- Place a dehumidifier in the room to prevent moisture-related issues.
- Test household items on a hidden area to avoid discoloration.
- Use leftover joint compound for future repairs.
- Avoid using a wet cloth on unpainted walls, as it may cause swelling.
Additional Engagement Elements:
FAQ:
Q: Can I use this method on a painted wall?
A: Yes, but ensure the paint is dry and test the joint compound on a hidden area first.
Q: What if I don’t have a putty knife?
A: Use a flat, blunt tool like a butter knife or credit card to spread the compound.
Q: How can I prevent future cracks?
A: Regularly inspect and maintain your walls, and consider using joint tape for added stability.
This guide provides a practical, budget-friendly solution for fixing a cracked and textured skim coat on a wall. By following these steps, you can achieve professional-quality results while saving money.


