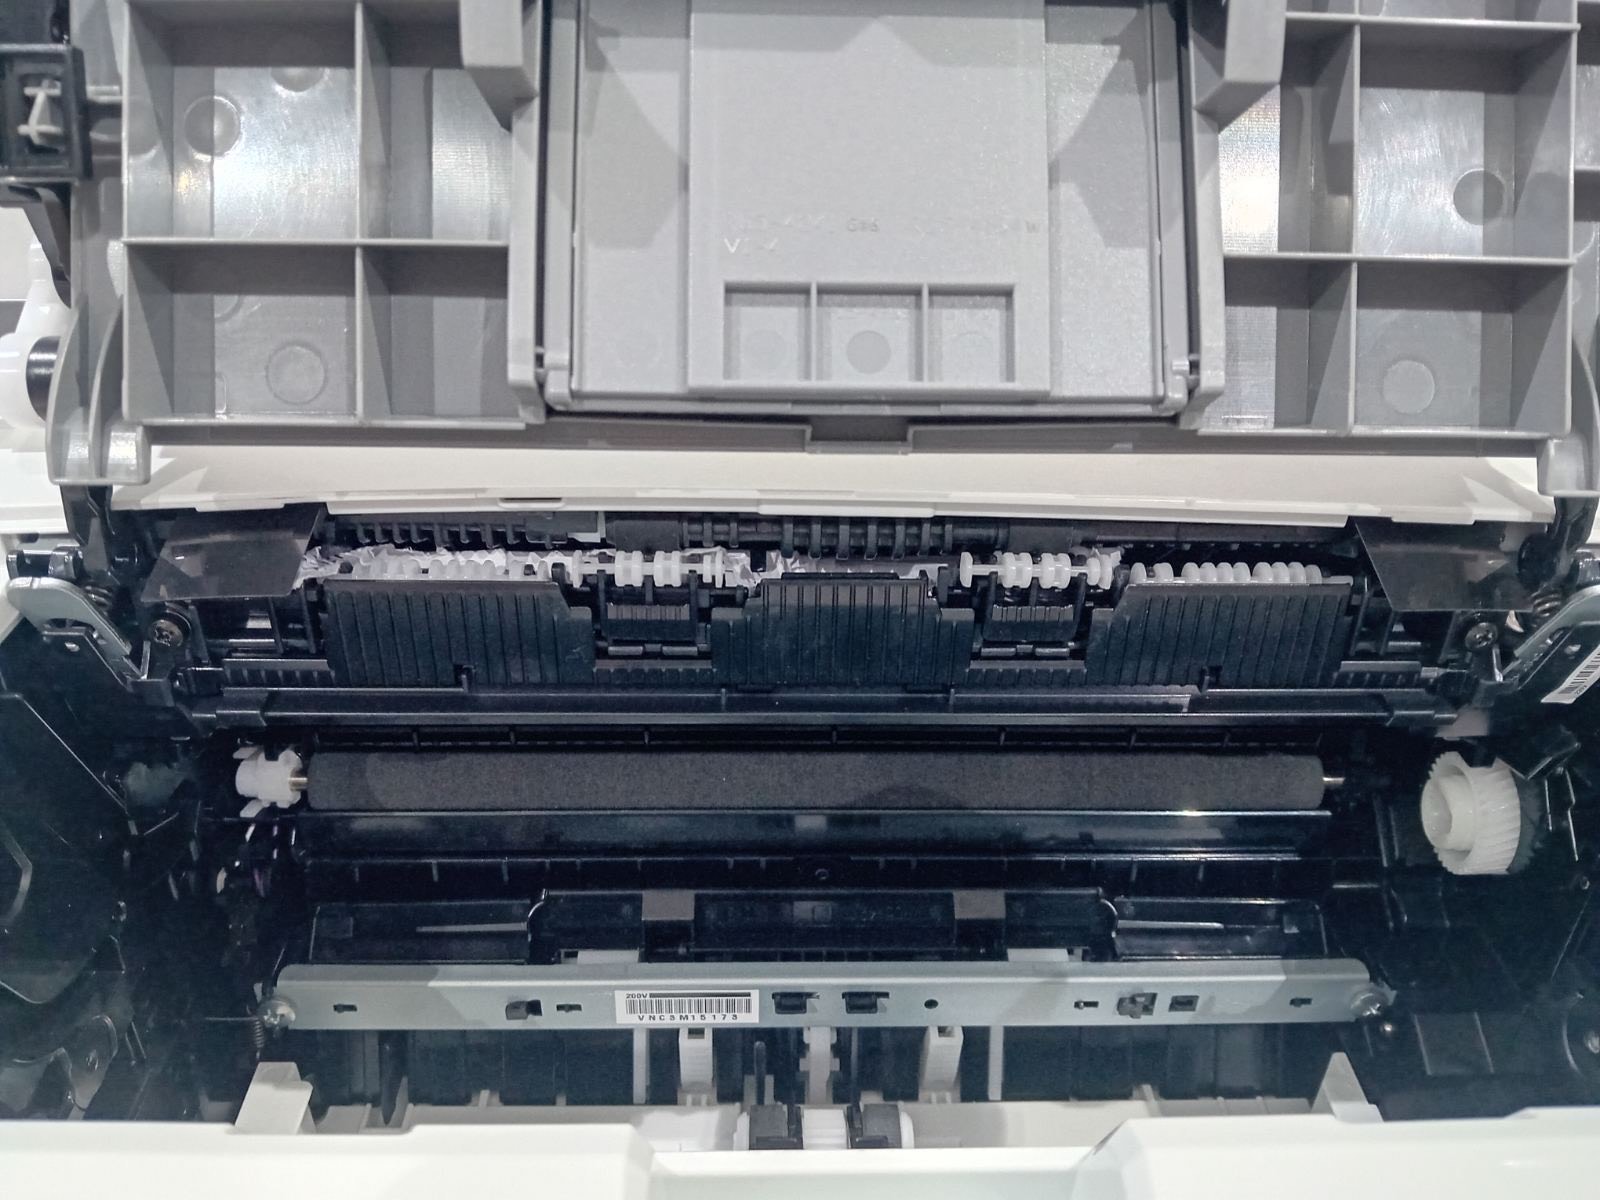
Fix a Fuser Roller of a Printer
The exact broken or need a repair thing in this image is a Fuser Roller of a Printer. This part appears to be damaged due to excessive use or paper jam, and needs immediate attention to restore full functionality.
Tools needed:
- Phillips screwdriver
- Torx screwdriver (depending on the printer model)
- Plastic spudger or similar tool for prying open printer casing
- Tweezers
- Cleaning cloth or cotton swabs
Steps by Step Detailed Guide to Fix it:
Warning:
- Ensure the printer is turned off and unplugged from the power source before starting repairs.
- Wear anti-static wrist straps or mats to prevent damage to internal components.
Step 1: Open the Printer
- Remove the outer casing: Use a Phillips or Torx screwdriver to remove screws from the printer's back or bottom. Gently pry open the casing using a plastic spudger.
Step 2: Locate the Fuser Roller
- Identify the fuser unit: It's usually located near the back of the printer and is a large, cylindrical component with a gear on one end.
- Disconnect any cables: Carefully disconnect any cables connected to the fuser unit to allow for easier access.
Step 3: Remove the Fuser Roller
- Remove the fuser cover: There may be screws or clips holding the cover over the fuser roller. Remove them carefully.
- Take out the fuser roller: Depending on the printer model, you might need to remove additional screws or clips to access the roller.
Step 4: Inspect and Clean or Replace the Fuser Roller
- Inspect for damage: Check the fuser roller for wear, such as cracks, dents, or excessive wear on the surface.
- Clean if possible: If the issue is due to dust or paper debris, use a cleaning cloth or cotton swabs to gently clean the roller.
- Replace if necessary: If the fuser roller is damaged, replace it with a new one. Ensure it's compatible with your printer model.
Step 5: Reassemble
- Reinstall the fuser roller: Place the fuser roller back in its position, ensuring it's properly aligned and secured.
- Reattach the fuser cover: Put back any covers or shields you removed, securing them with screws or clips.
- Reconnect cables: Carefully reconnect any cables you disconnected.
Step 6: Test the Printer
- Reassemble the printer: Put the outer casing back on and secure it with screws.
- Plug in and turn on the printer: Test the printer to ensure it's functioning correctly.
Tips and Warnings:
- Regular Maintenance: Regularly clean the printer's interior to prevent dust and paper debris buildup.
- Handle with Care: Be cautious when handling internal components to avoid damage.
- Consult a Professional: If you're unsure or uncomfortable performing these repairs, consider consulting a professional technician.
By following these steps, you should be able to fix or replace a damaged fuser roller in a printer. Always refer to your printer's manual or manufacturer's instructions for specific guidance, as the process can vary depending on the printer model.


